

What Size Help Cord For Macrame Plant Hangers
Macramé Inspired a Immature Jenny Lemons
I commencement got into macrame when I was a teenager in the early on 2000s. I spent my costless time feverishly knotting hemp jewelry and accessories back in those days. This obsession landed me my get-go job at The Bead Monkey (RIP), a bead shop in Minneapolis. Working there was like my version of sky. I was surrounded by colorful chaplet and creative older women who inspired me to pursue fine art as a career. I remember bringing in my embarrassing sketchbooks full of angsty drawings to work. My coworkers poured over them, sharing tips and words of encouragement.
It was through this job that my teaching career began. My director believed in me and so much that she let me, a teenager with too much eyeliner and technicolored hair, teach a macrame jewelry form to adults! I call up continuing in front end of the small grouping of students, advisedly planning my words to ensure my directions were clear.
As of today, I accept taught thousands of people many things, simply macrame has always held a special place in my heart. Every time I teach knotting, I aqueduct my 17-year-old self and think of the kind women who helped me get to where I am today.
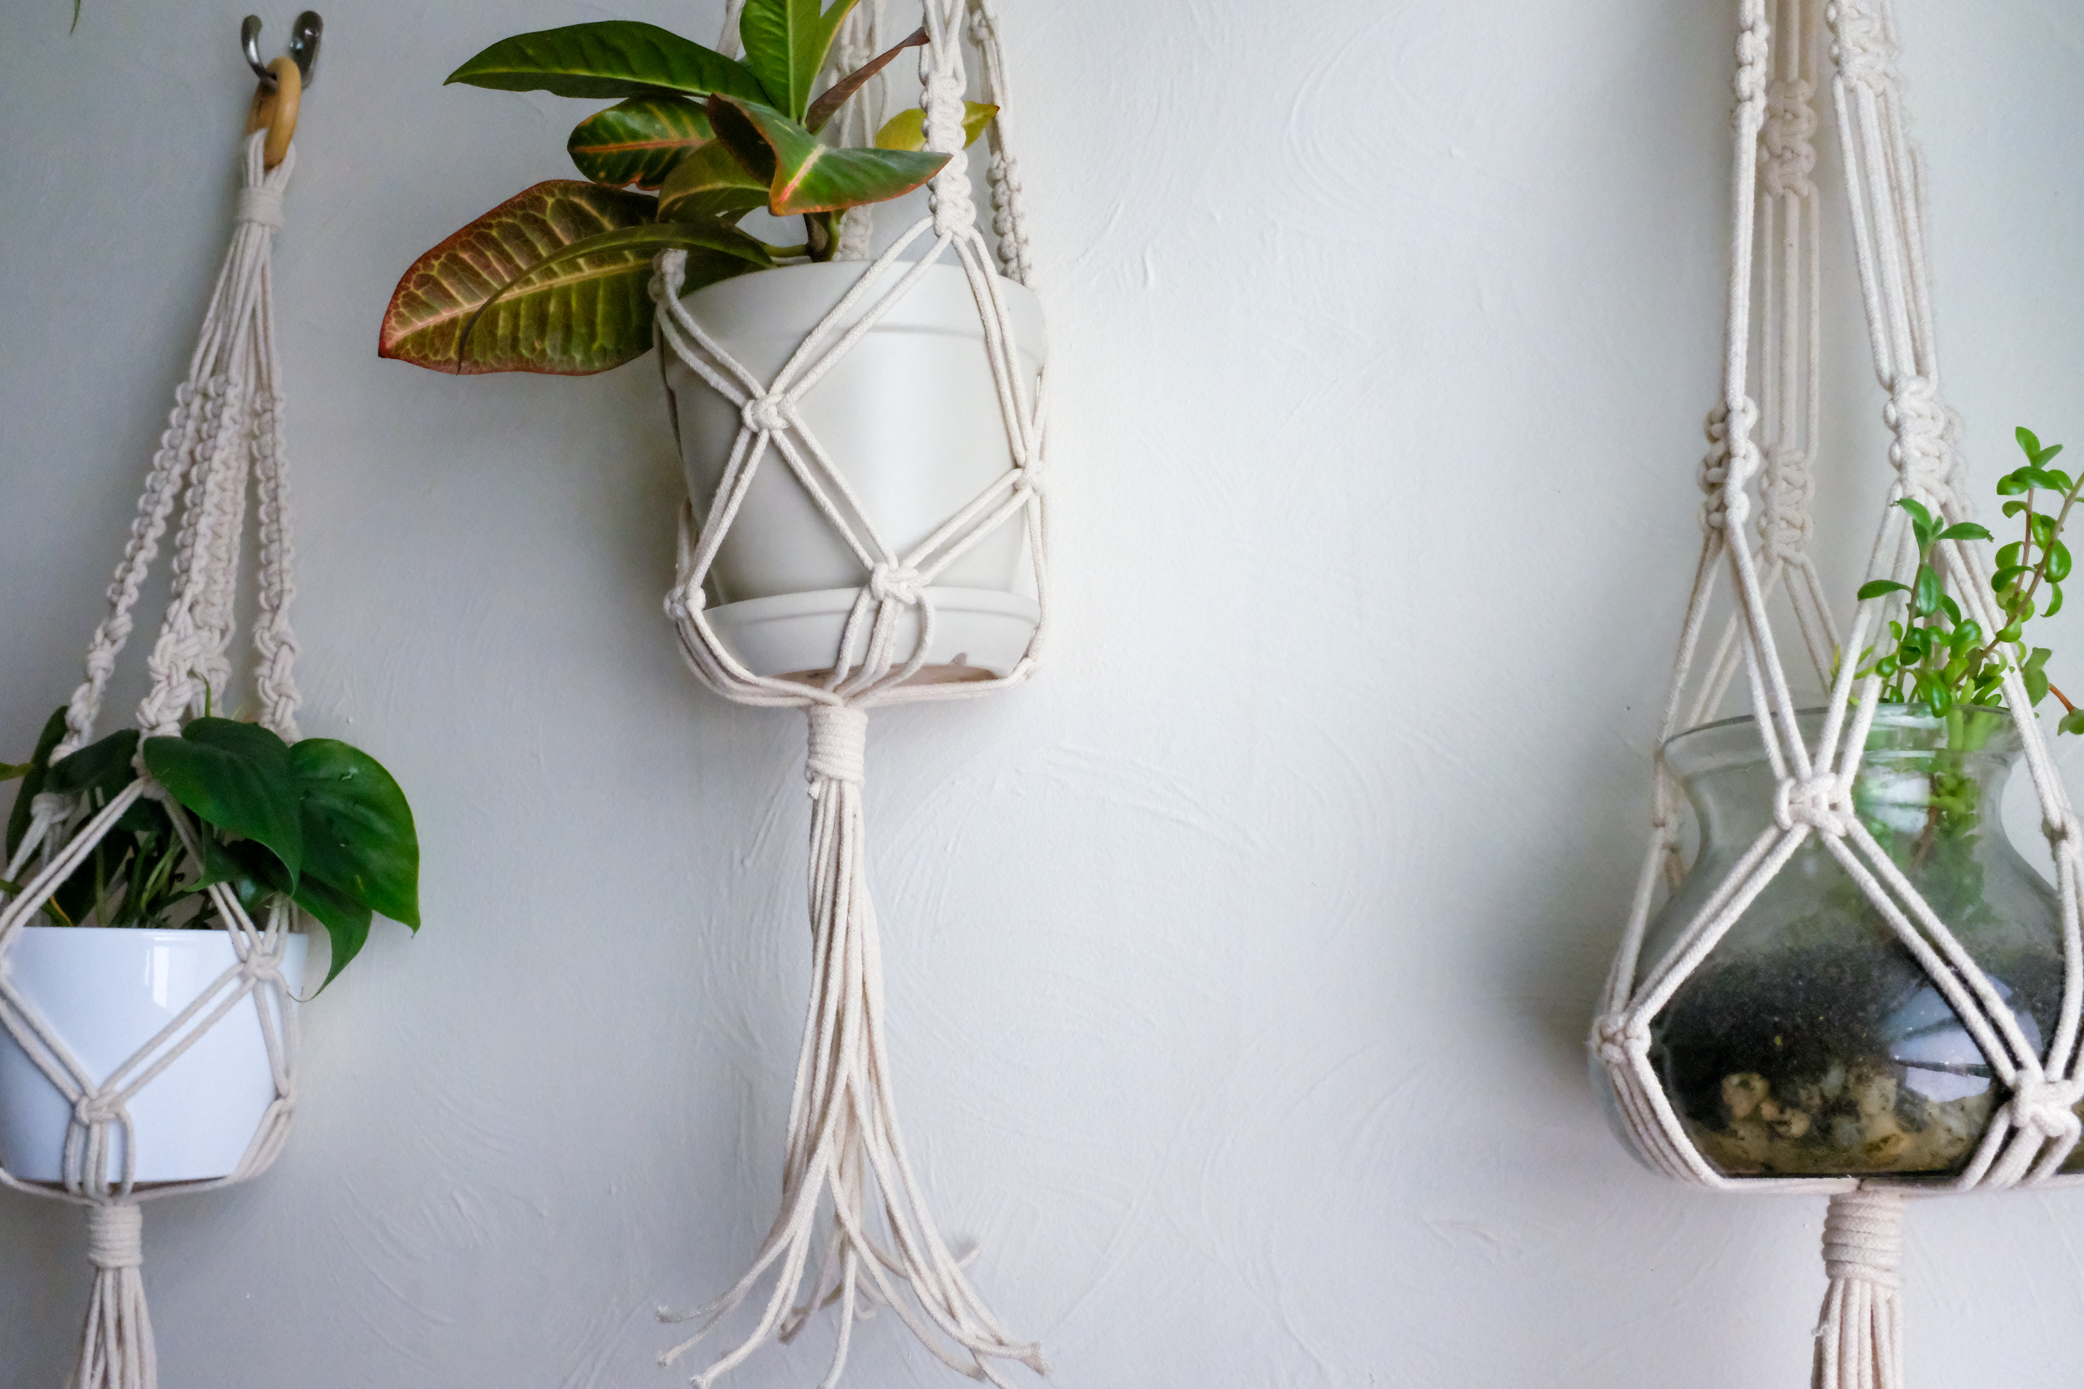
Making Plant Hangers
I oasis't changed my bathroom decor since we moved into our apartment five years ago. The mode it's decorated is fine, but I wanted to add some more plants to our tiny room.
Macrame plant hangers are the perfect small space solution considering they tin can exist hung on the wall or from the ceiling, freeing up shelf infinite for other things.

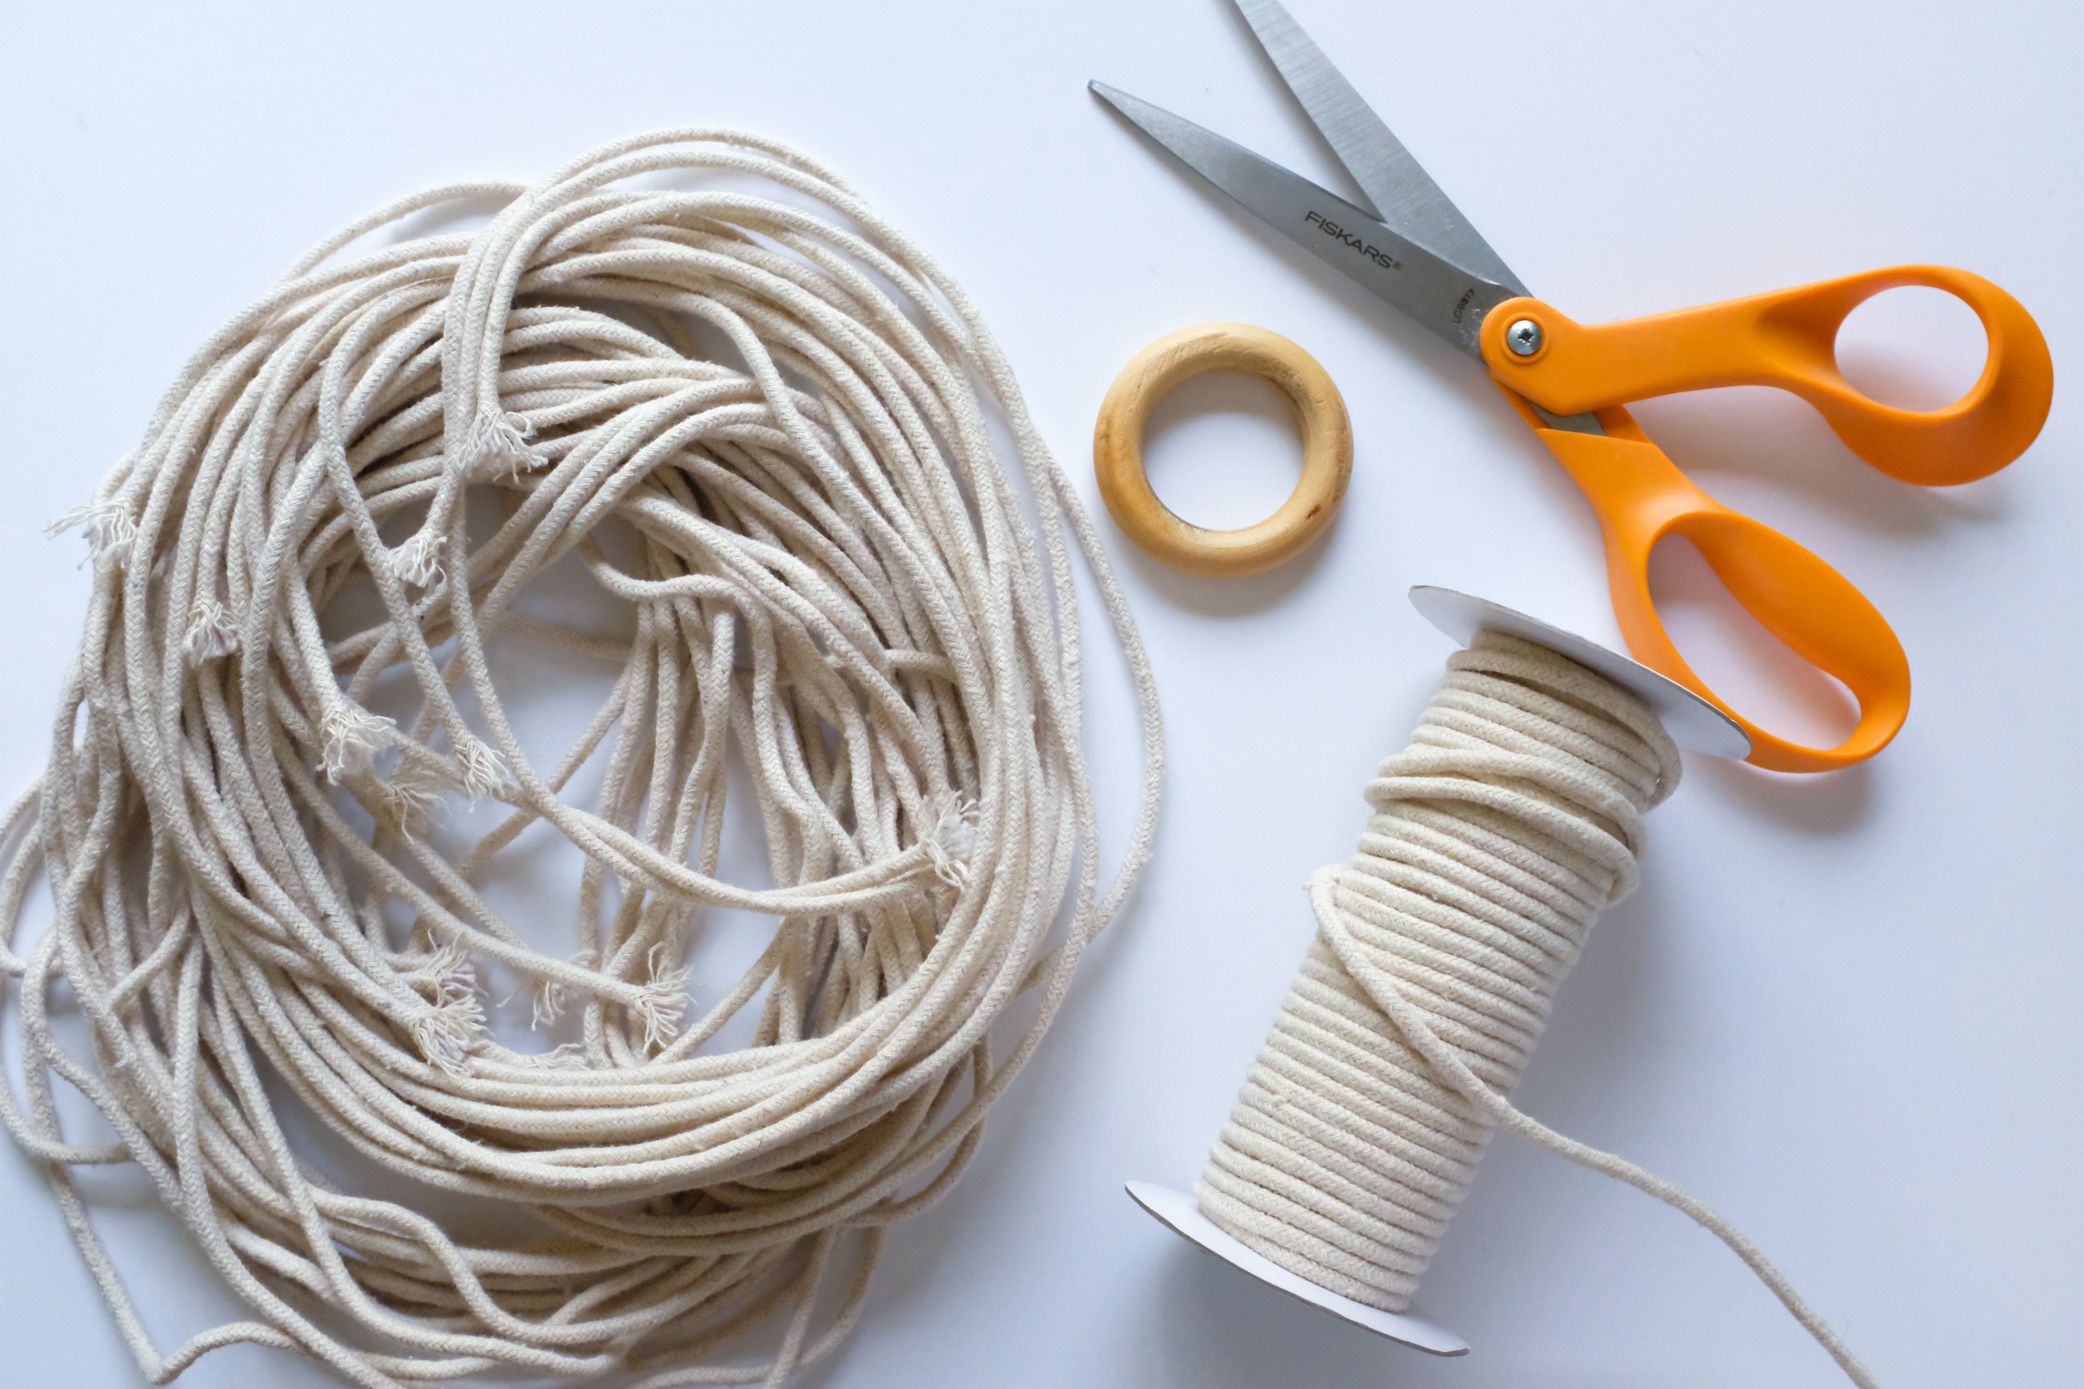
Supply Listing
I love macramé because yous don't need any special equipment to get started! All you need are two hands and some rope.
Materials:
- Eight, 108 inch pieces of 3mm macrame string
- Two, 36 inch pieces of 3mm macrame cord
- ii" wooden ring
- Scissors
- Potted constitute

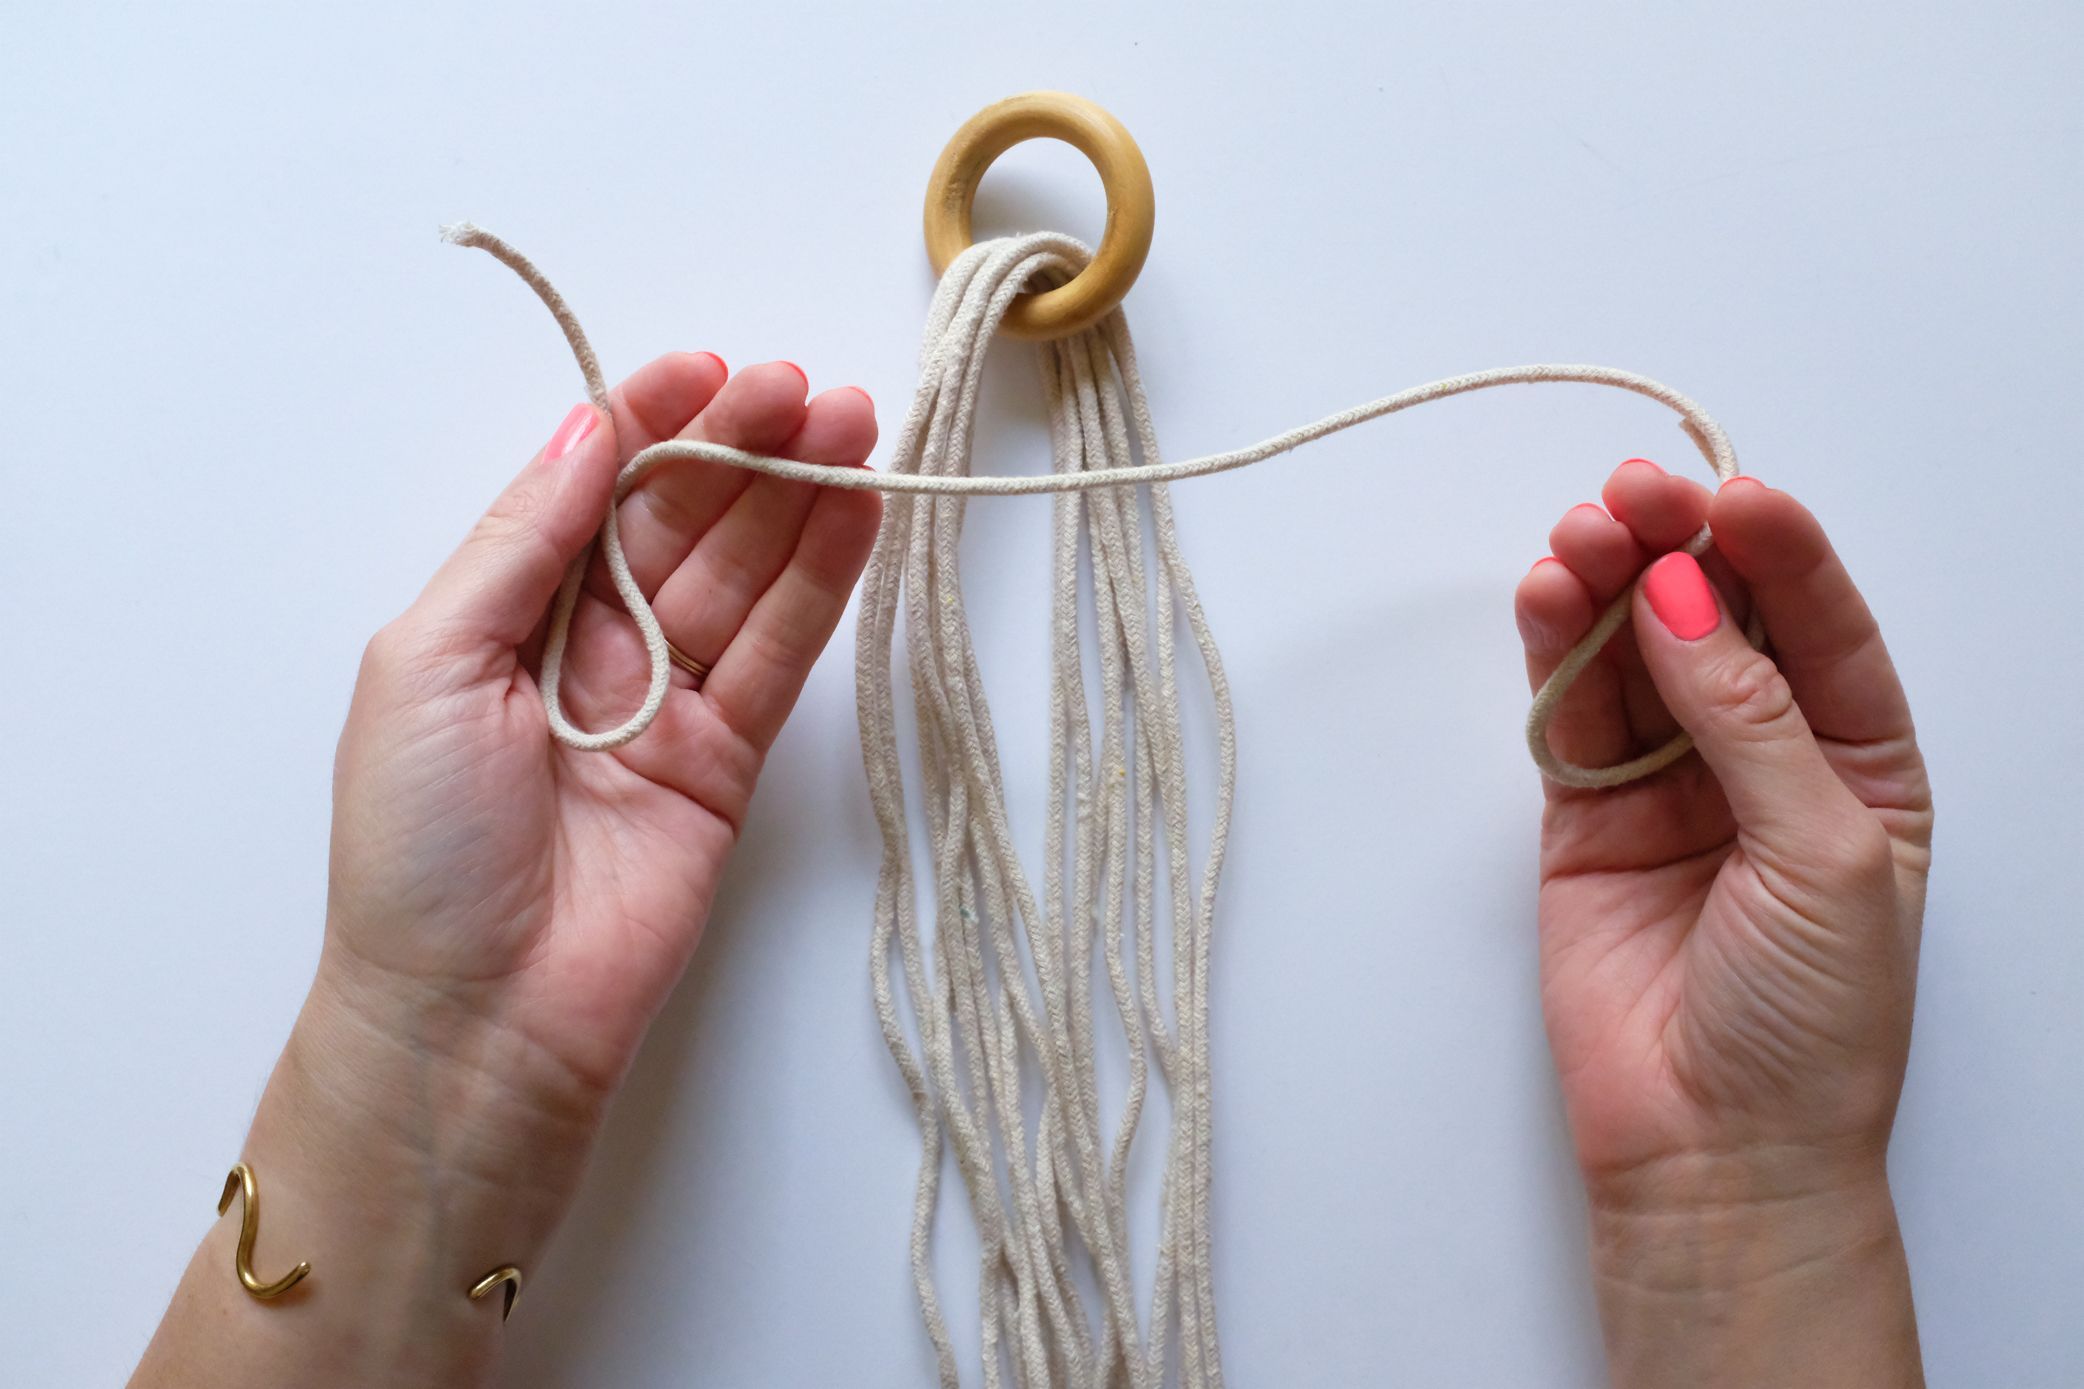
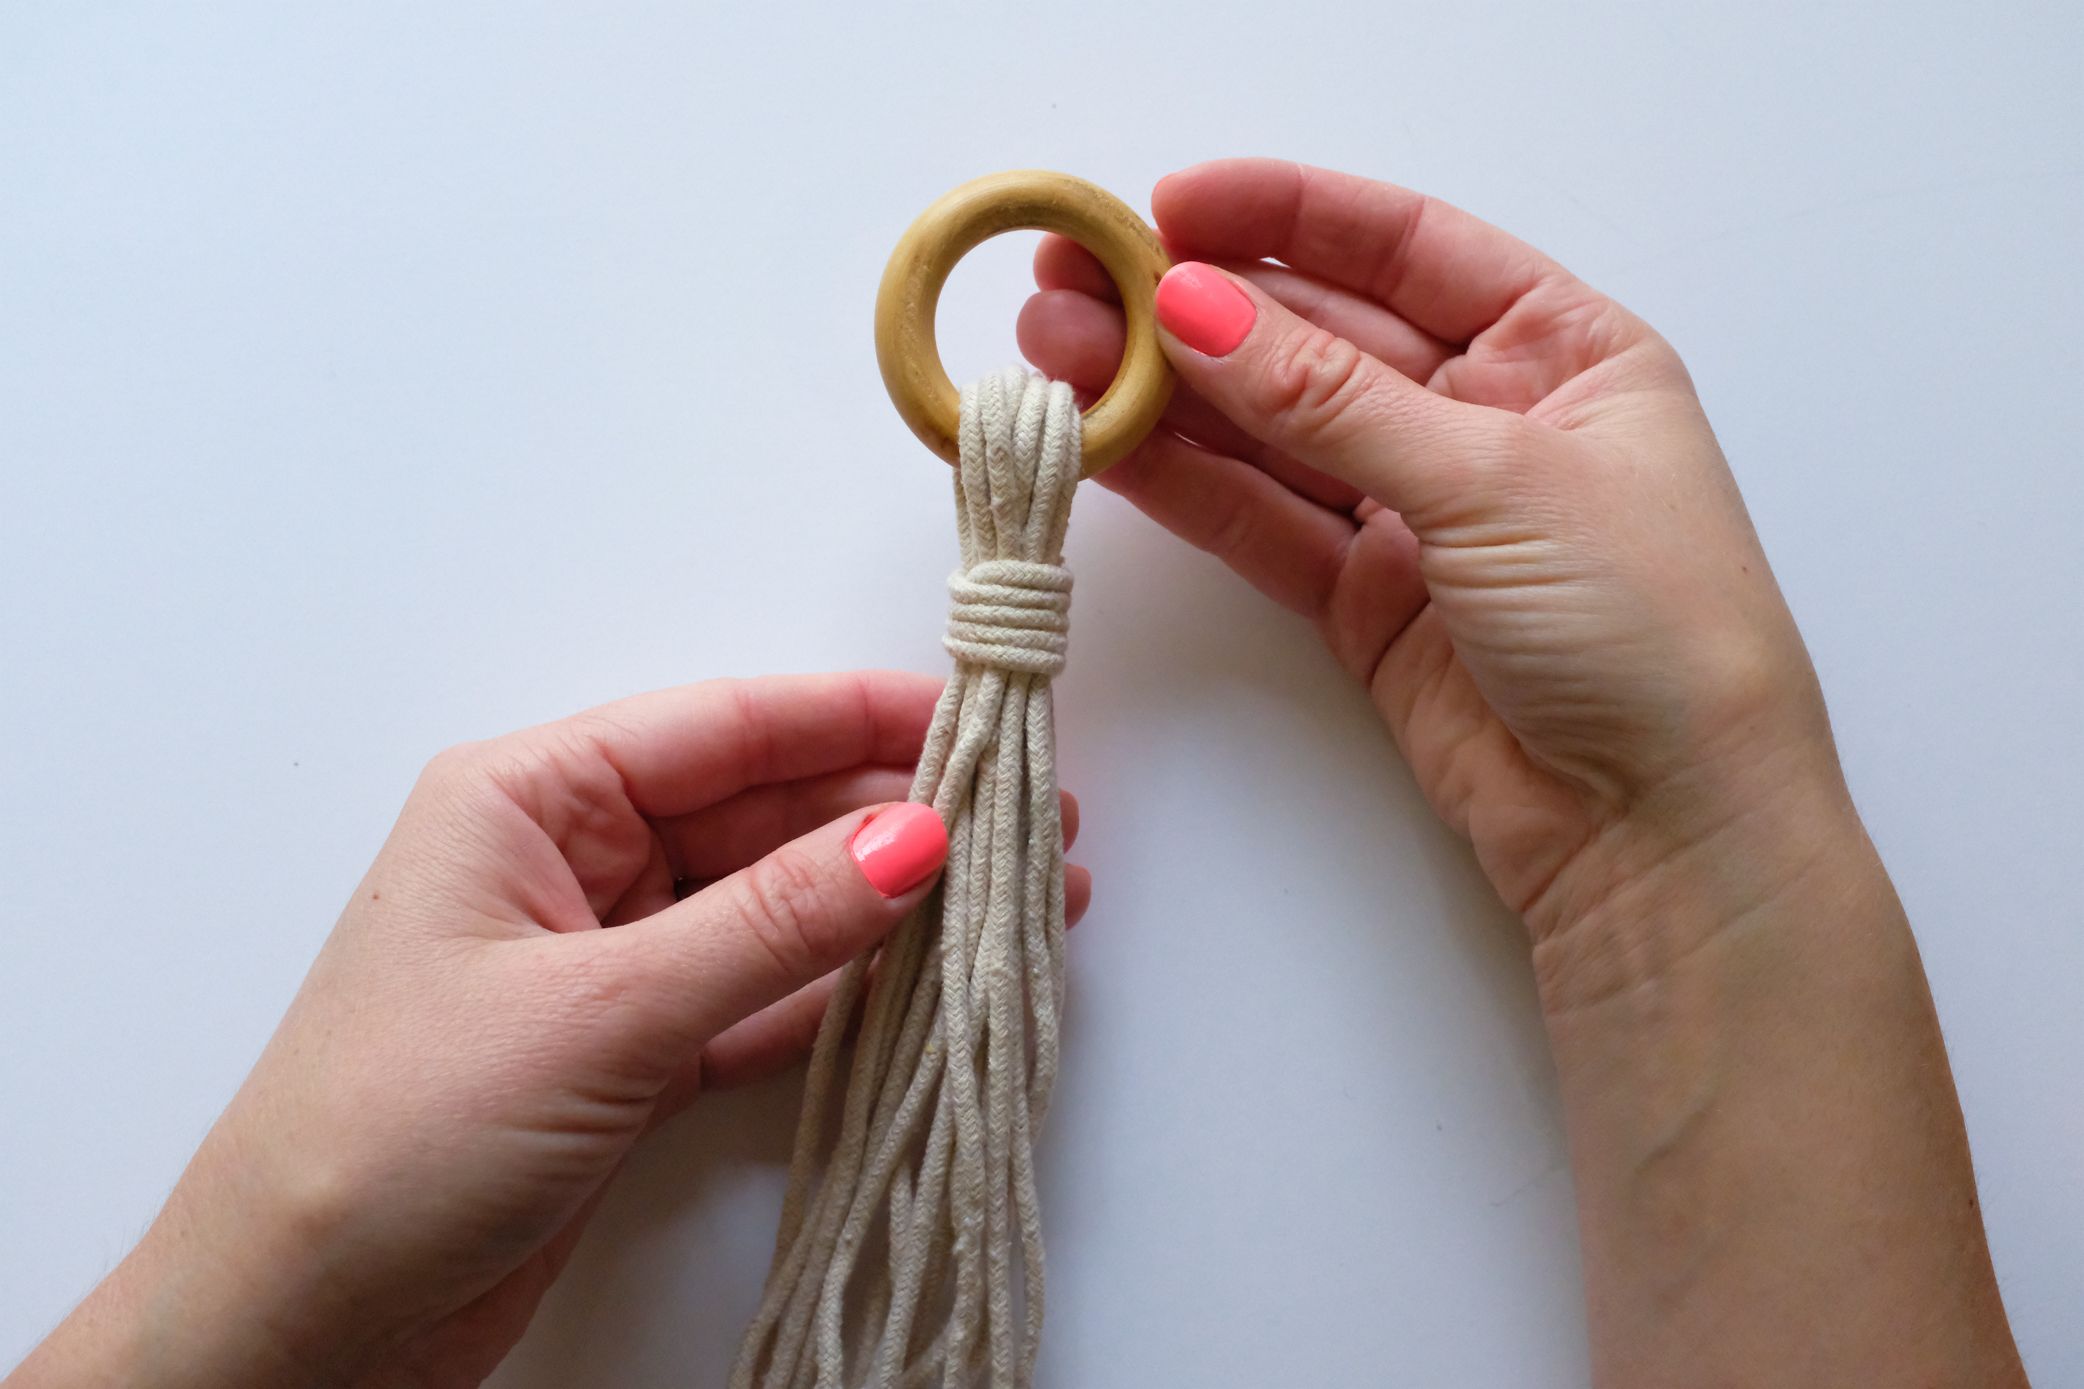
Step 1: Slide your cords through the ring
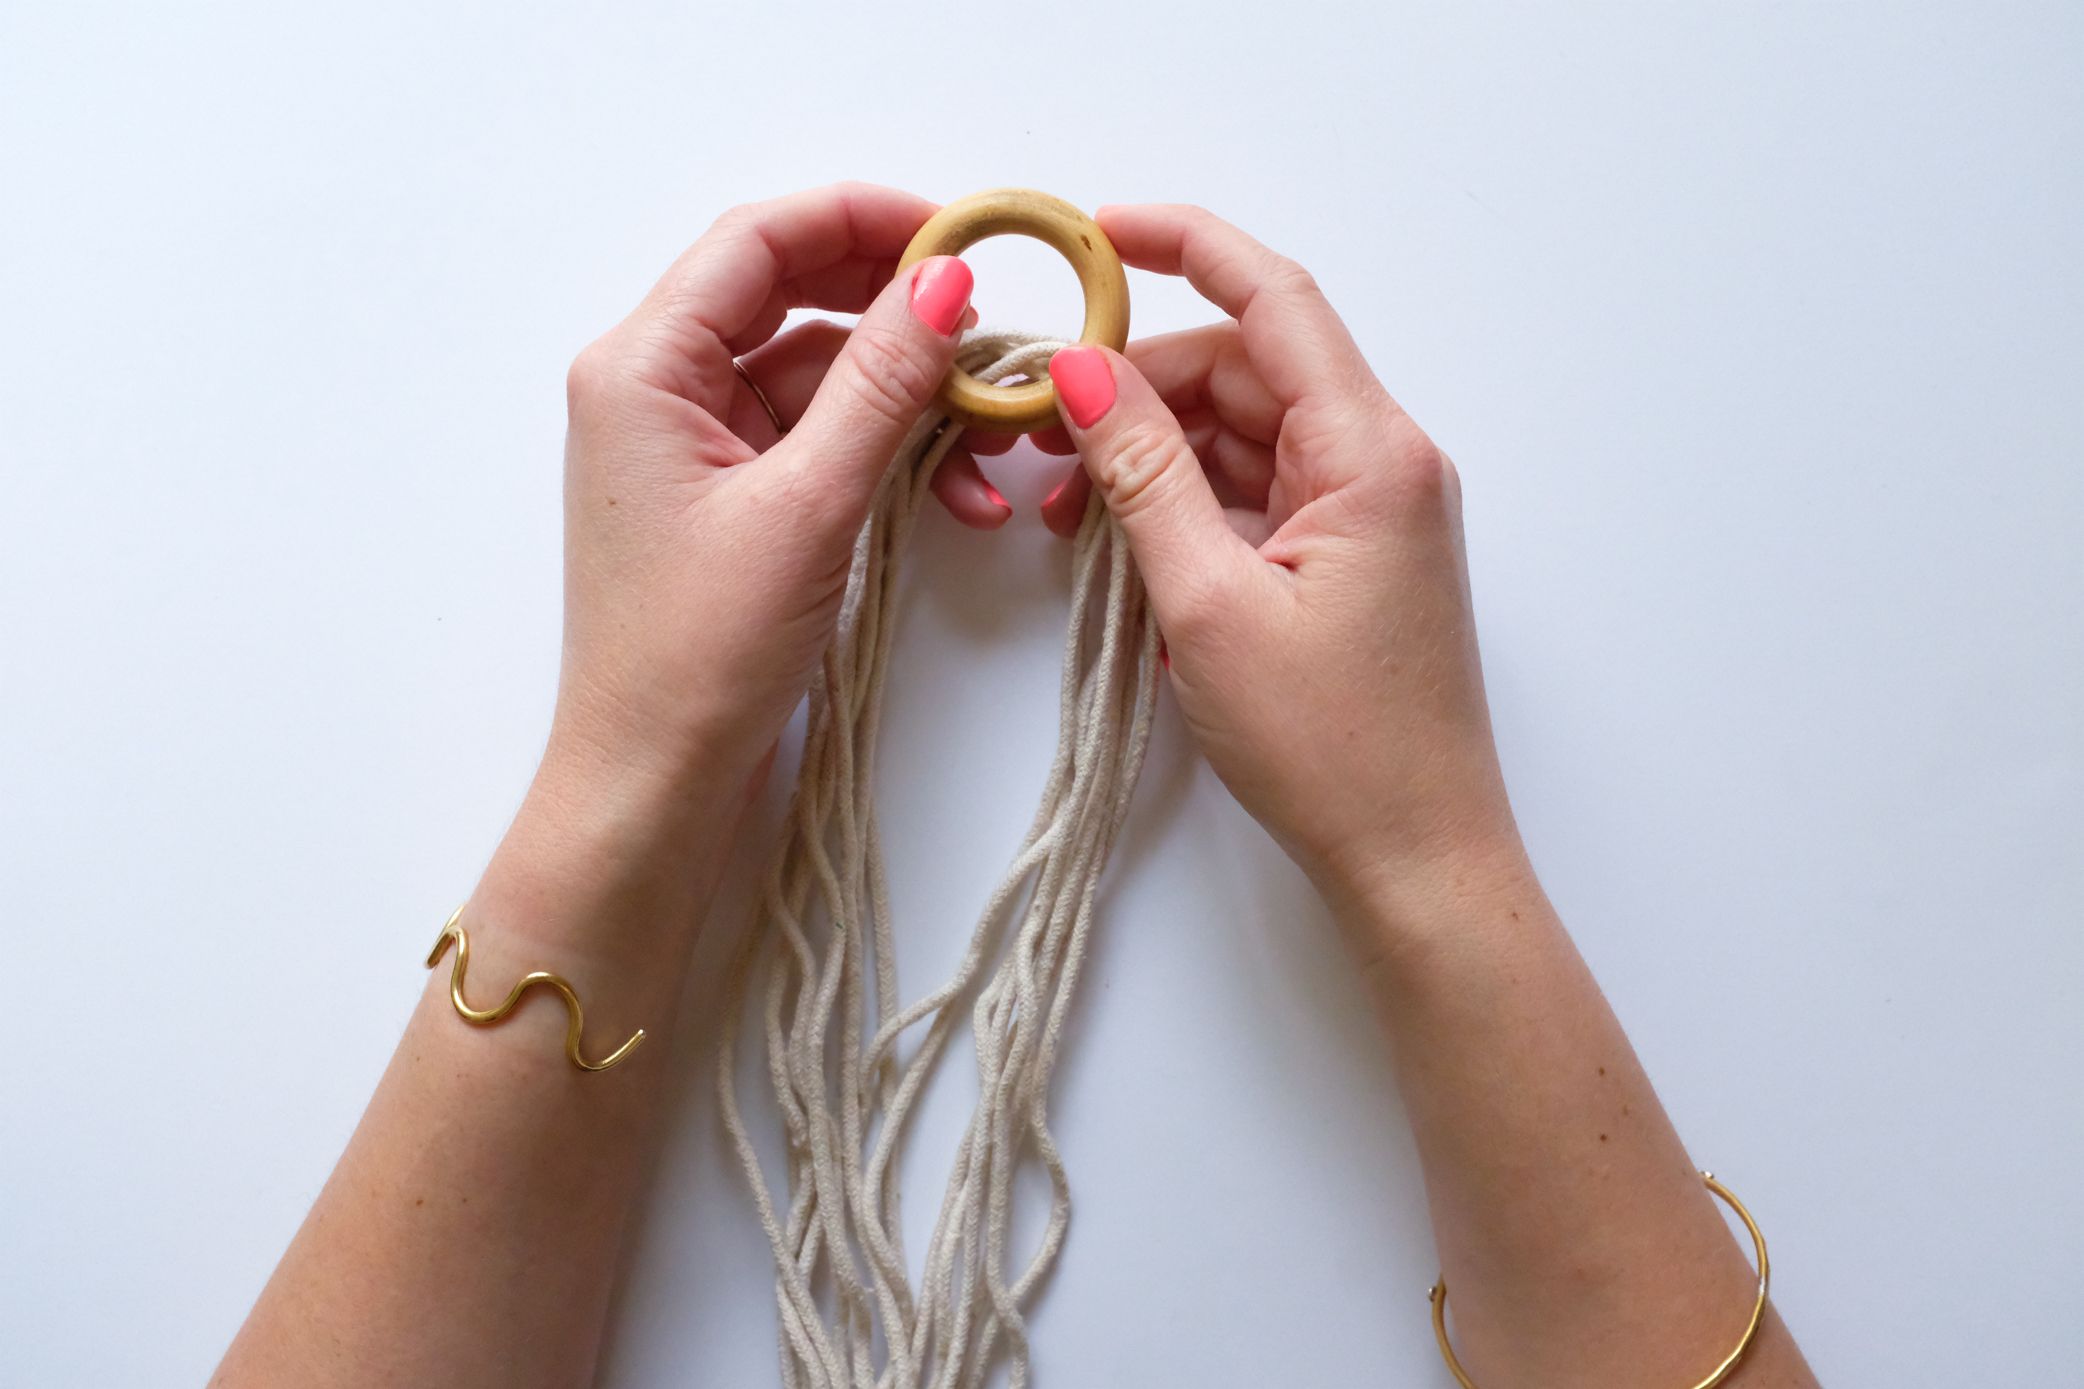
Take the eight 108 inch pieces of cord and slide them through your ring.
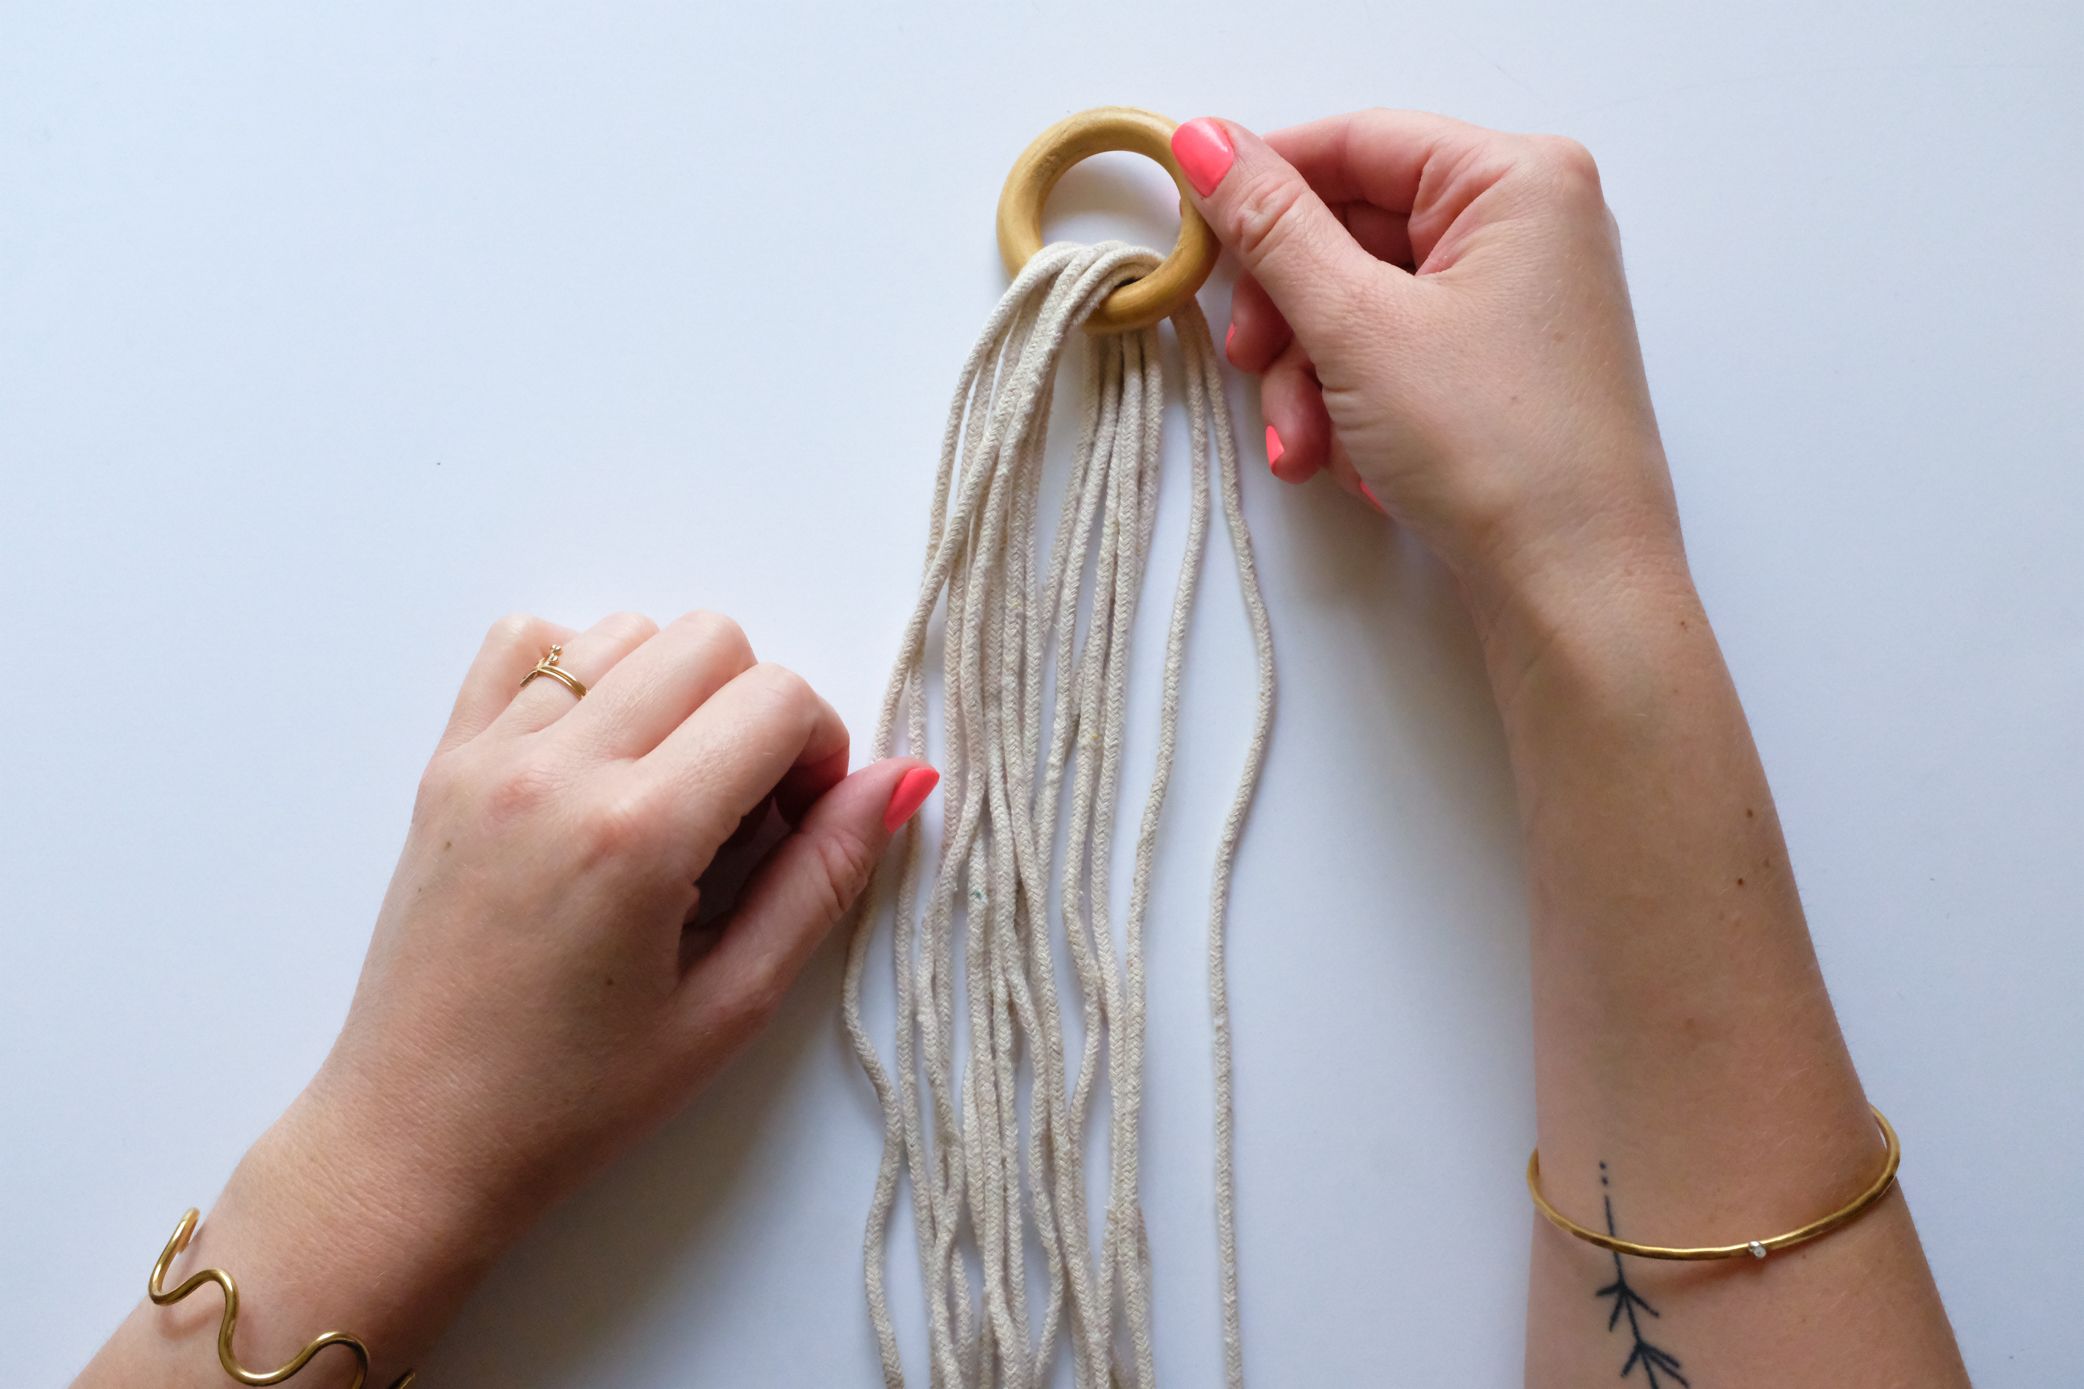
Eye the ring on the cords, making sure your ends are even.
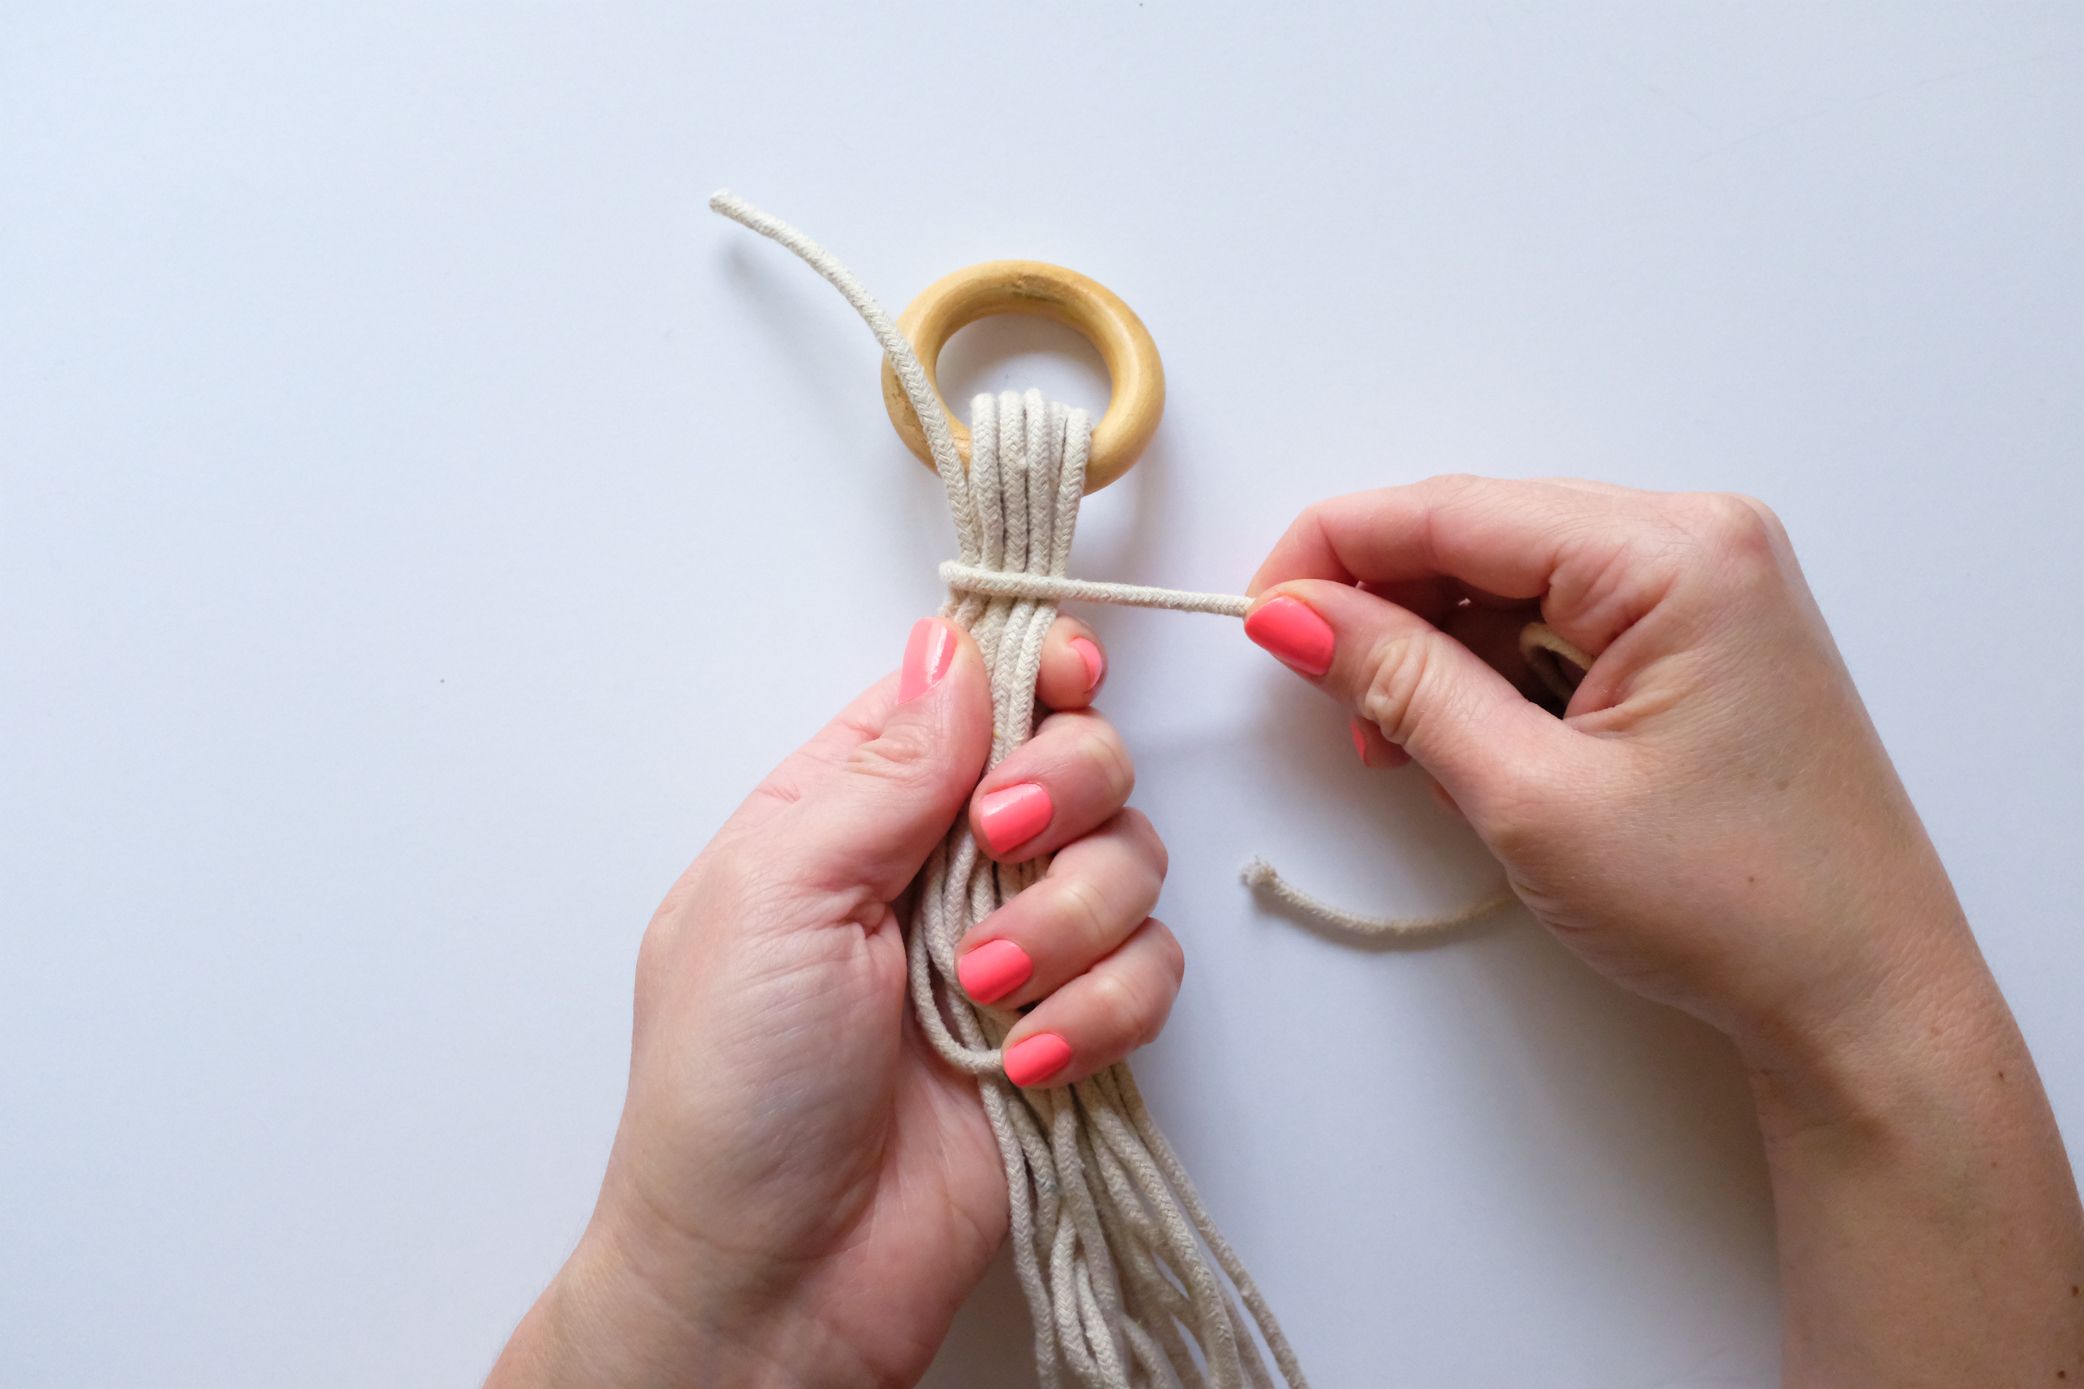
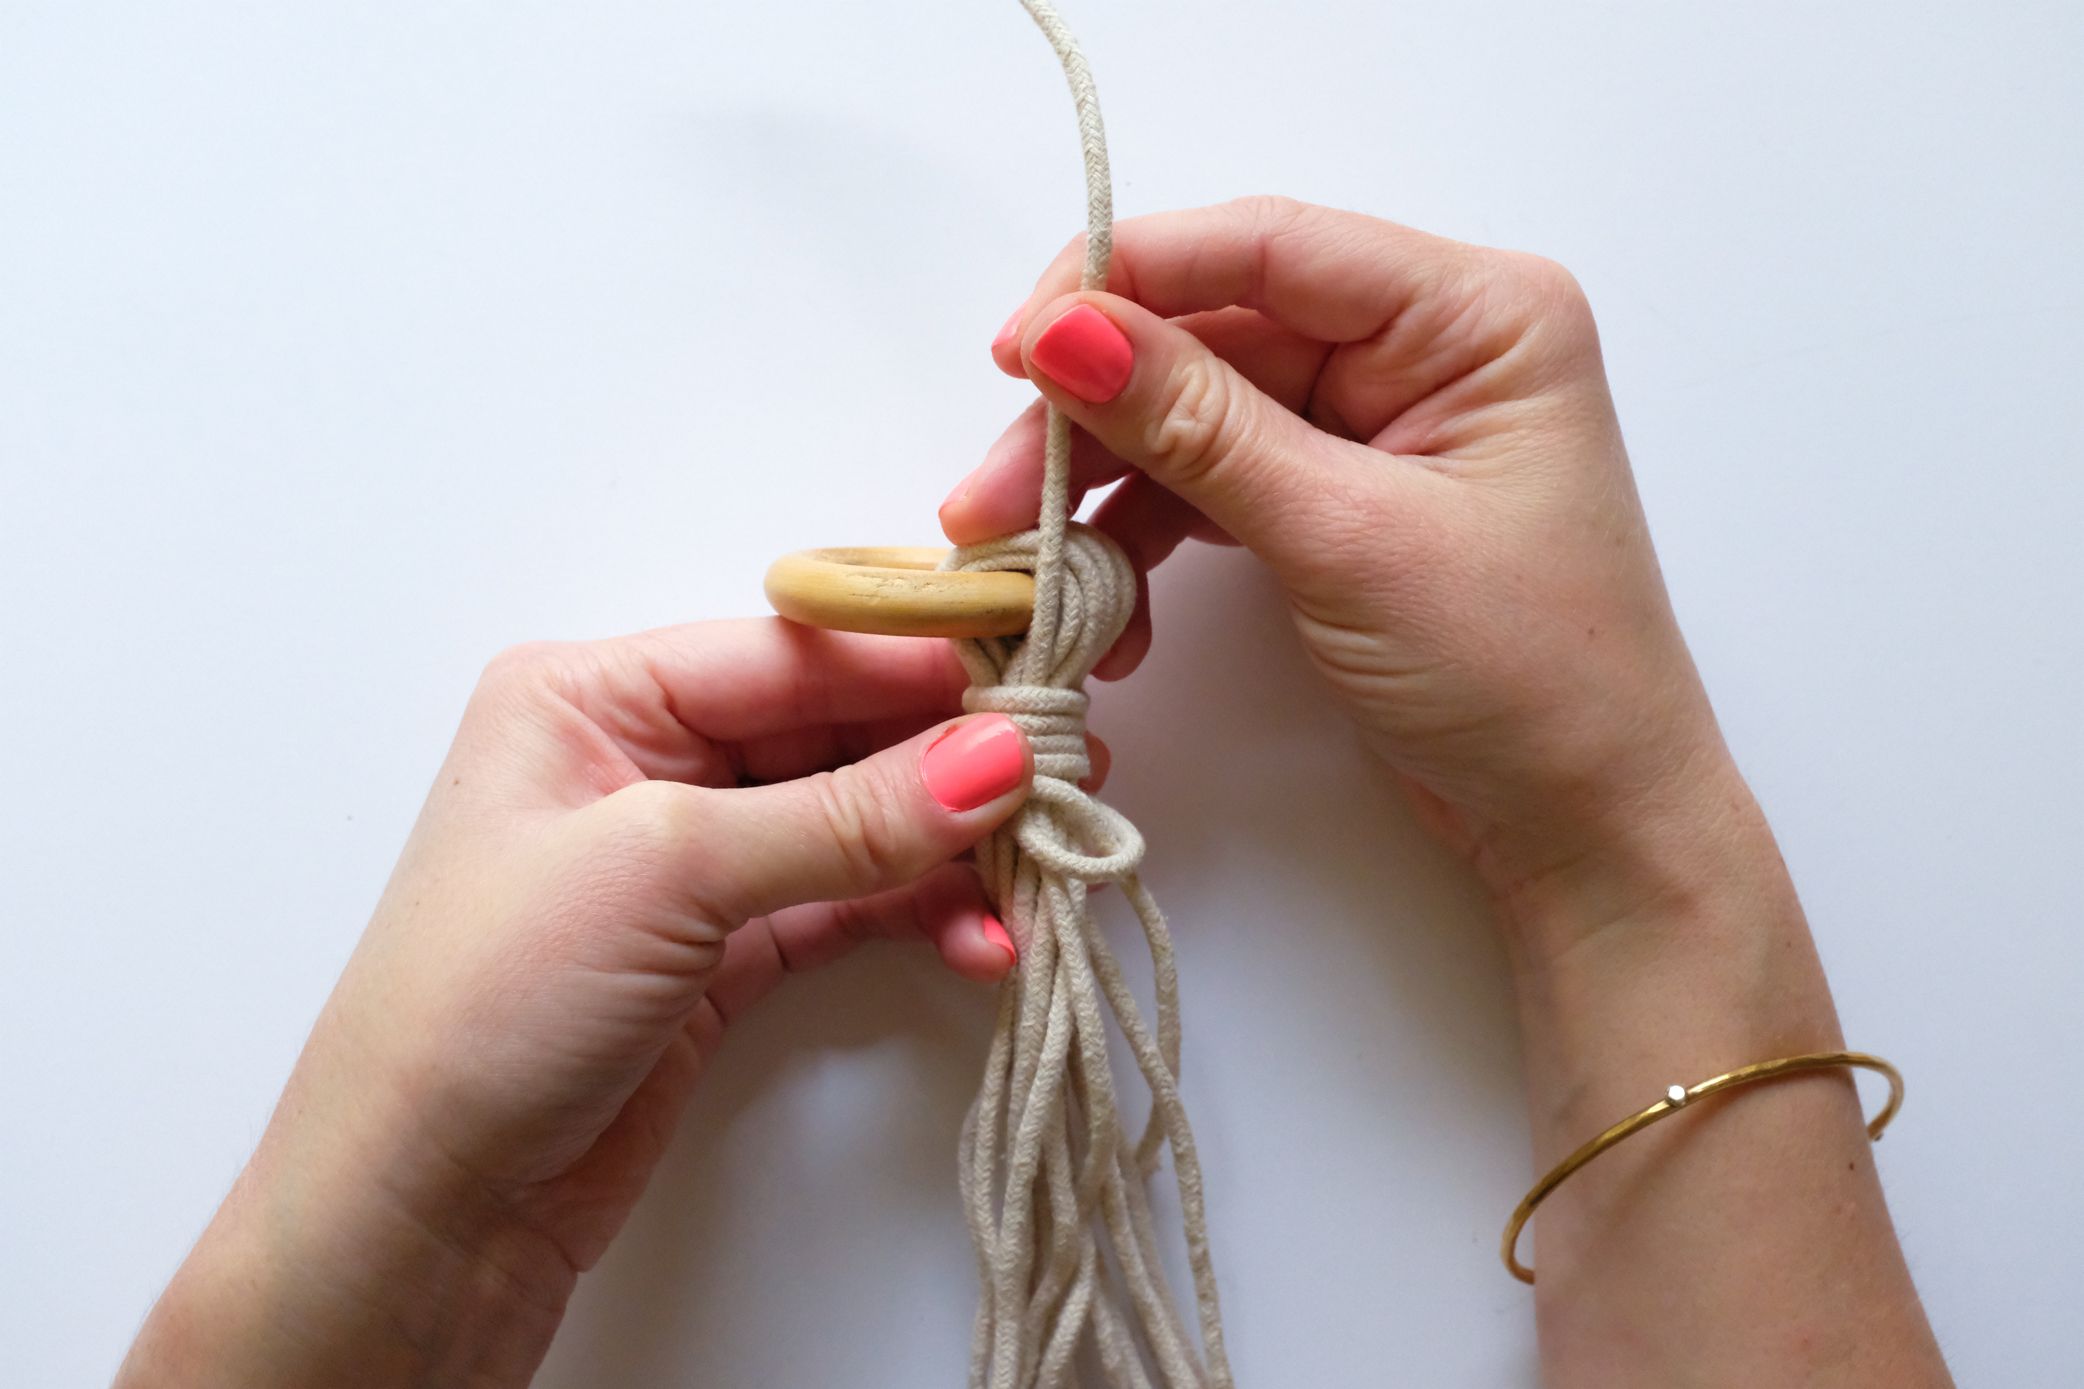
Step ii: Tie a gathering Knot
Take hold of your 36 inch piece of string.

Lay the 36 inch piece of string on superlative of your cord packet in a "V" shape.

Position the 36 inch piece of cord and then the left side of the V is shorter than the correct side.
Belongings the bottom of the V shape, wrap the bundle with the longer slice of cord.
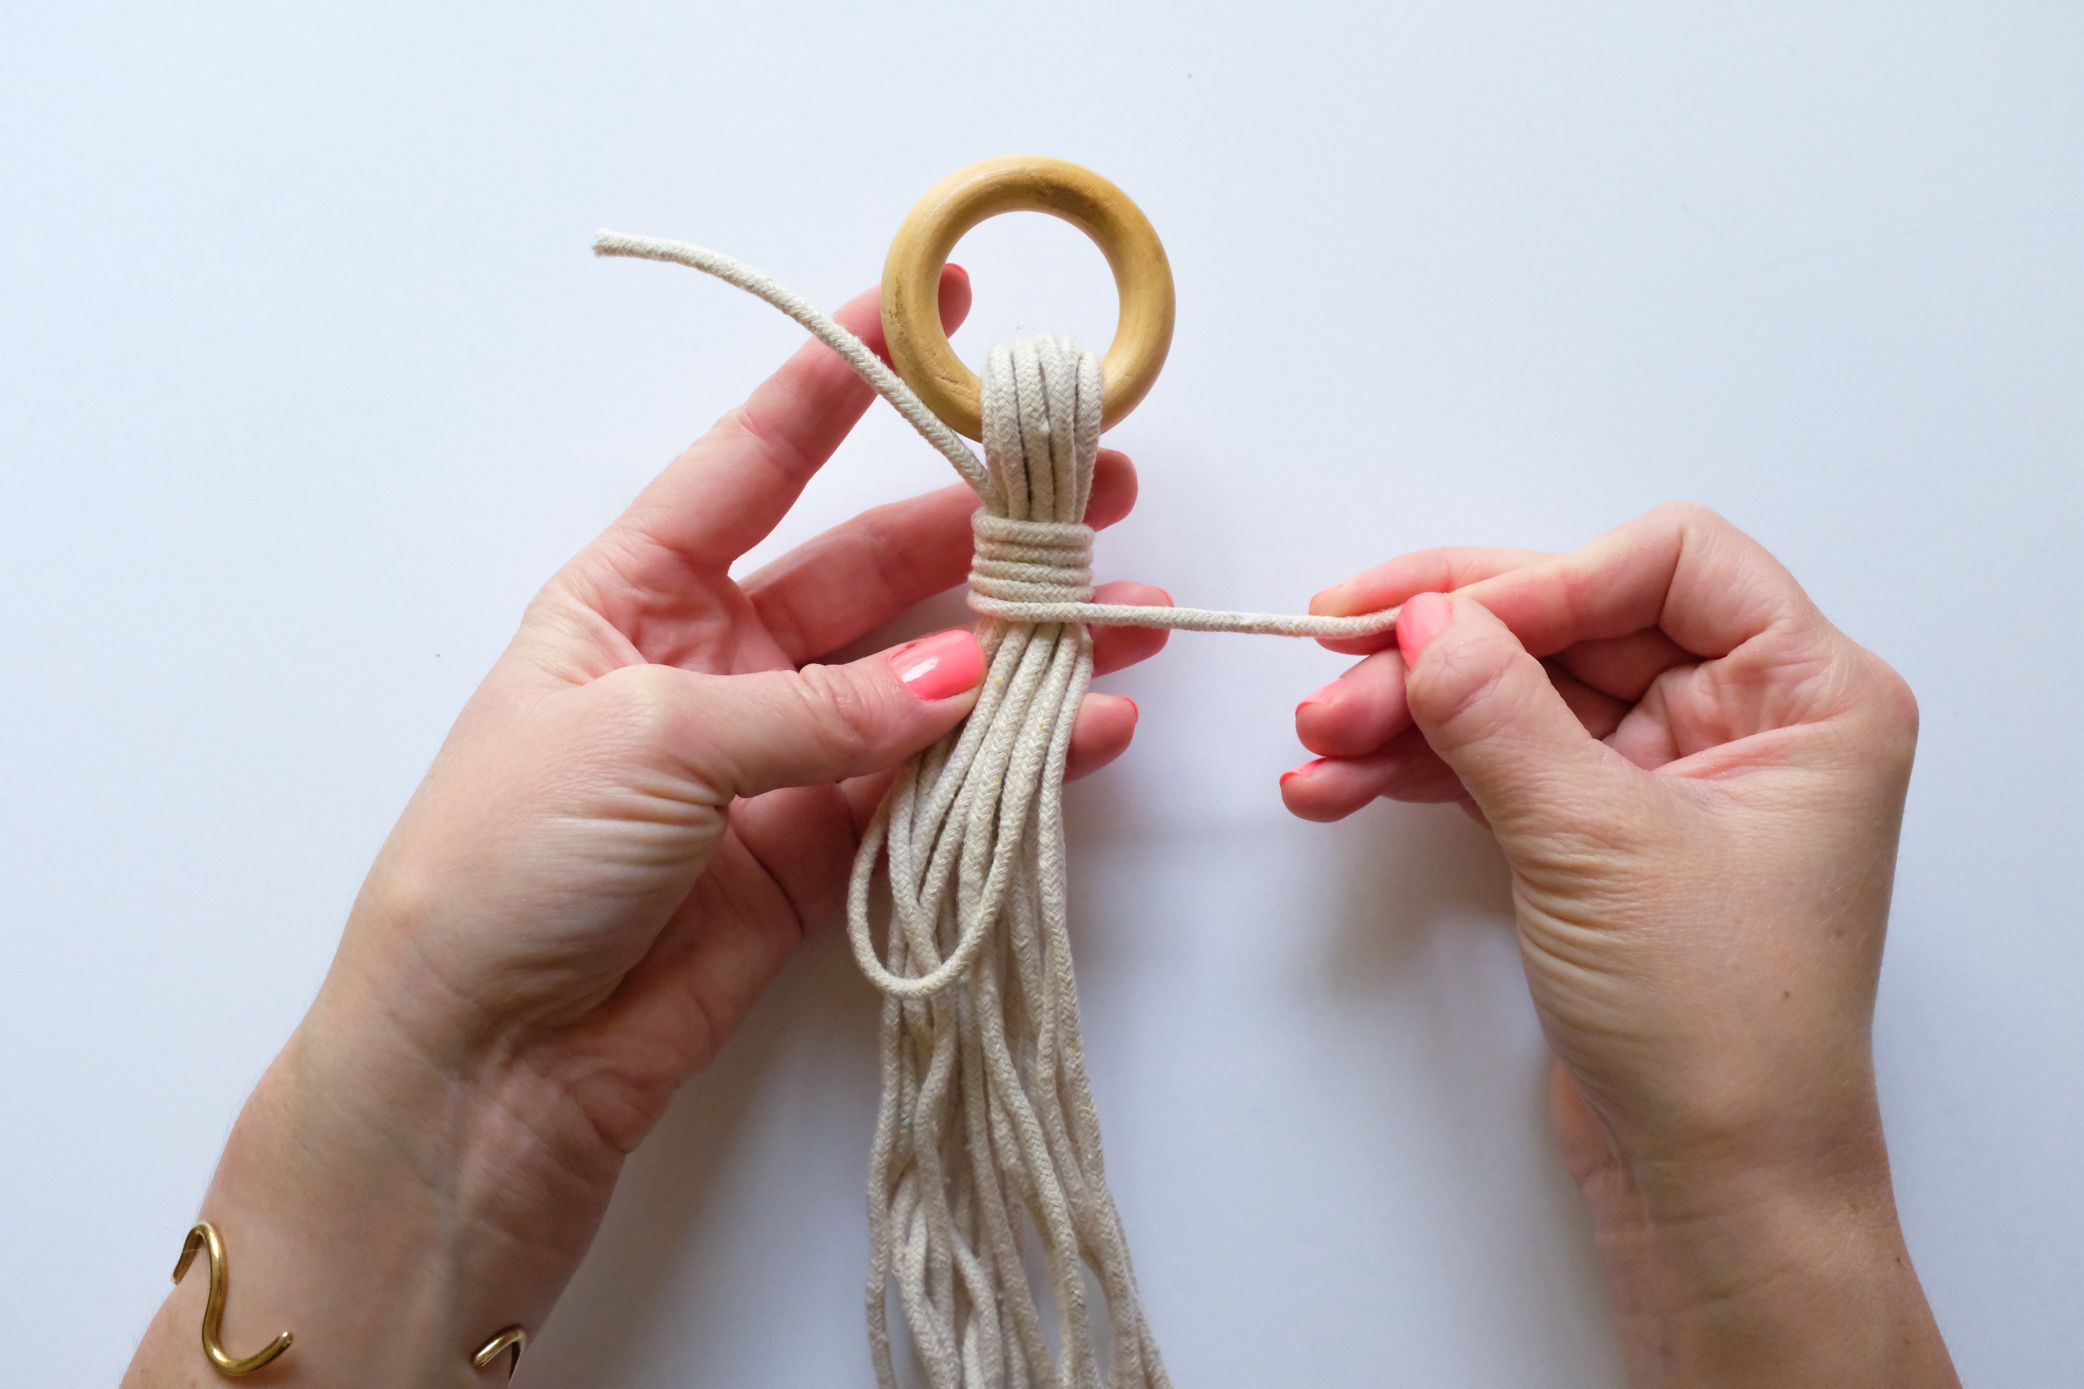
Go along wrapping from the top down, positing each ringlet neatly underneath the last.
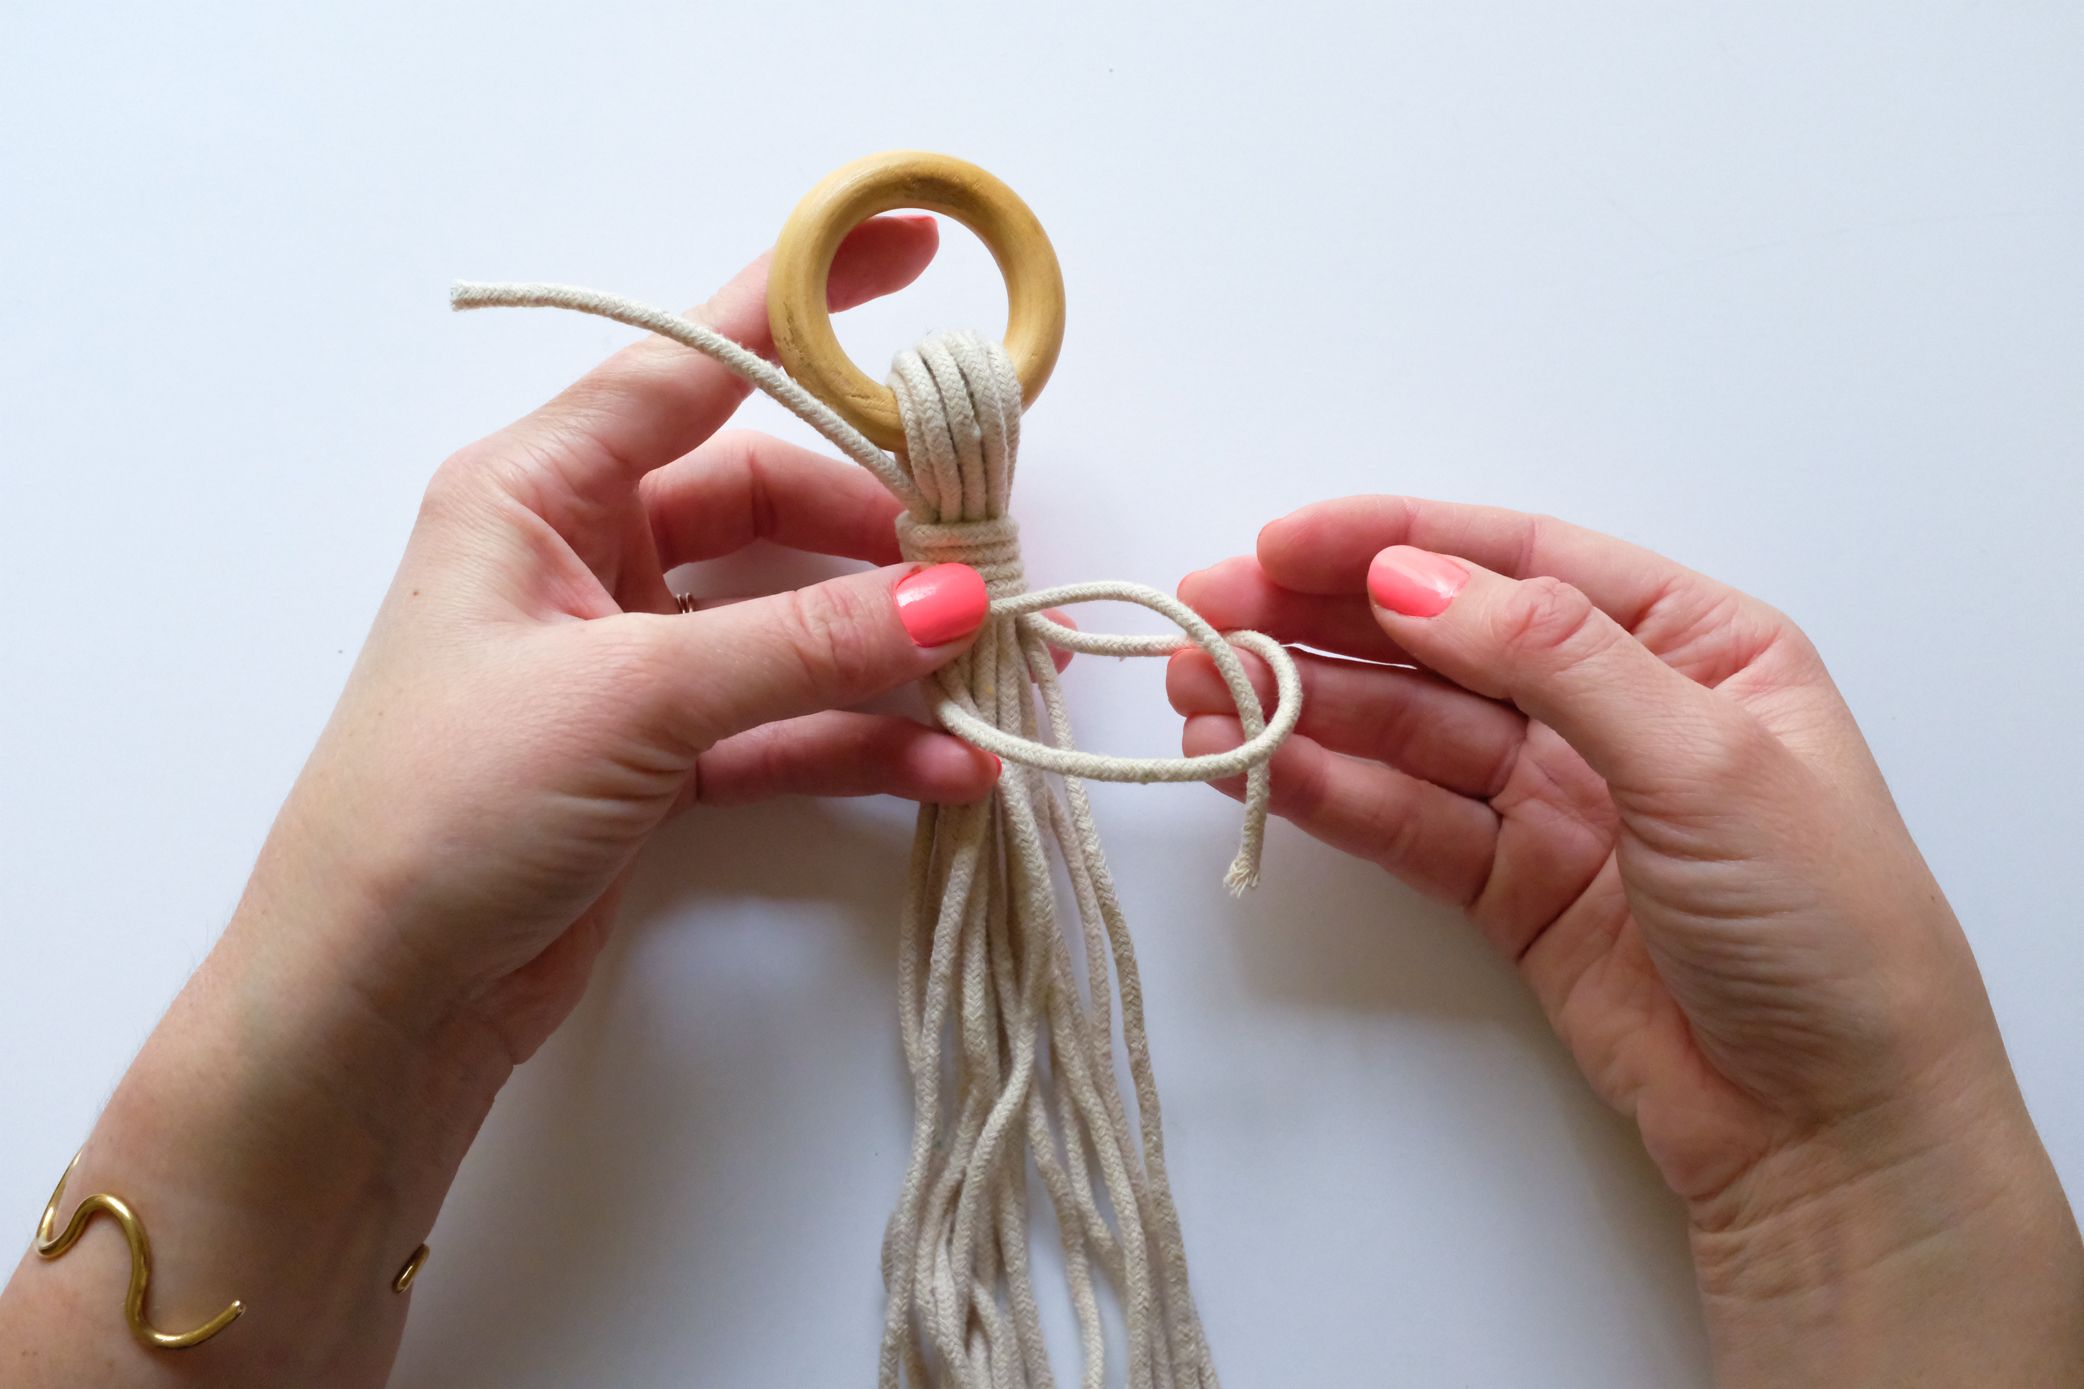
Once you are satisfied with the length of your gathering knot, slide the wrapping string into the loop.
Pull the short finish of your original Five shape up.
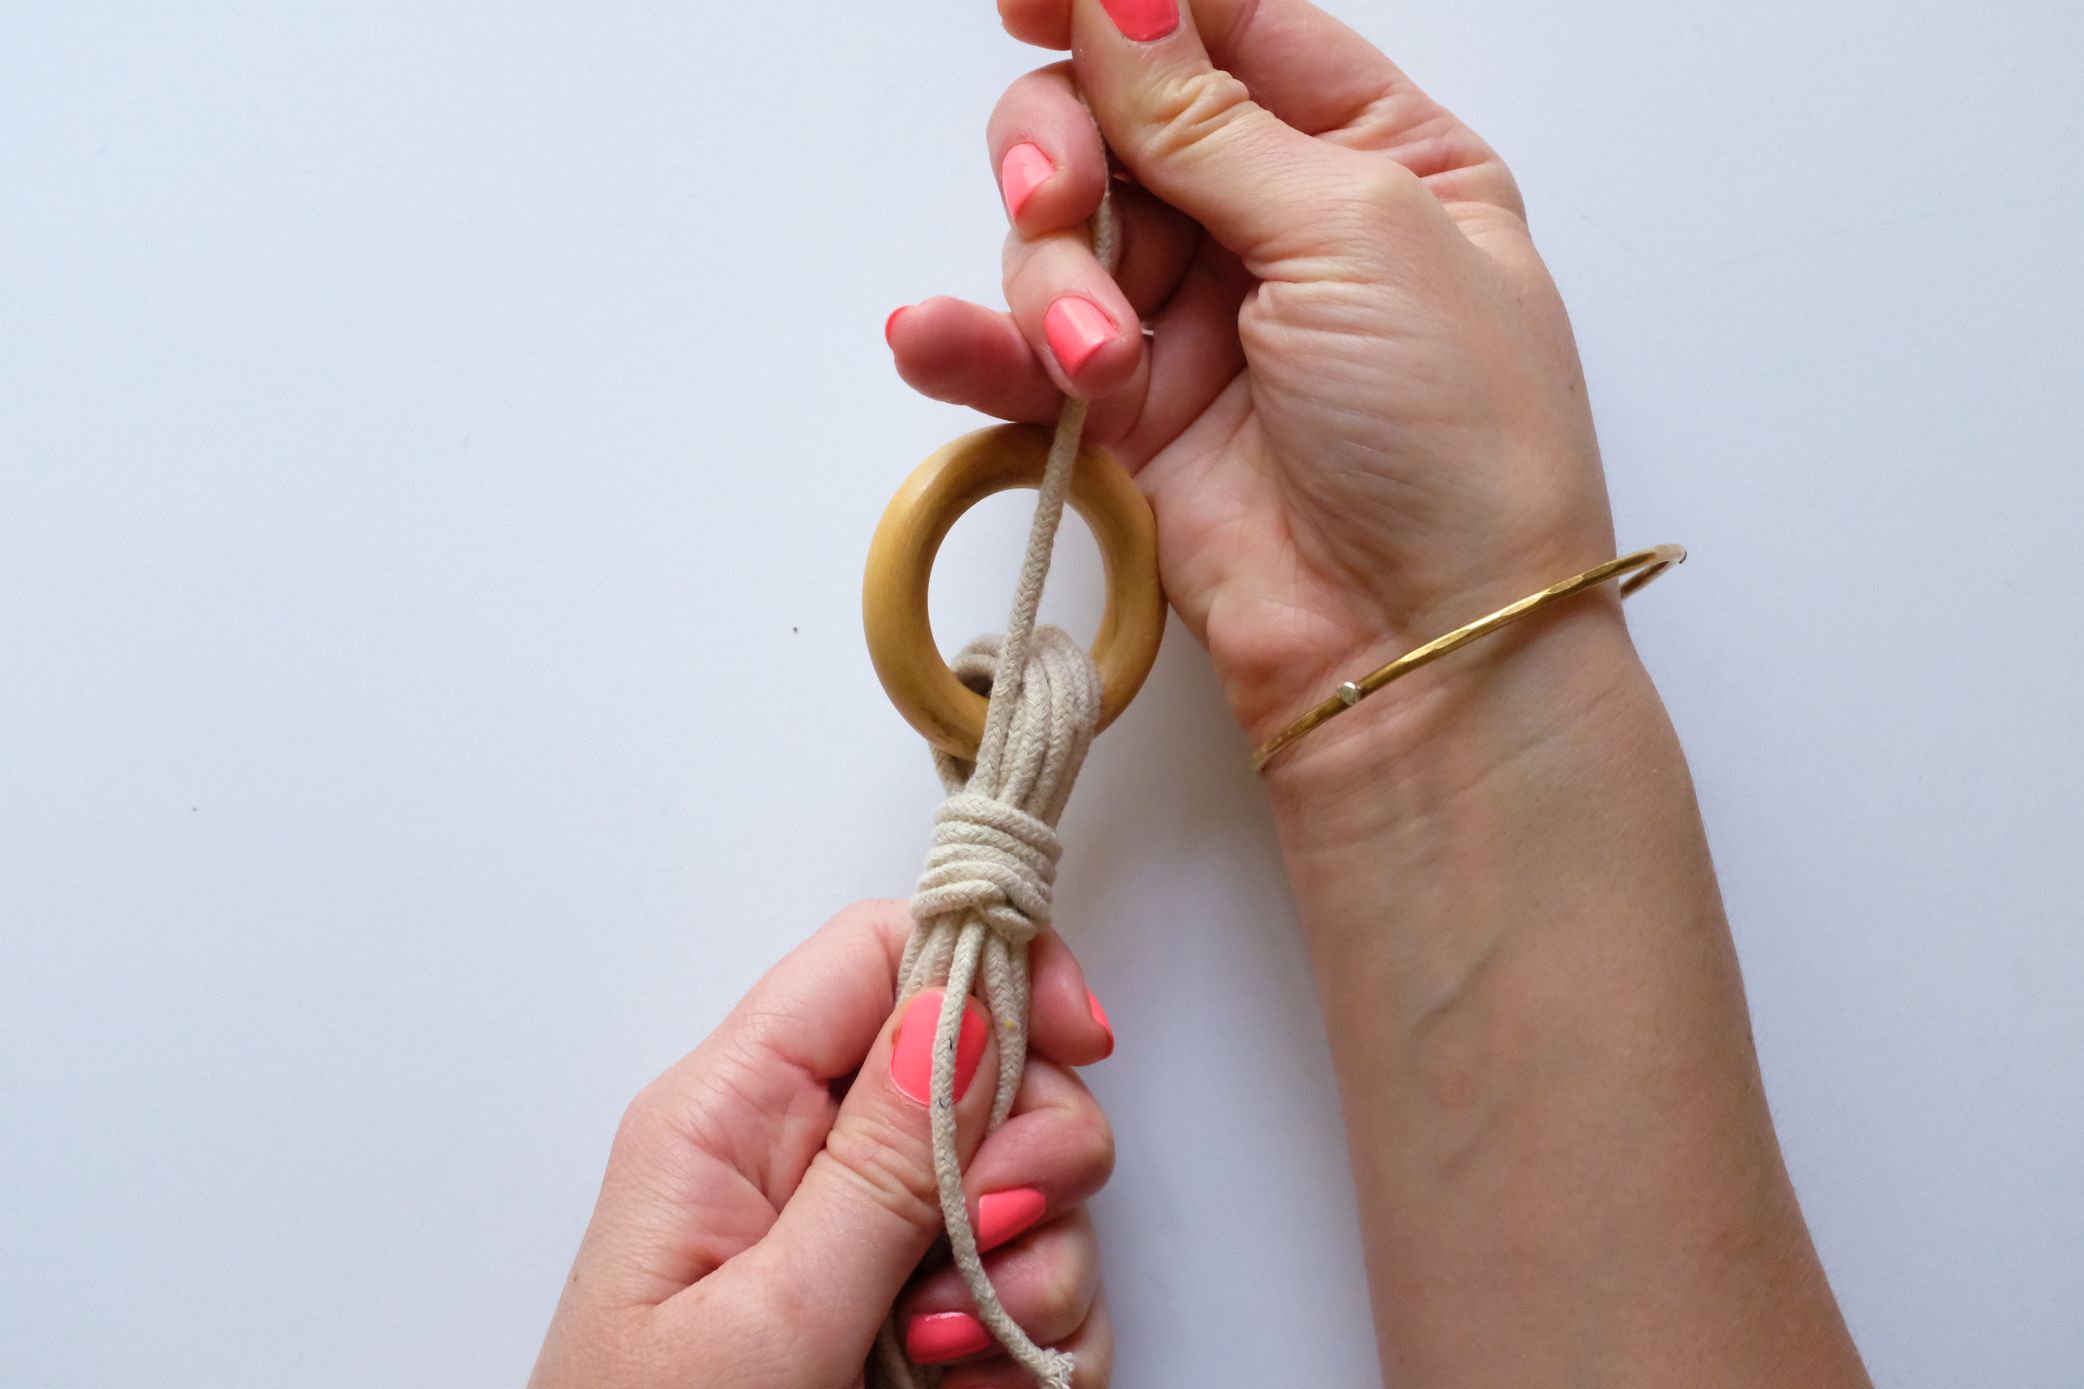
Sentry as your loose terminate is secured inside the coils of your knot
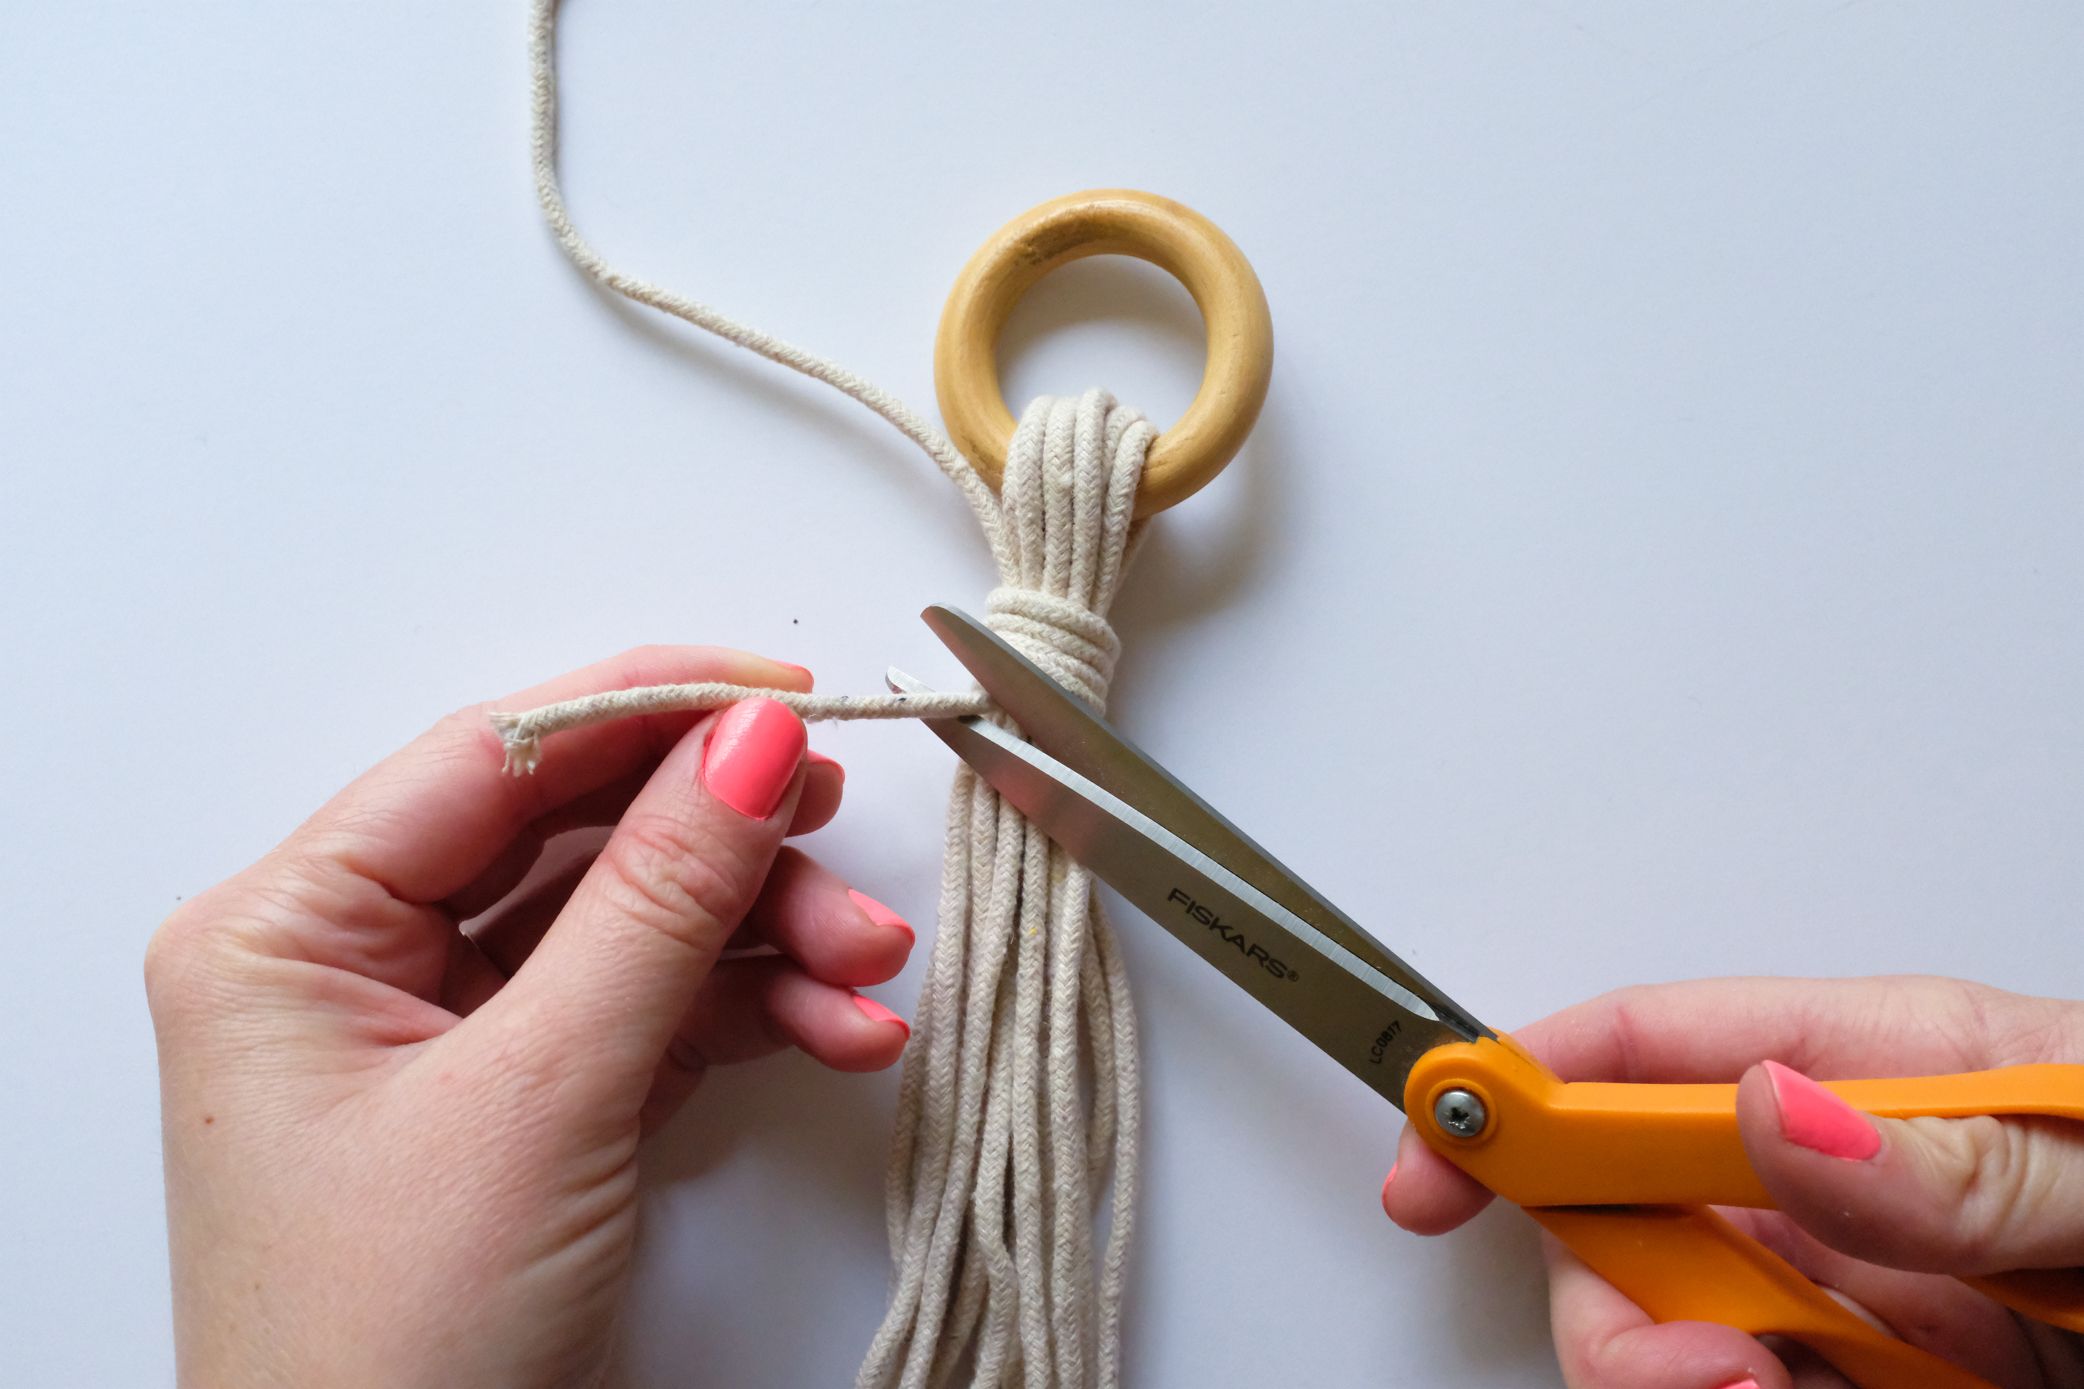
Trim your excess cords.
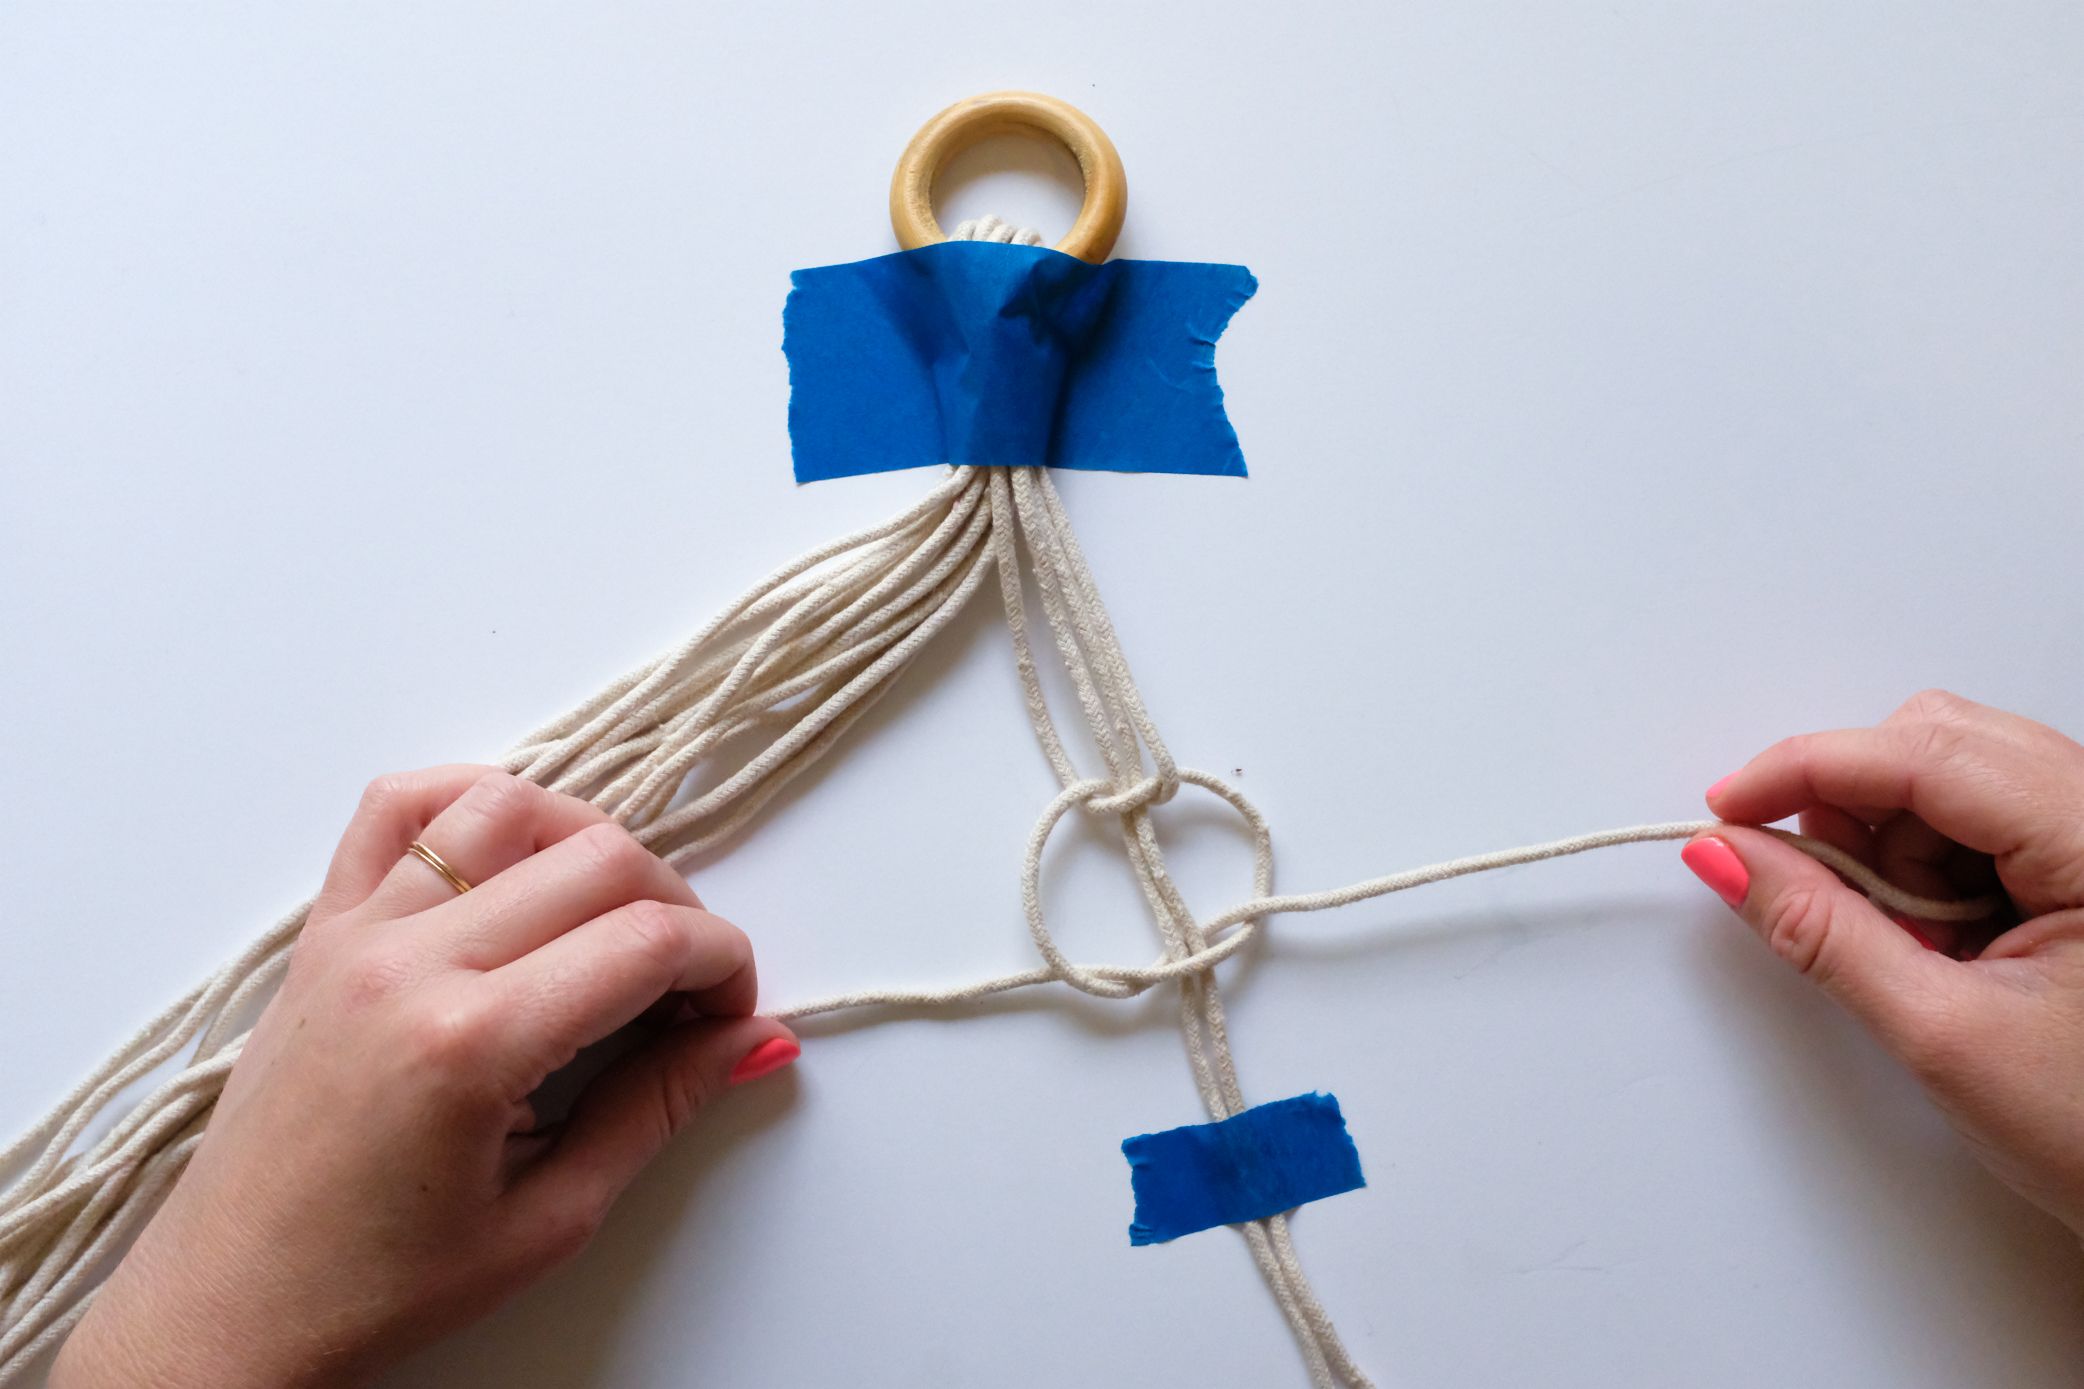
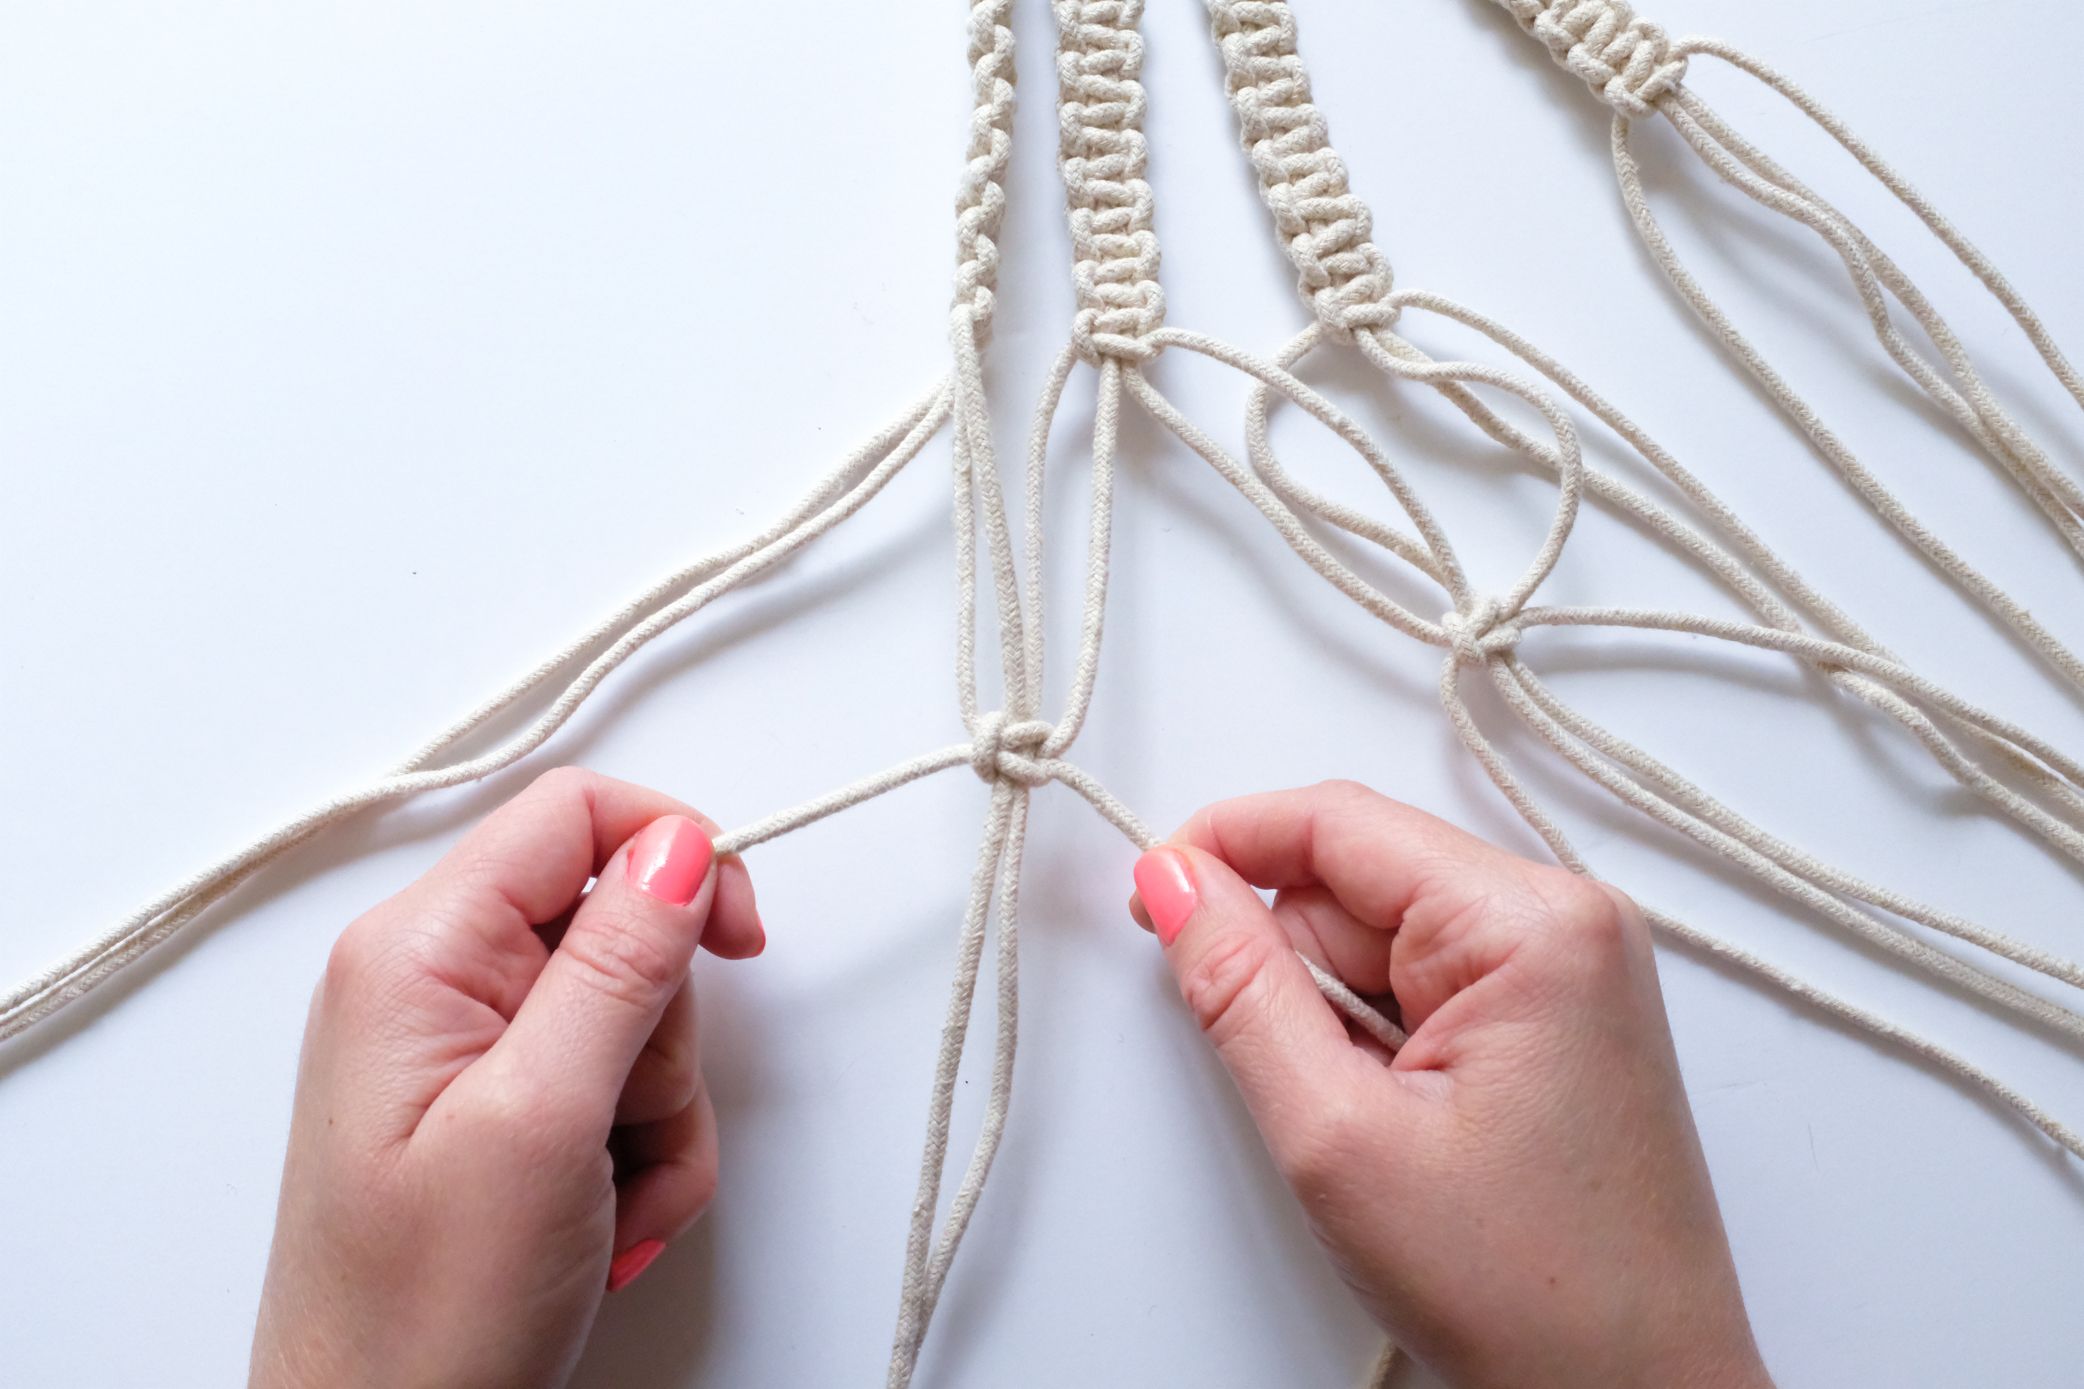
Step 2: Square Knot
You are now prepare to outset knotting your cords!
The square knot is one of the most basic knots of macrame. It creates a lovely box-shaped knot.

Dissever 4 cords away from the residue of the grouping.
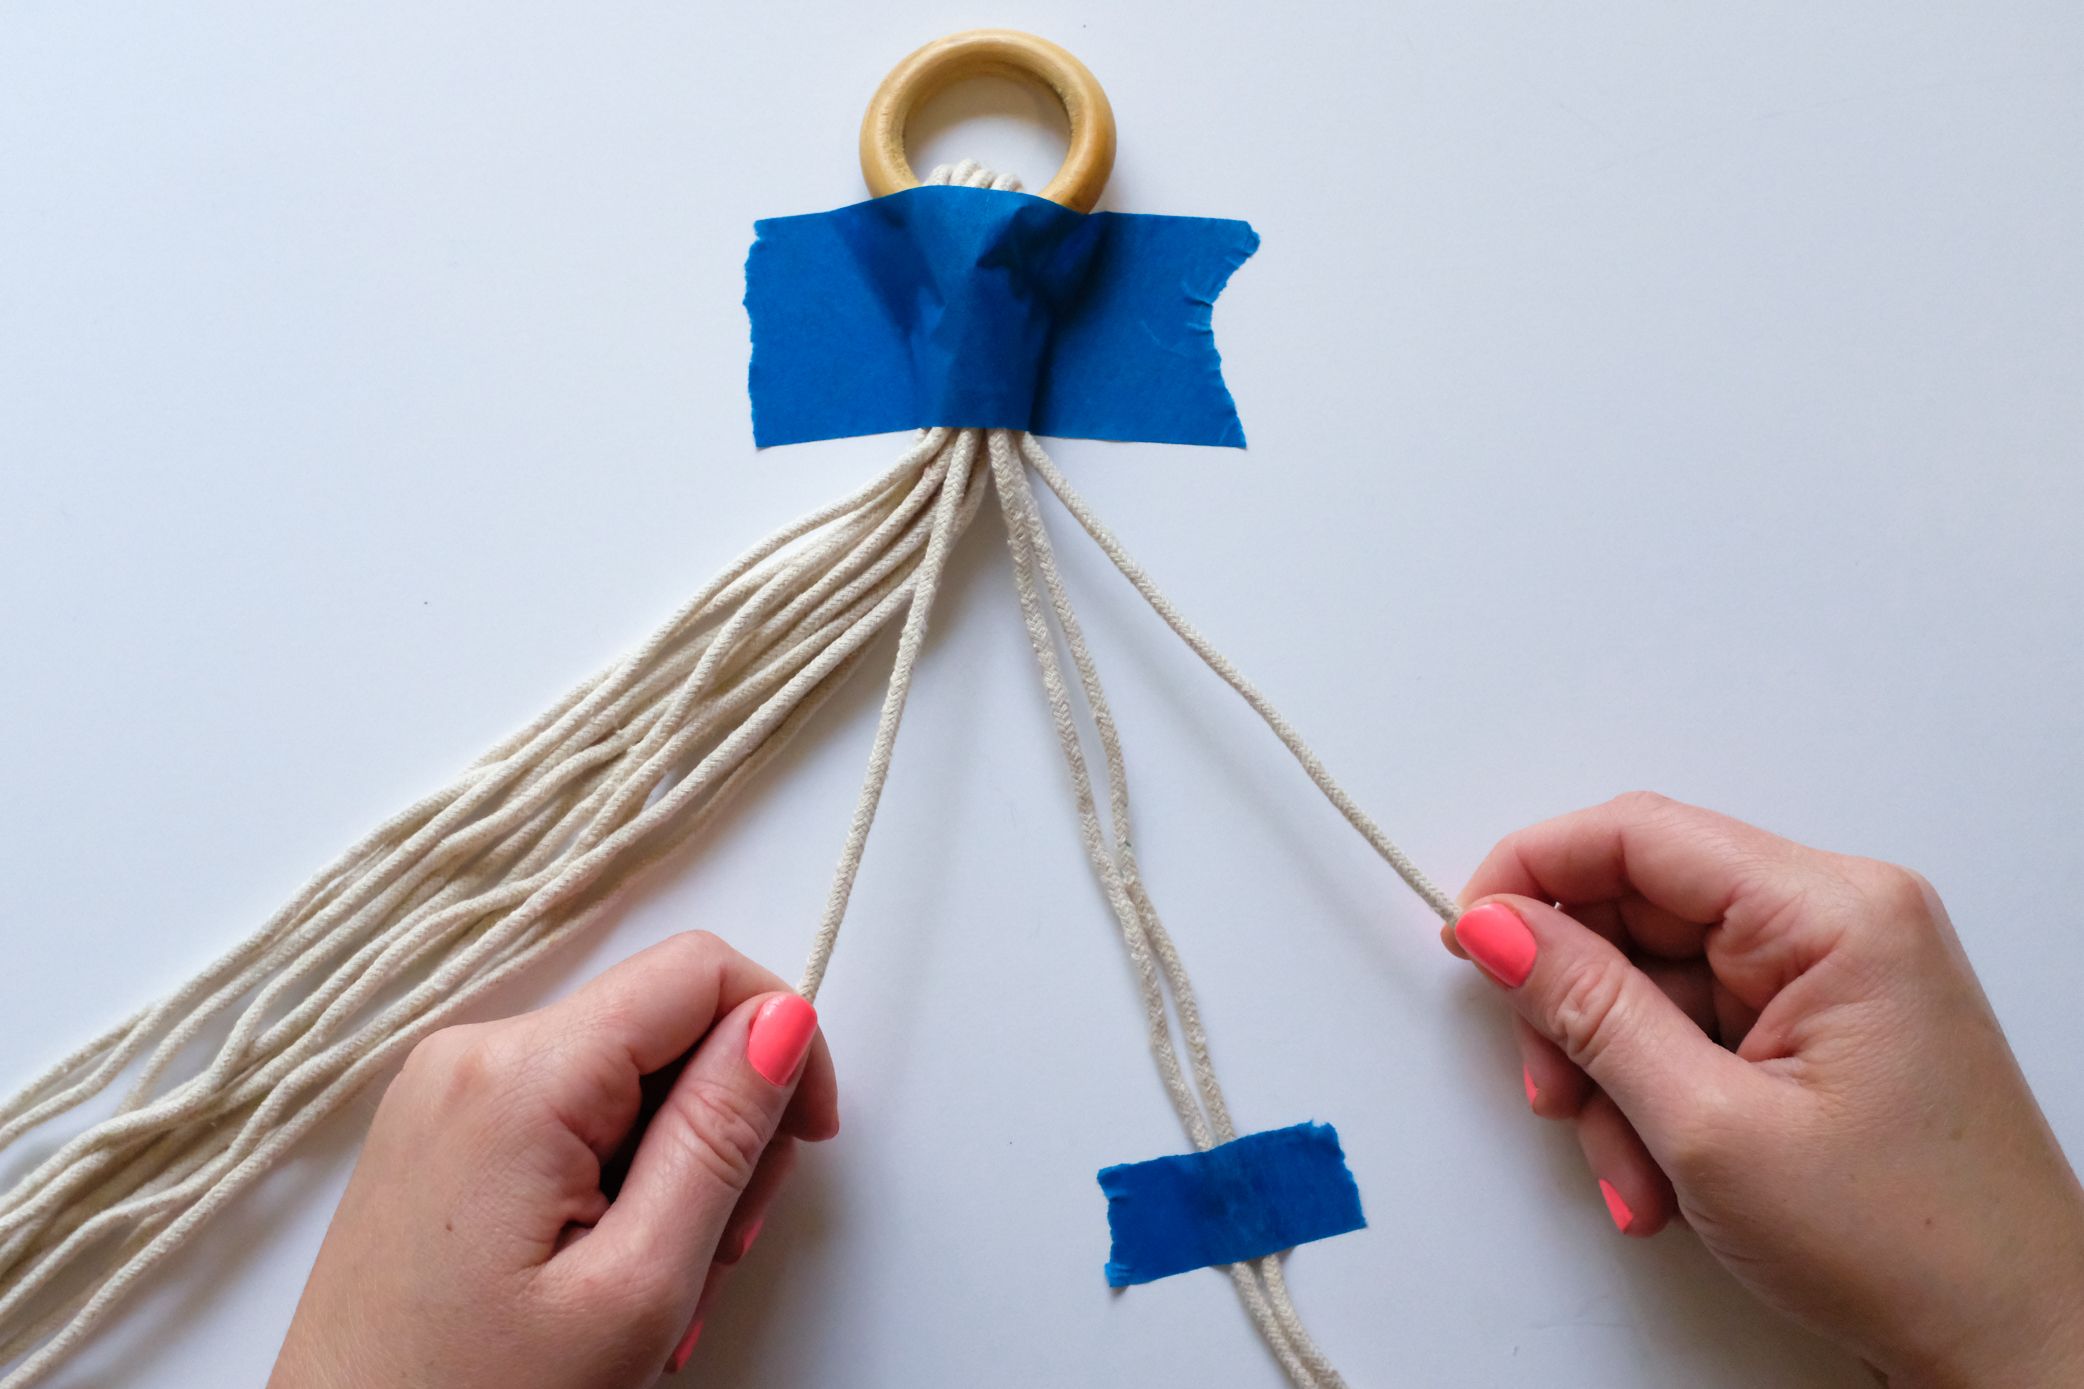
Separate the cords so two are in the middle (your anchors) and one cord is on each side (your knotting cords).
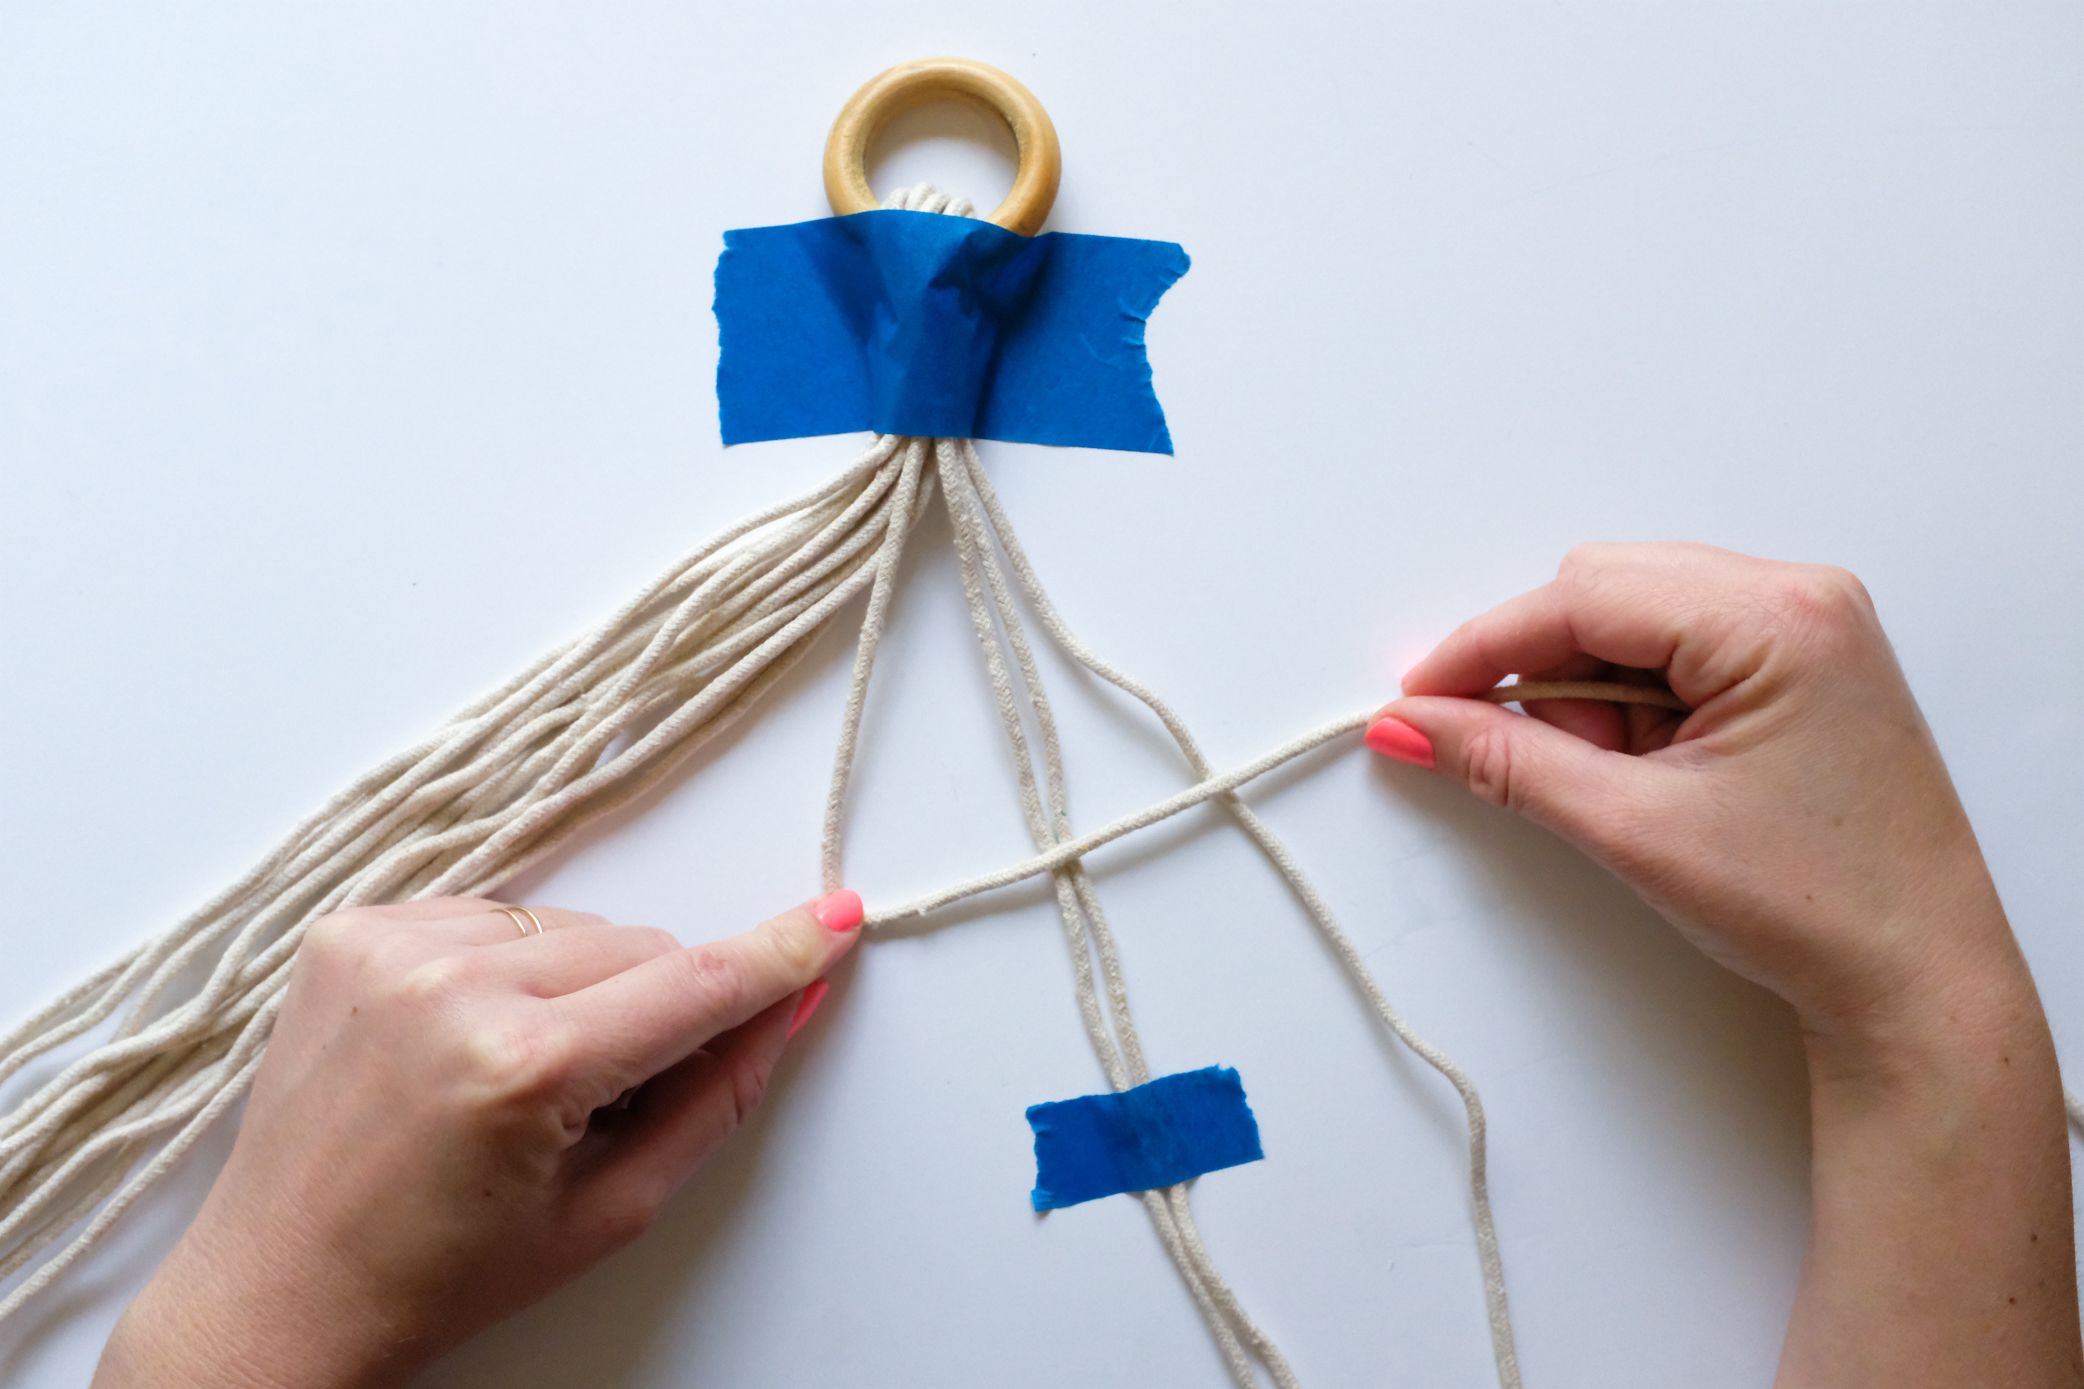
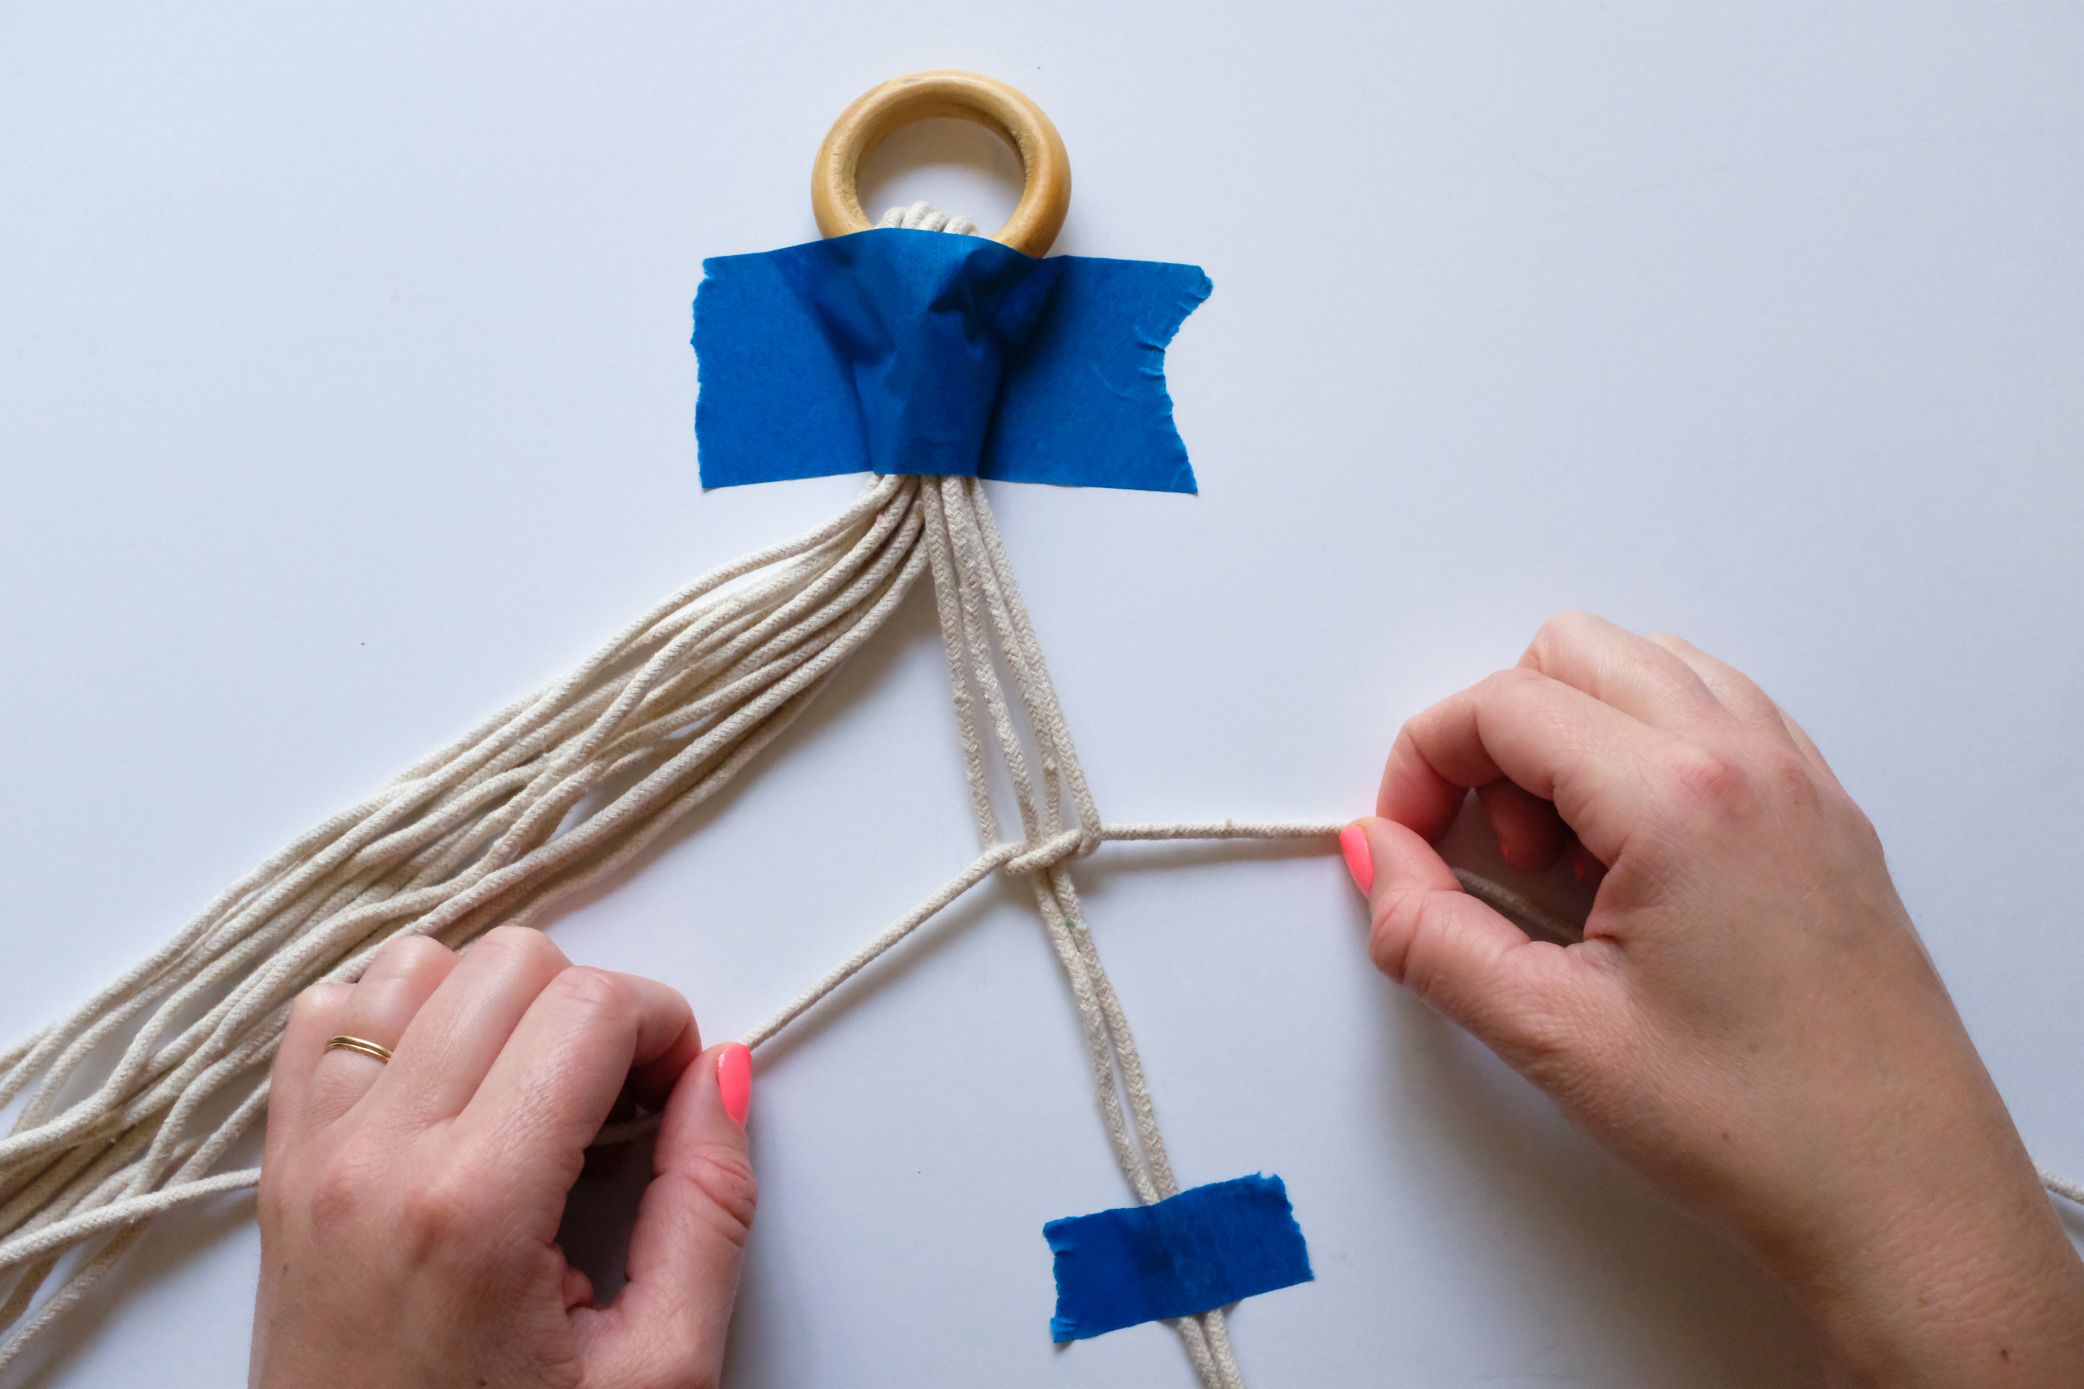
Pull the left knotting cord over the other cords making the shape of a number 4.

Place the right knotting cord over the left knotting string that is at present on the right side.
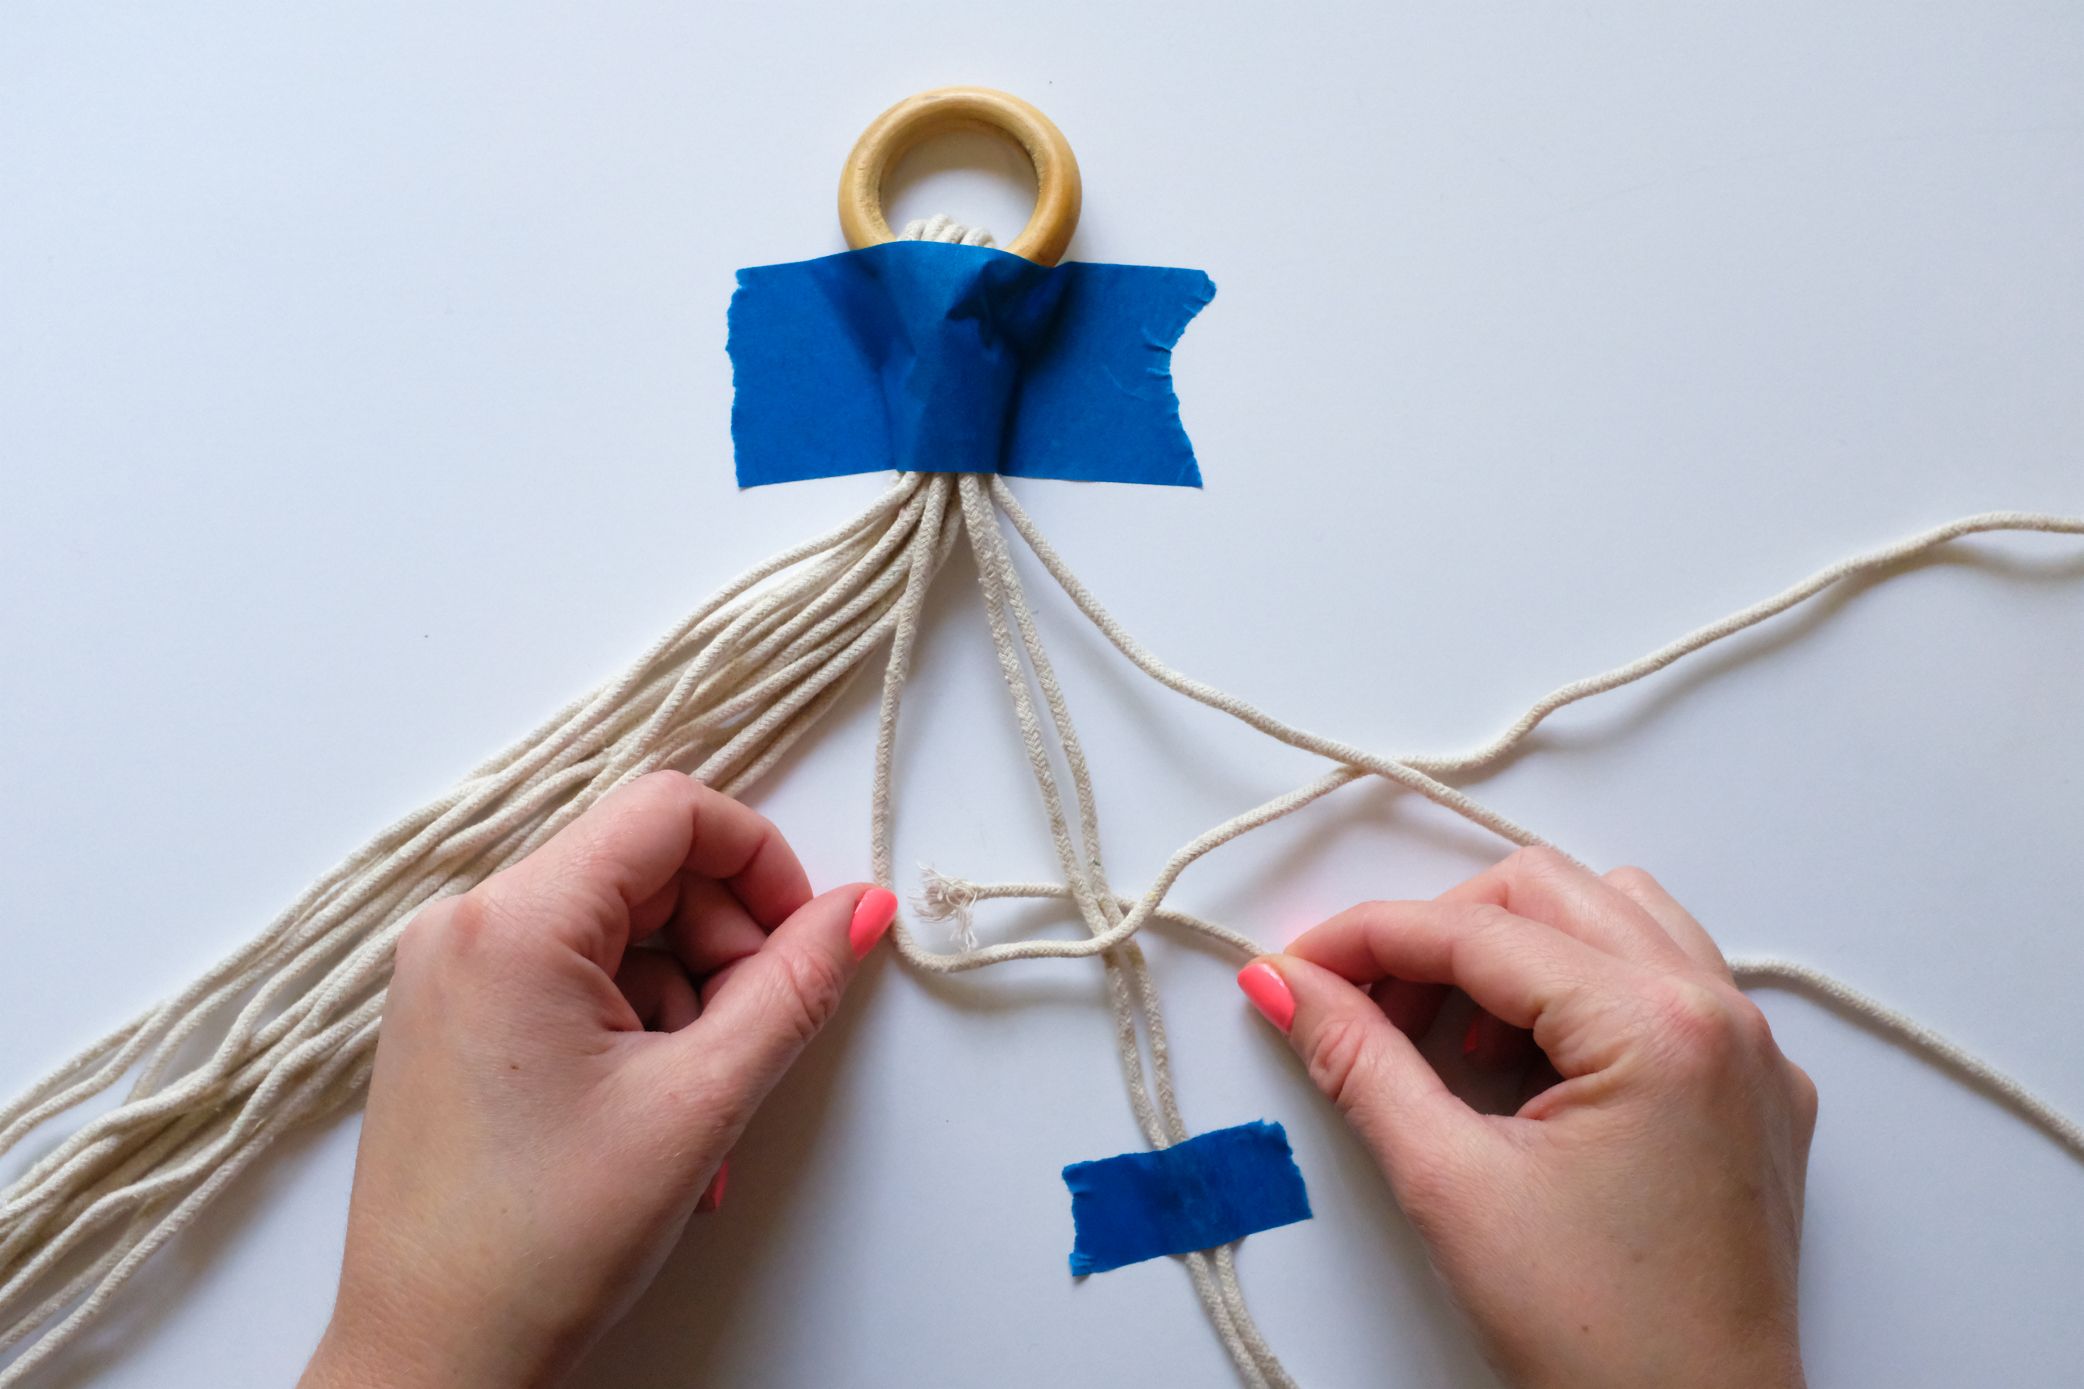
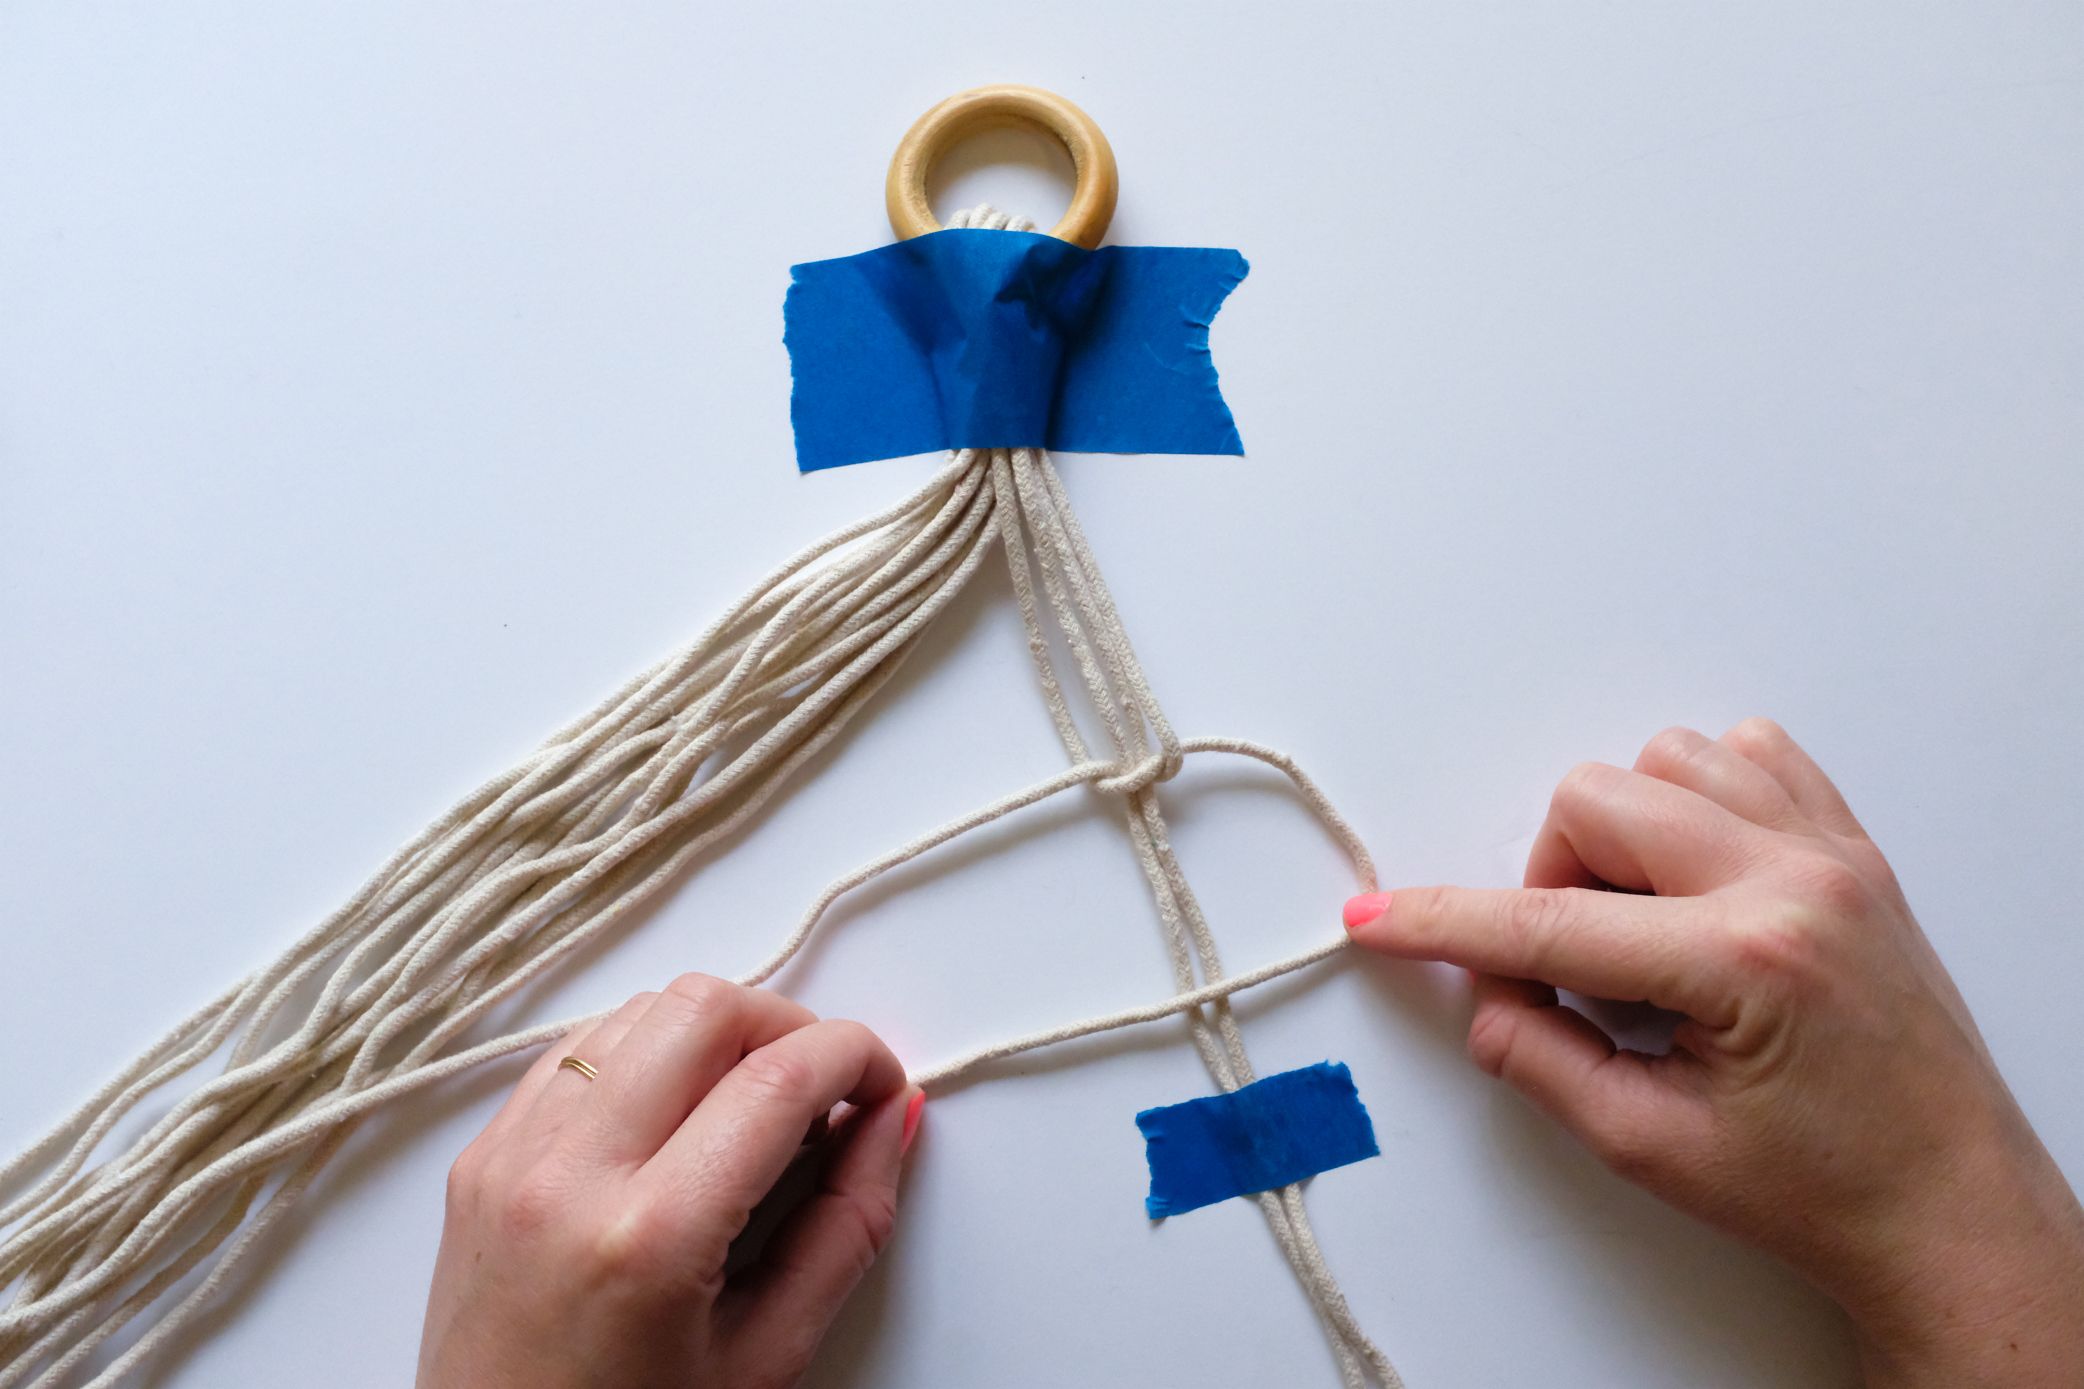
Grab the right knotting cord and bring information technology behind the two middle anchor cords and upwards through the triangle part of the number 4 shape.
You lot should take string on the tiptop and the bottom of the anchors.
Pull the correct and left knotting cords evenly and slide the knot up the anchor cords. *You finished 1 half of the foursquare knot! Nosotros are now going to do the aforementioned steps on the other side to complete the knot!
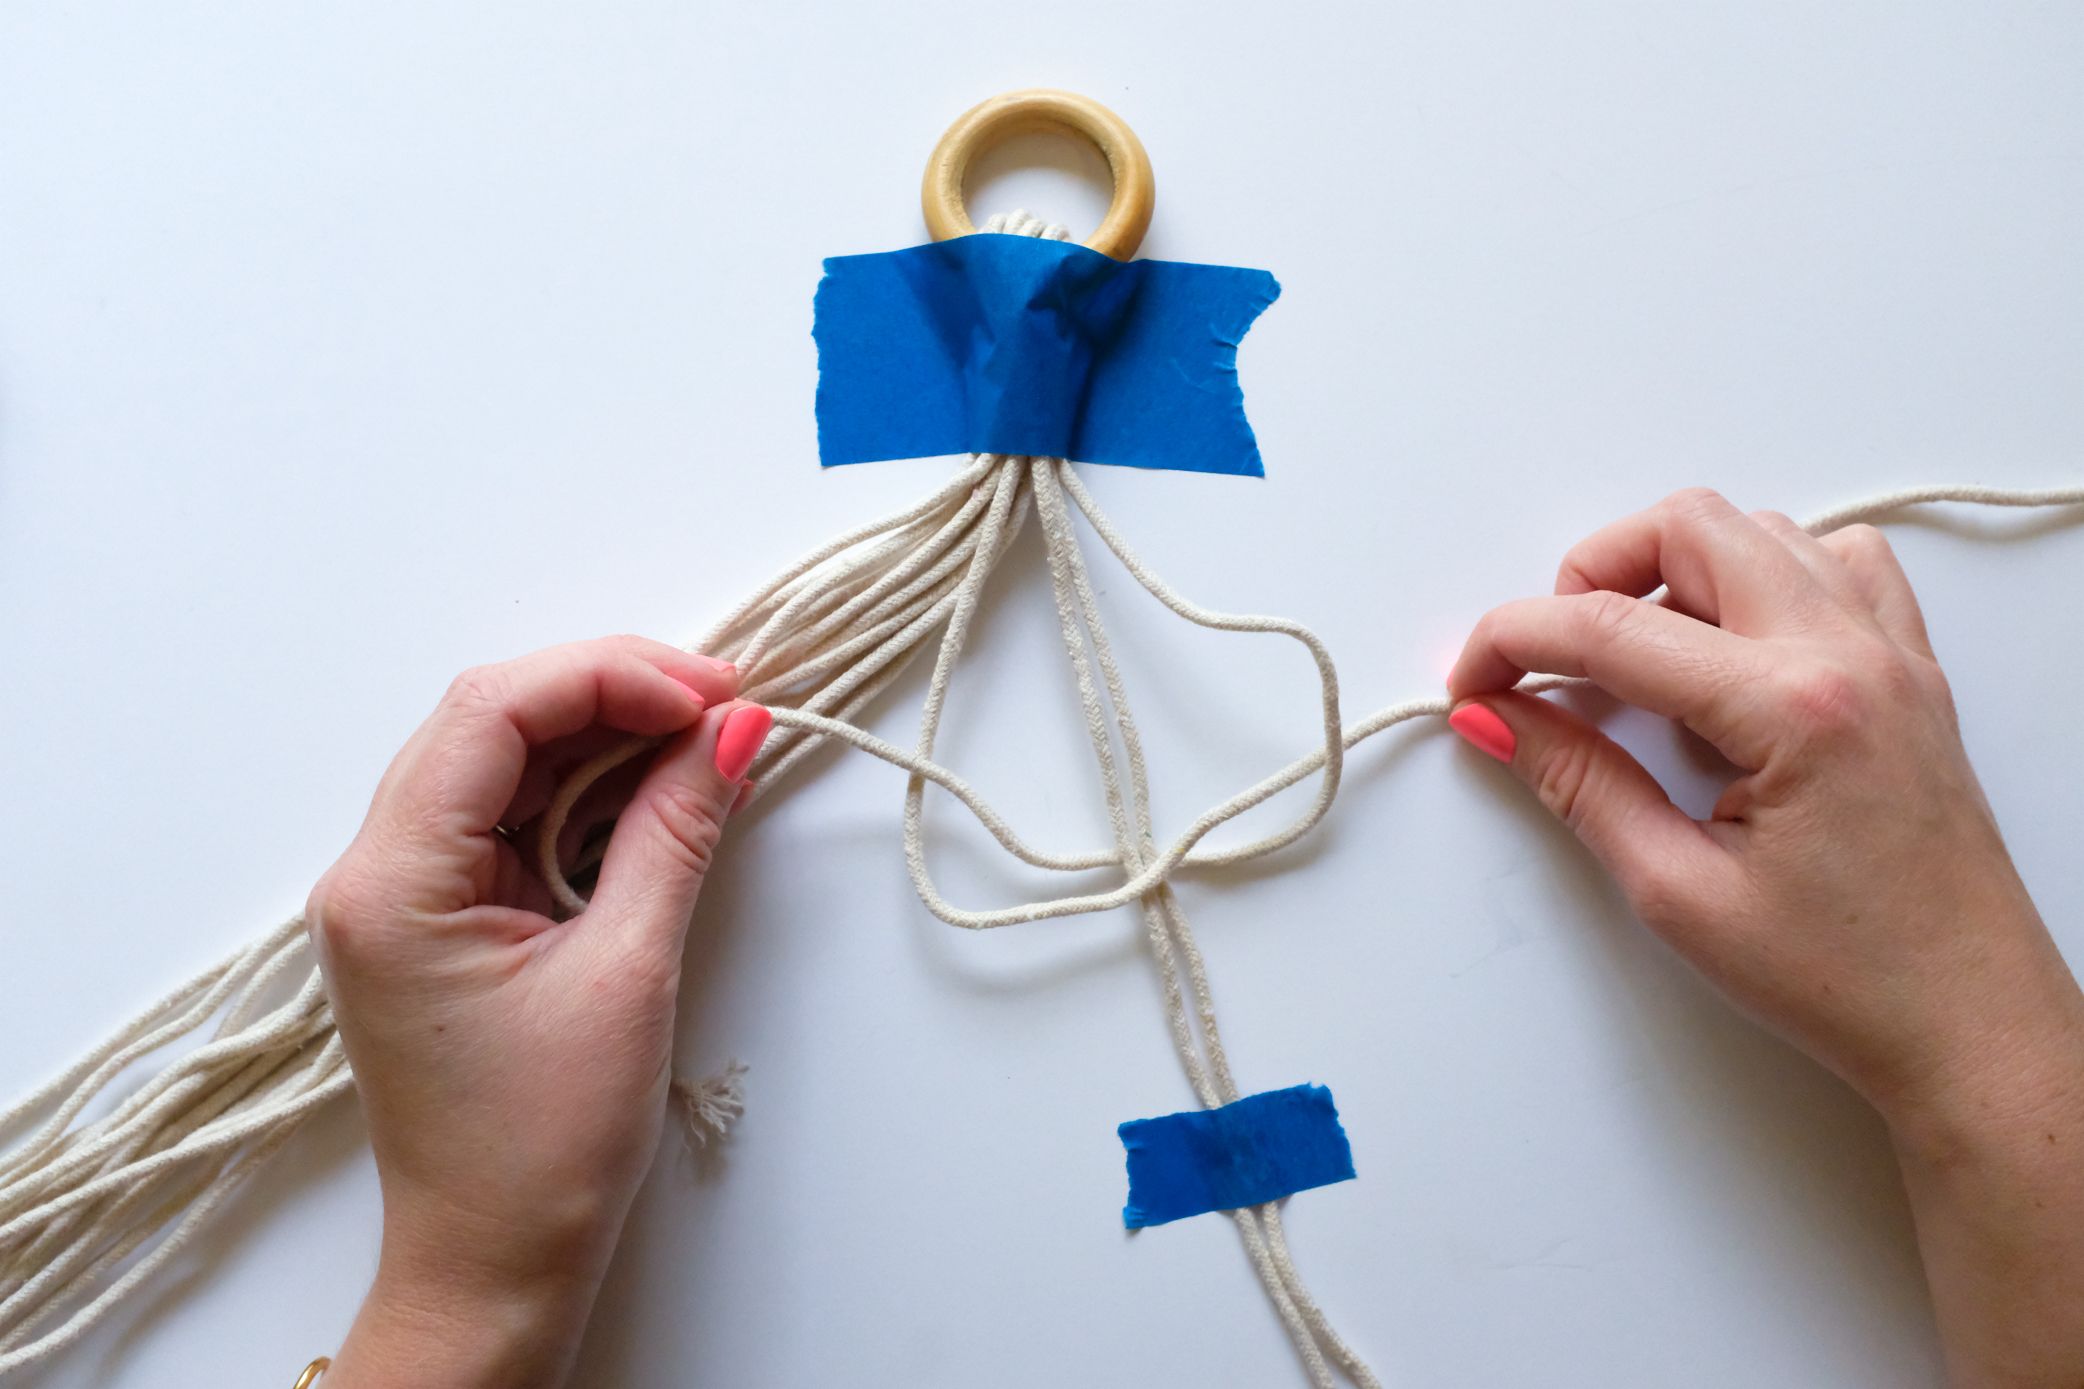
Pull the right knotting cord over the ii anchor cords making the shape of a backward number 4.
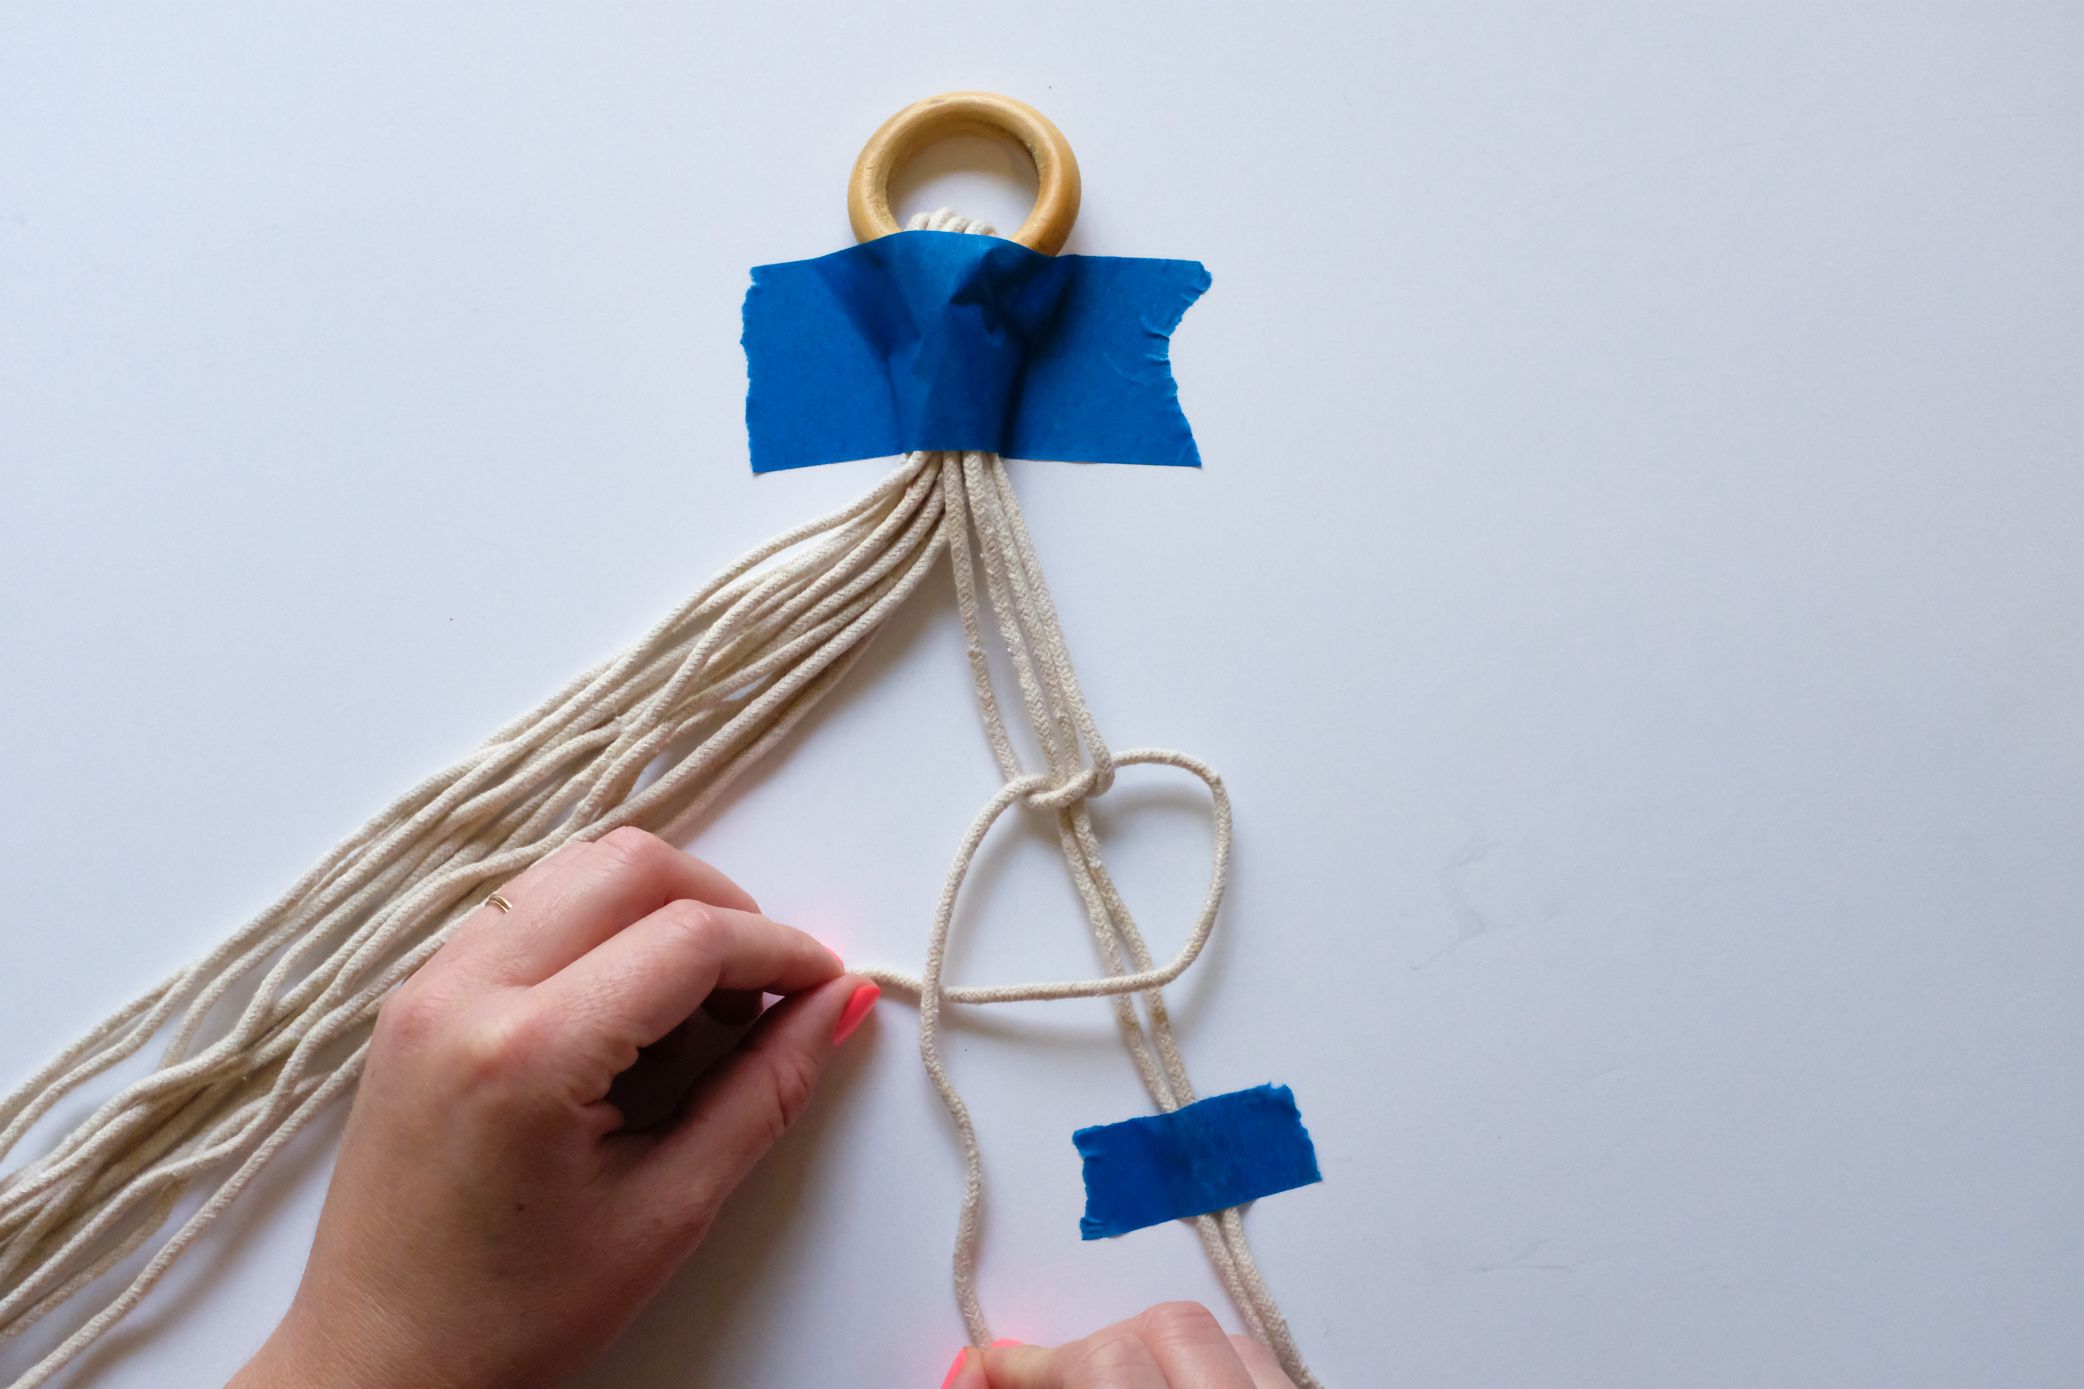
Place the left knotting string over the correct knotting cord that is now on the left side.
Identify the left knotting cord over the right knotting cord that is now on the left side.
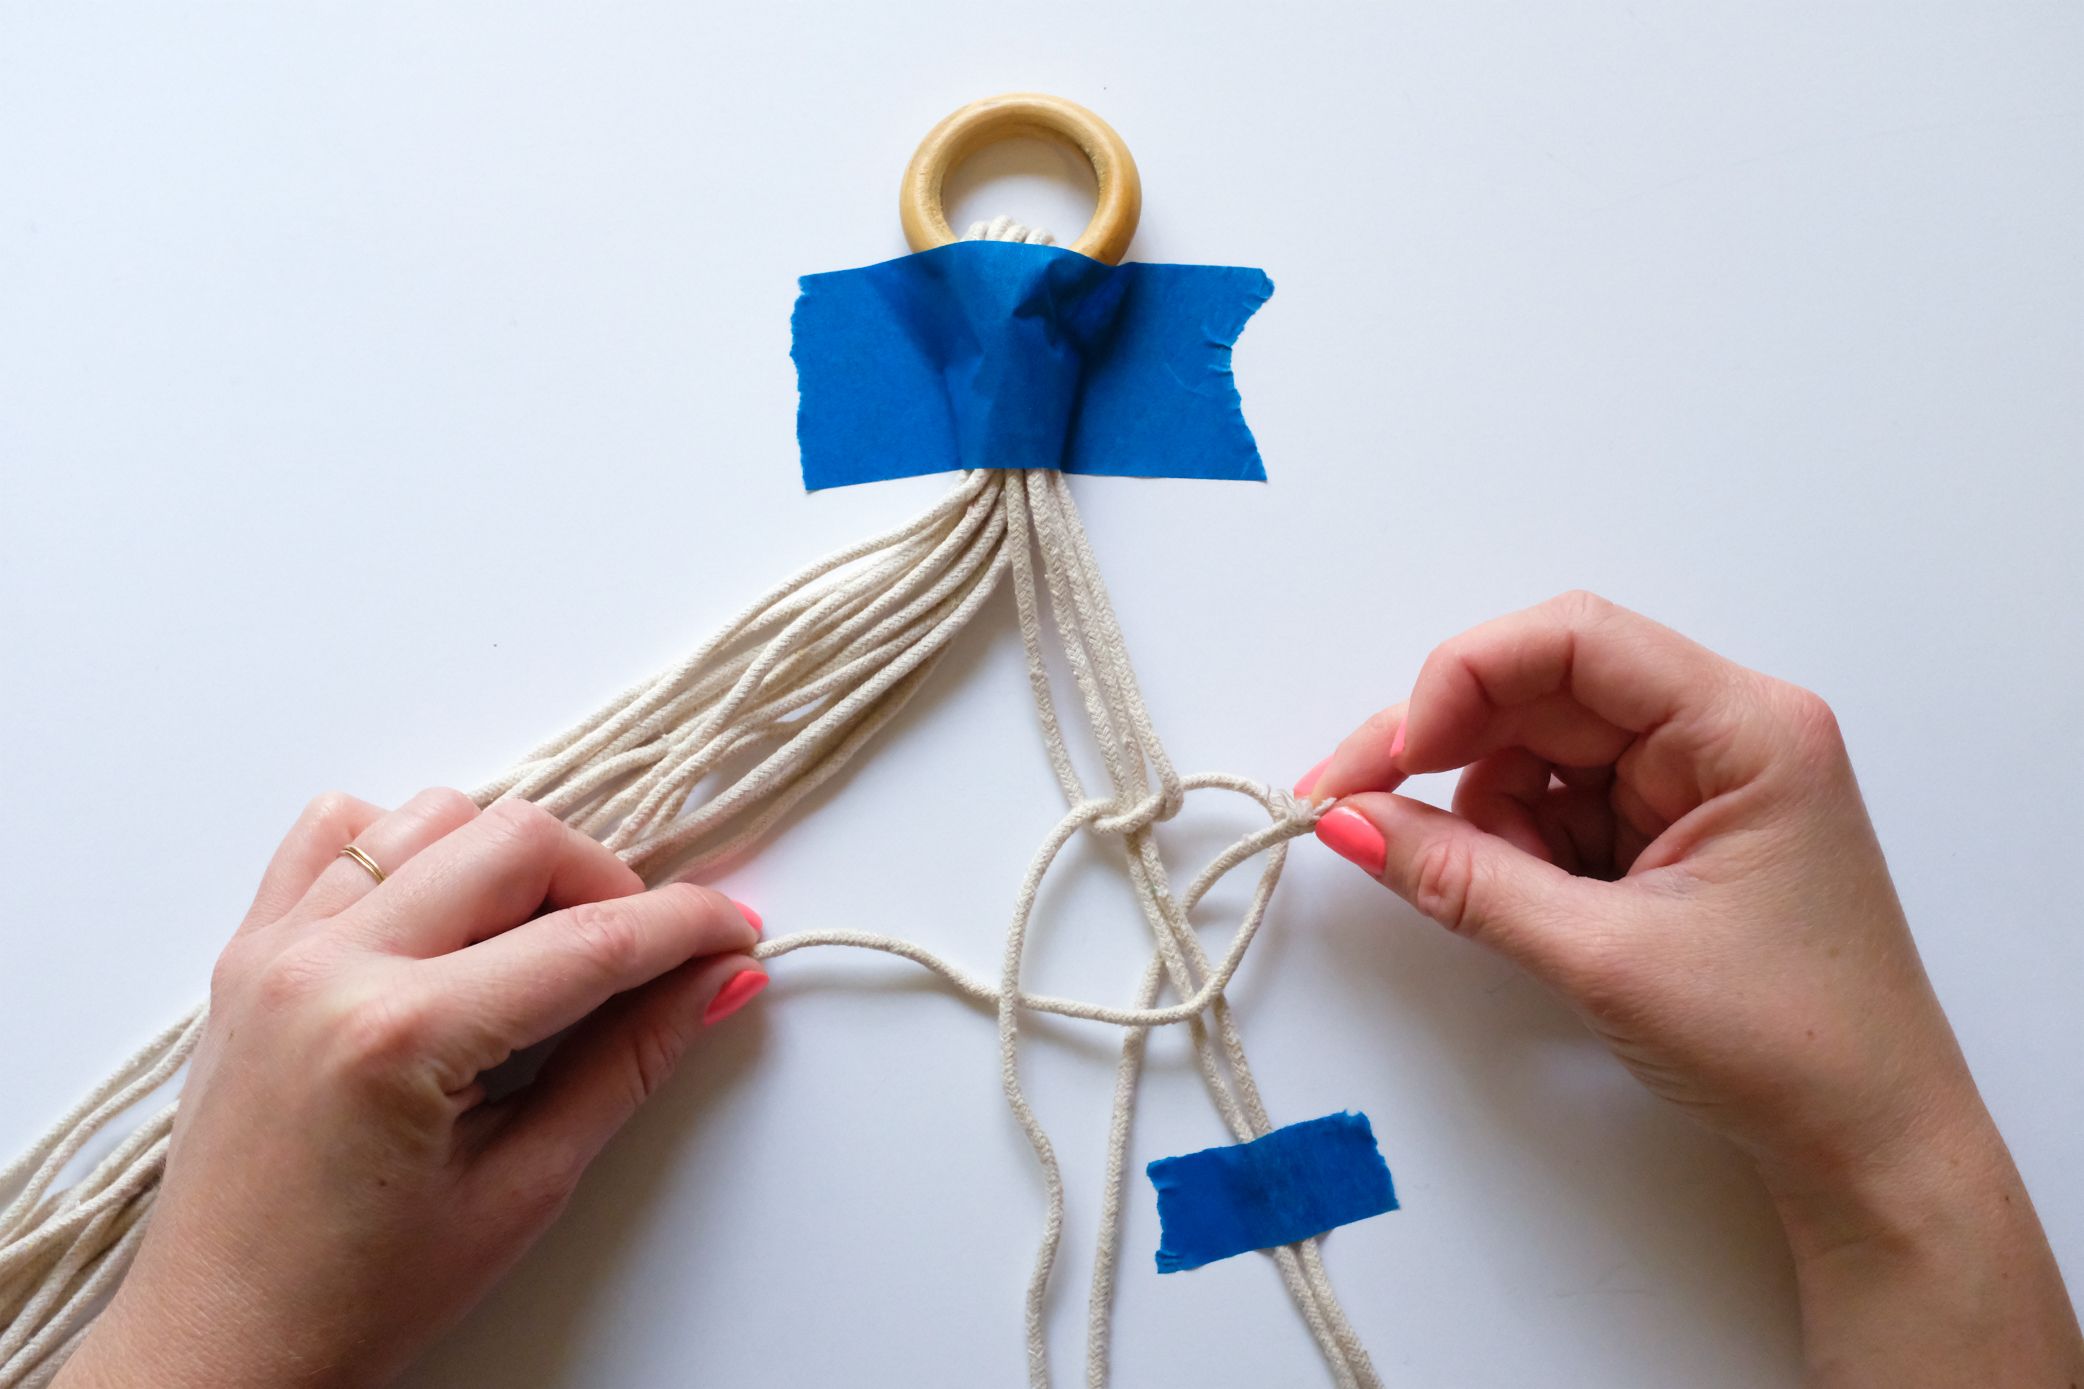
Pull the right and left knotting cords evenly and slide the knot up the 2 center cords.
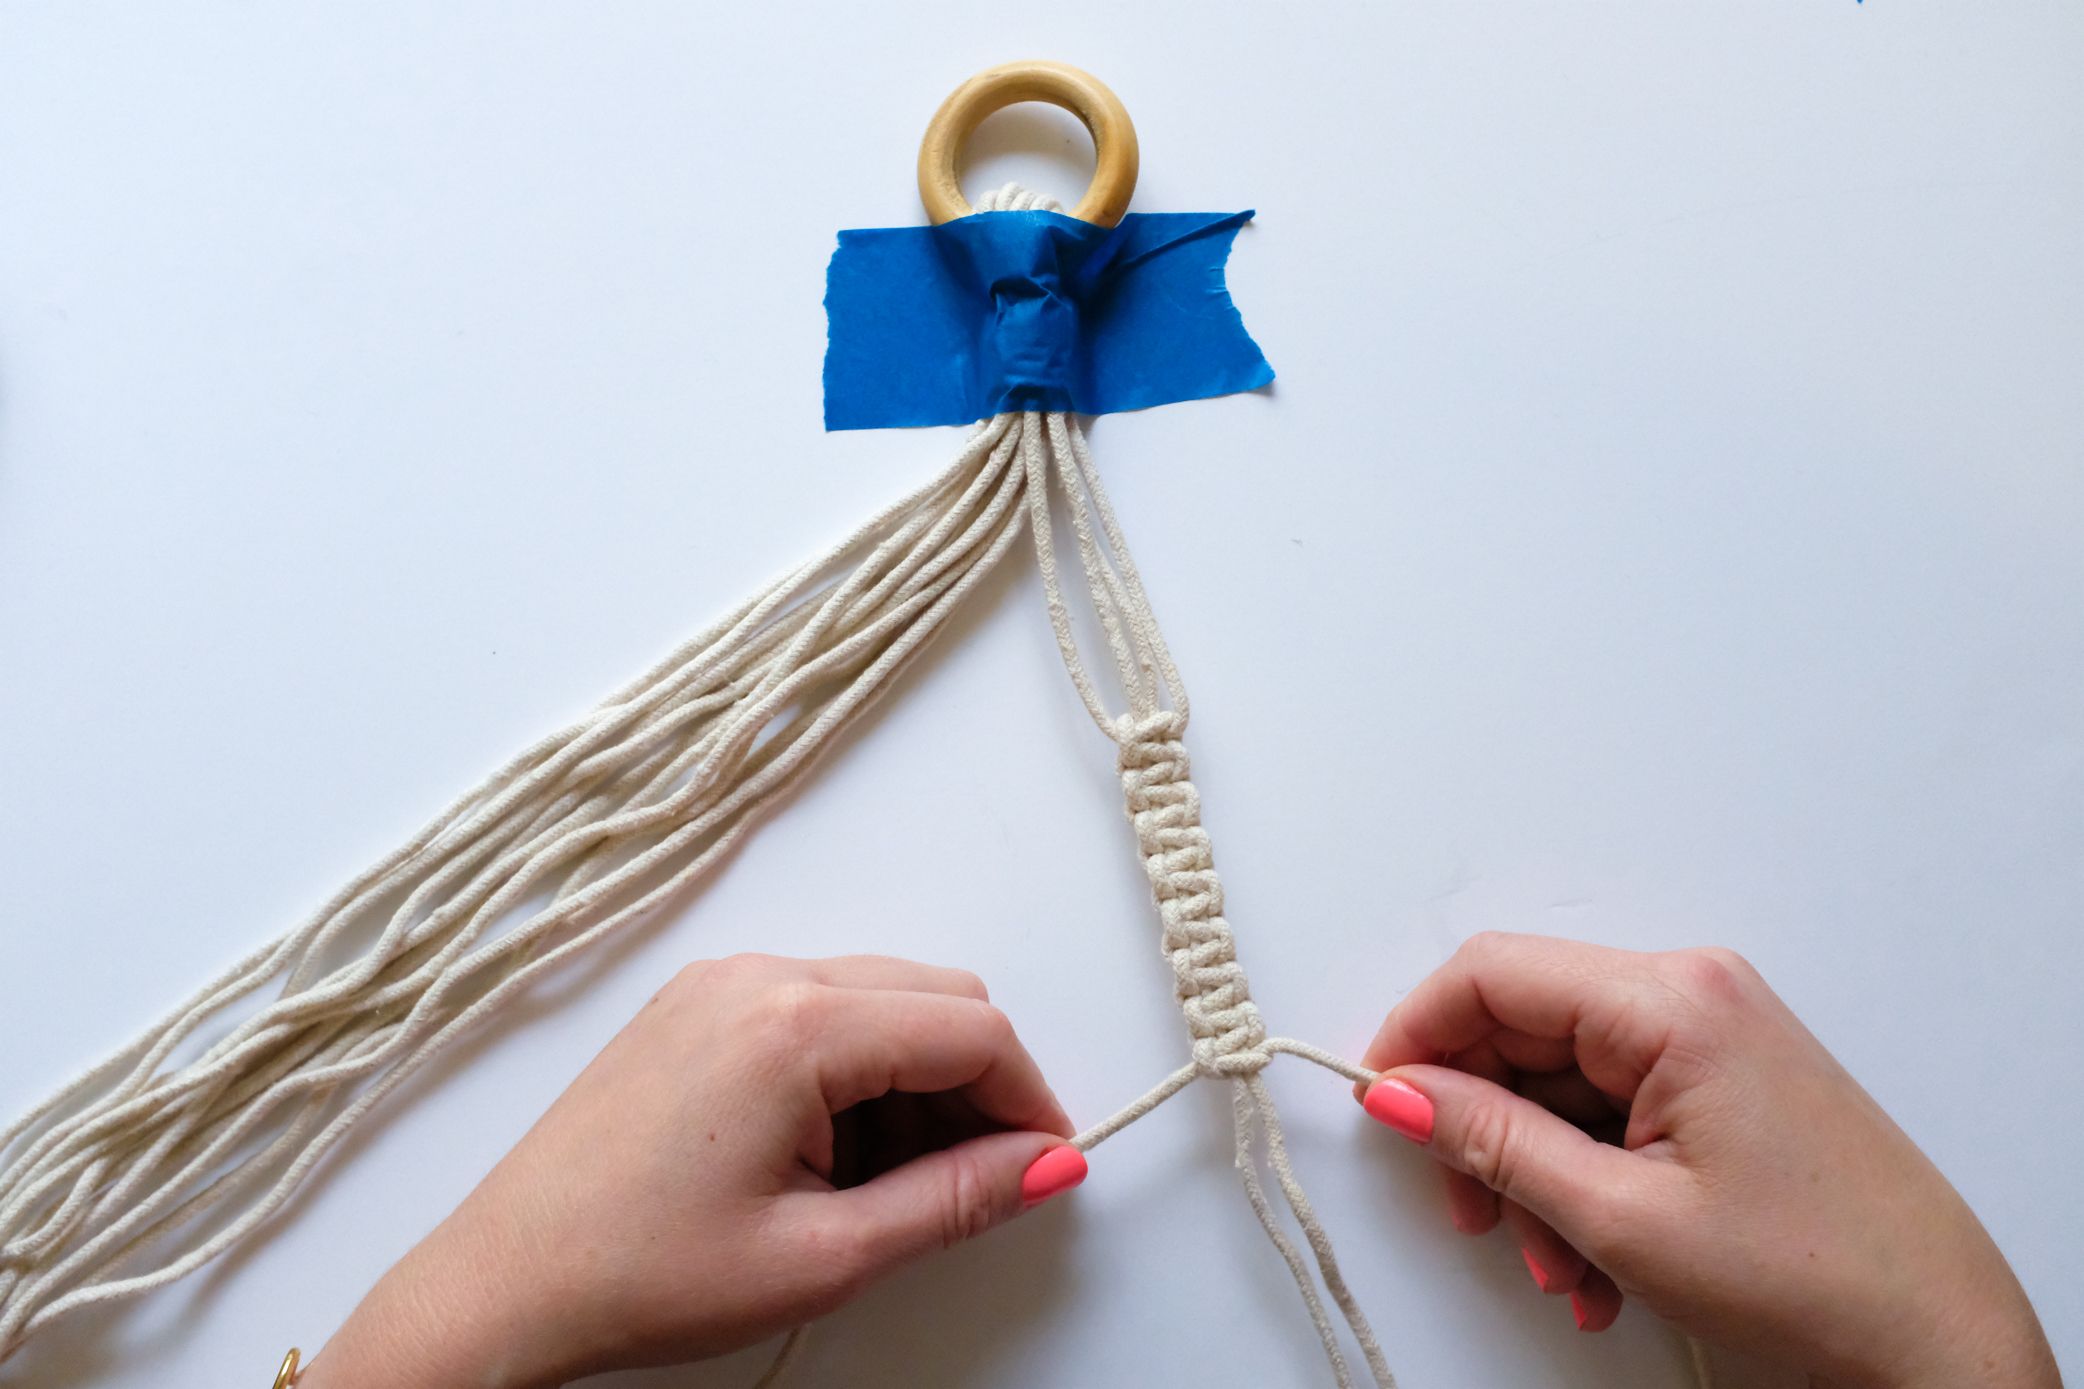
Keep this pattern for virtually 10 inches. Echo for the rest of the cords.

Step 5: Create a Net
Adjacent, we're going to use an alternating foursquare knot to create a net to hold our pot!
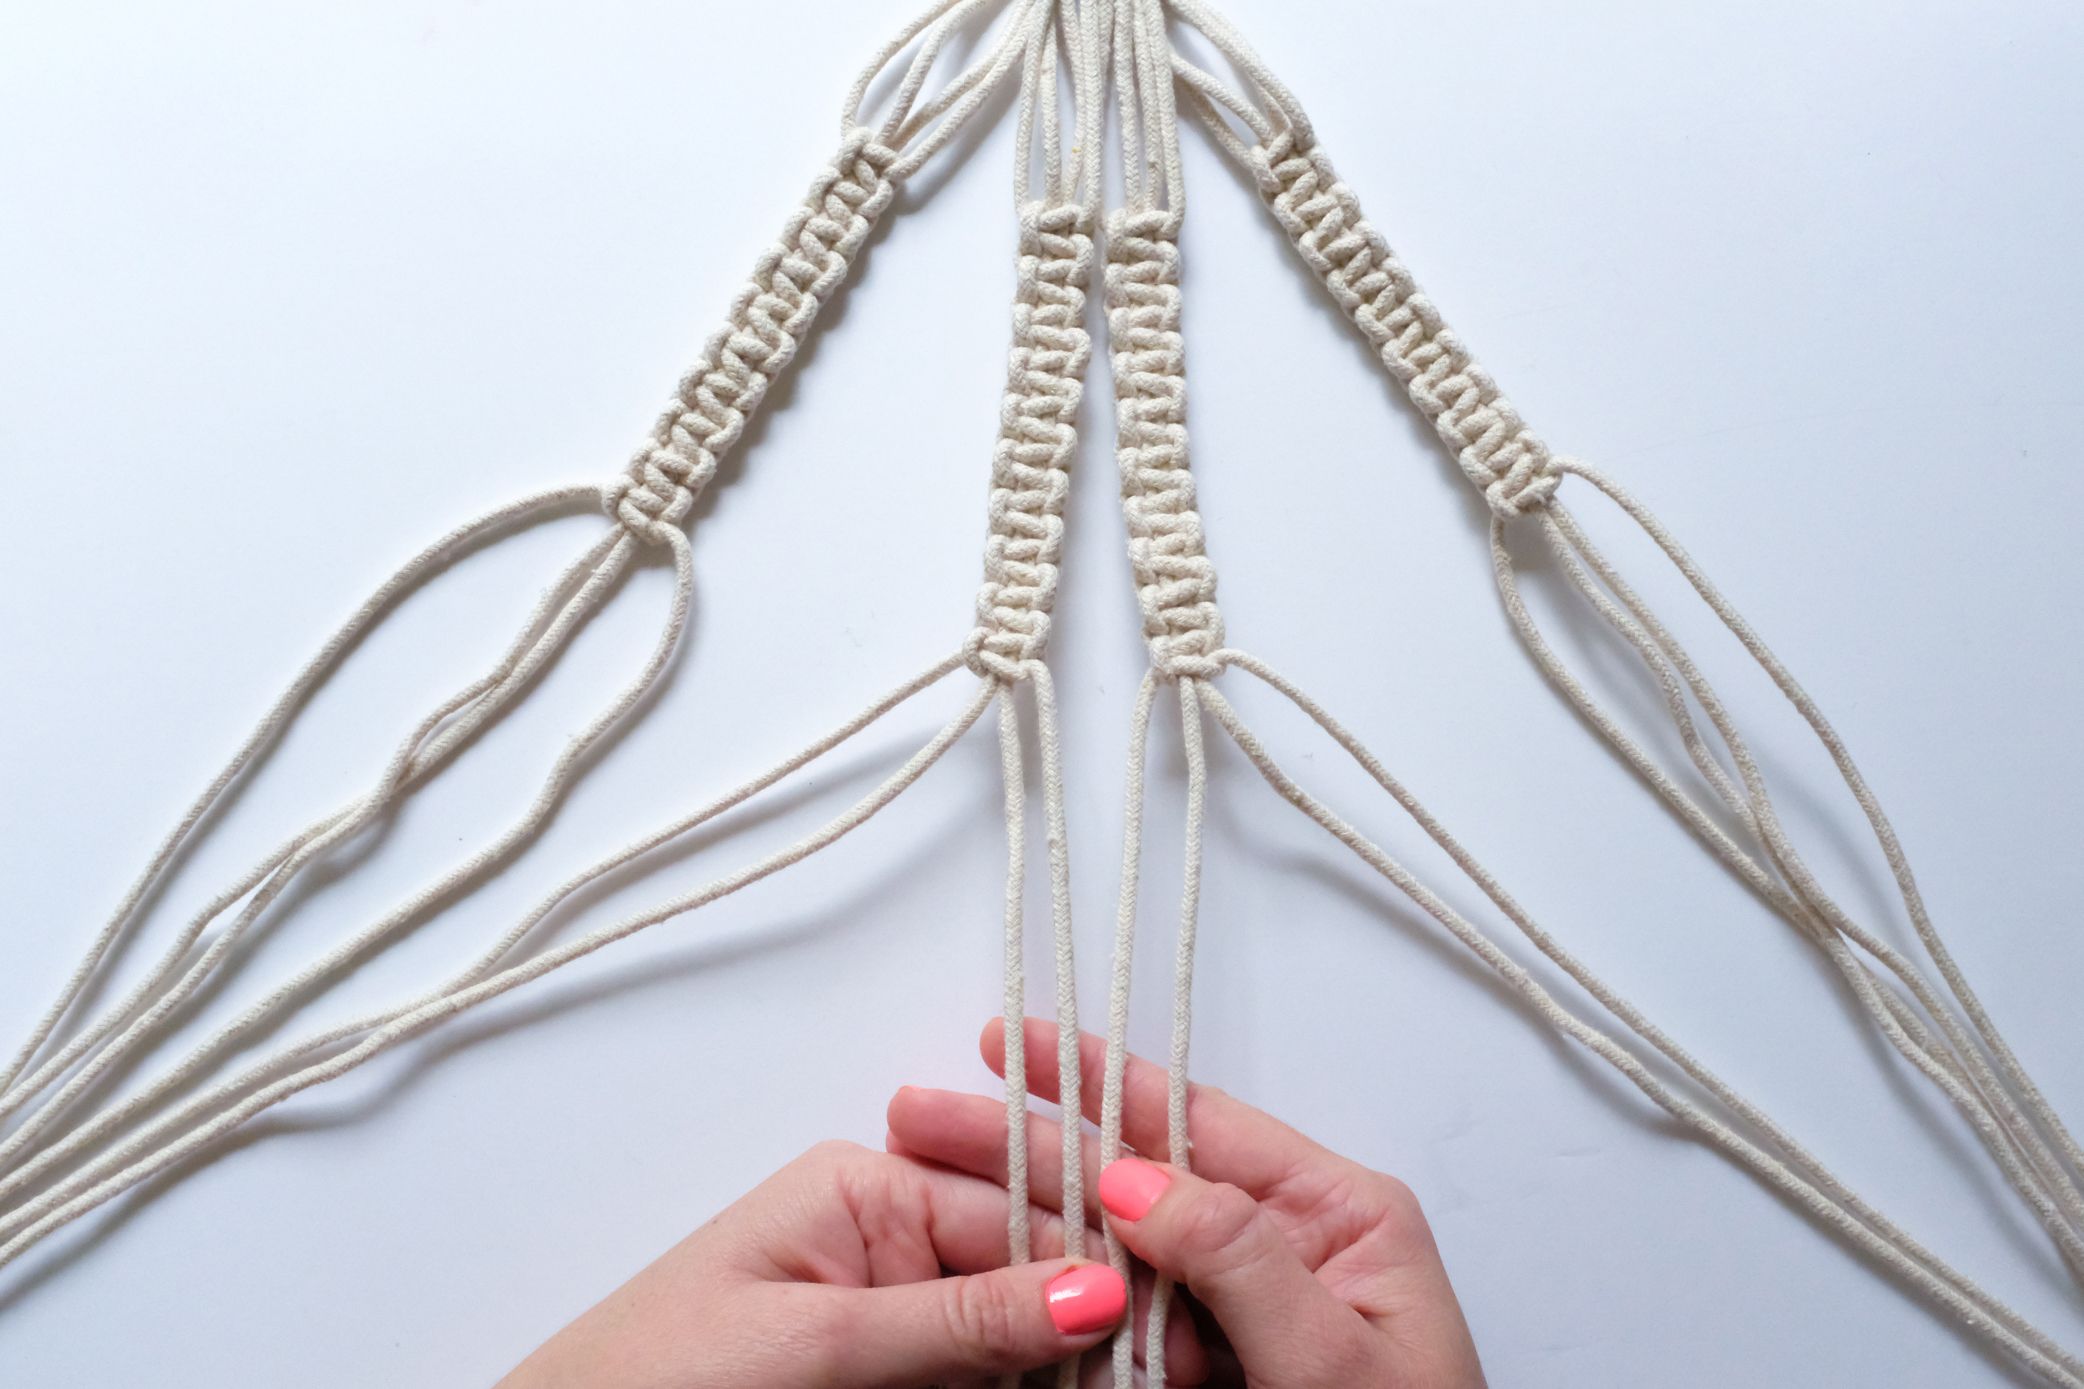
To create a net, combine the left anchor and knotting string from i group with the right ballast and knotting cords of the adjacent group.
Create a unmarried square knot near three inches downward from your knotted cords.
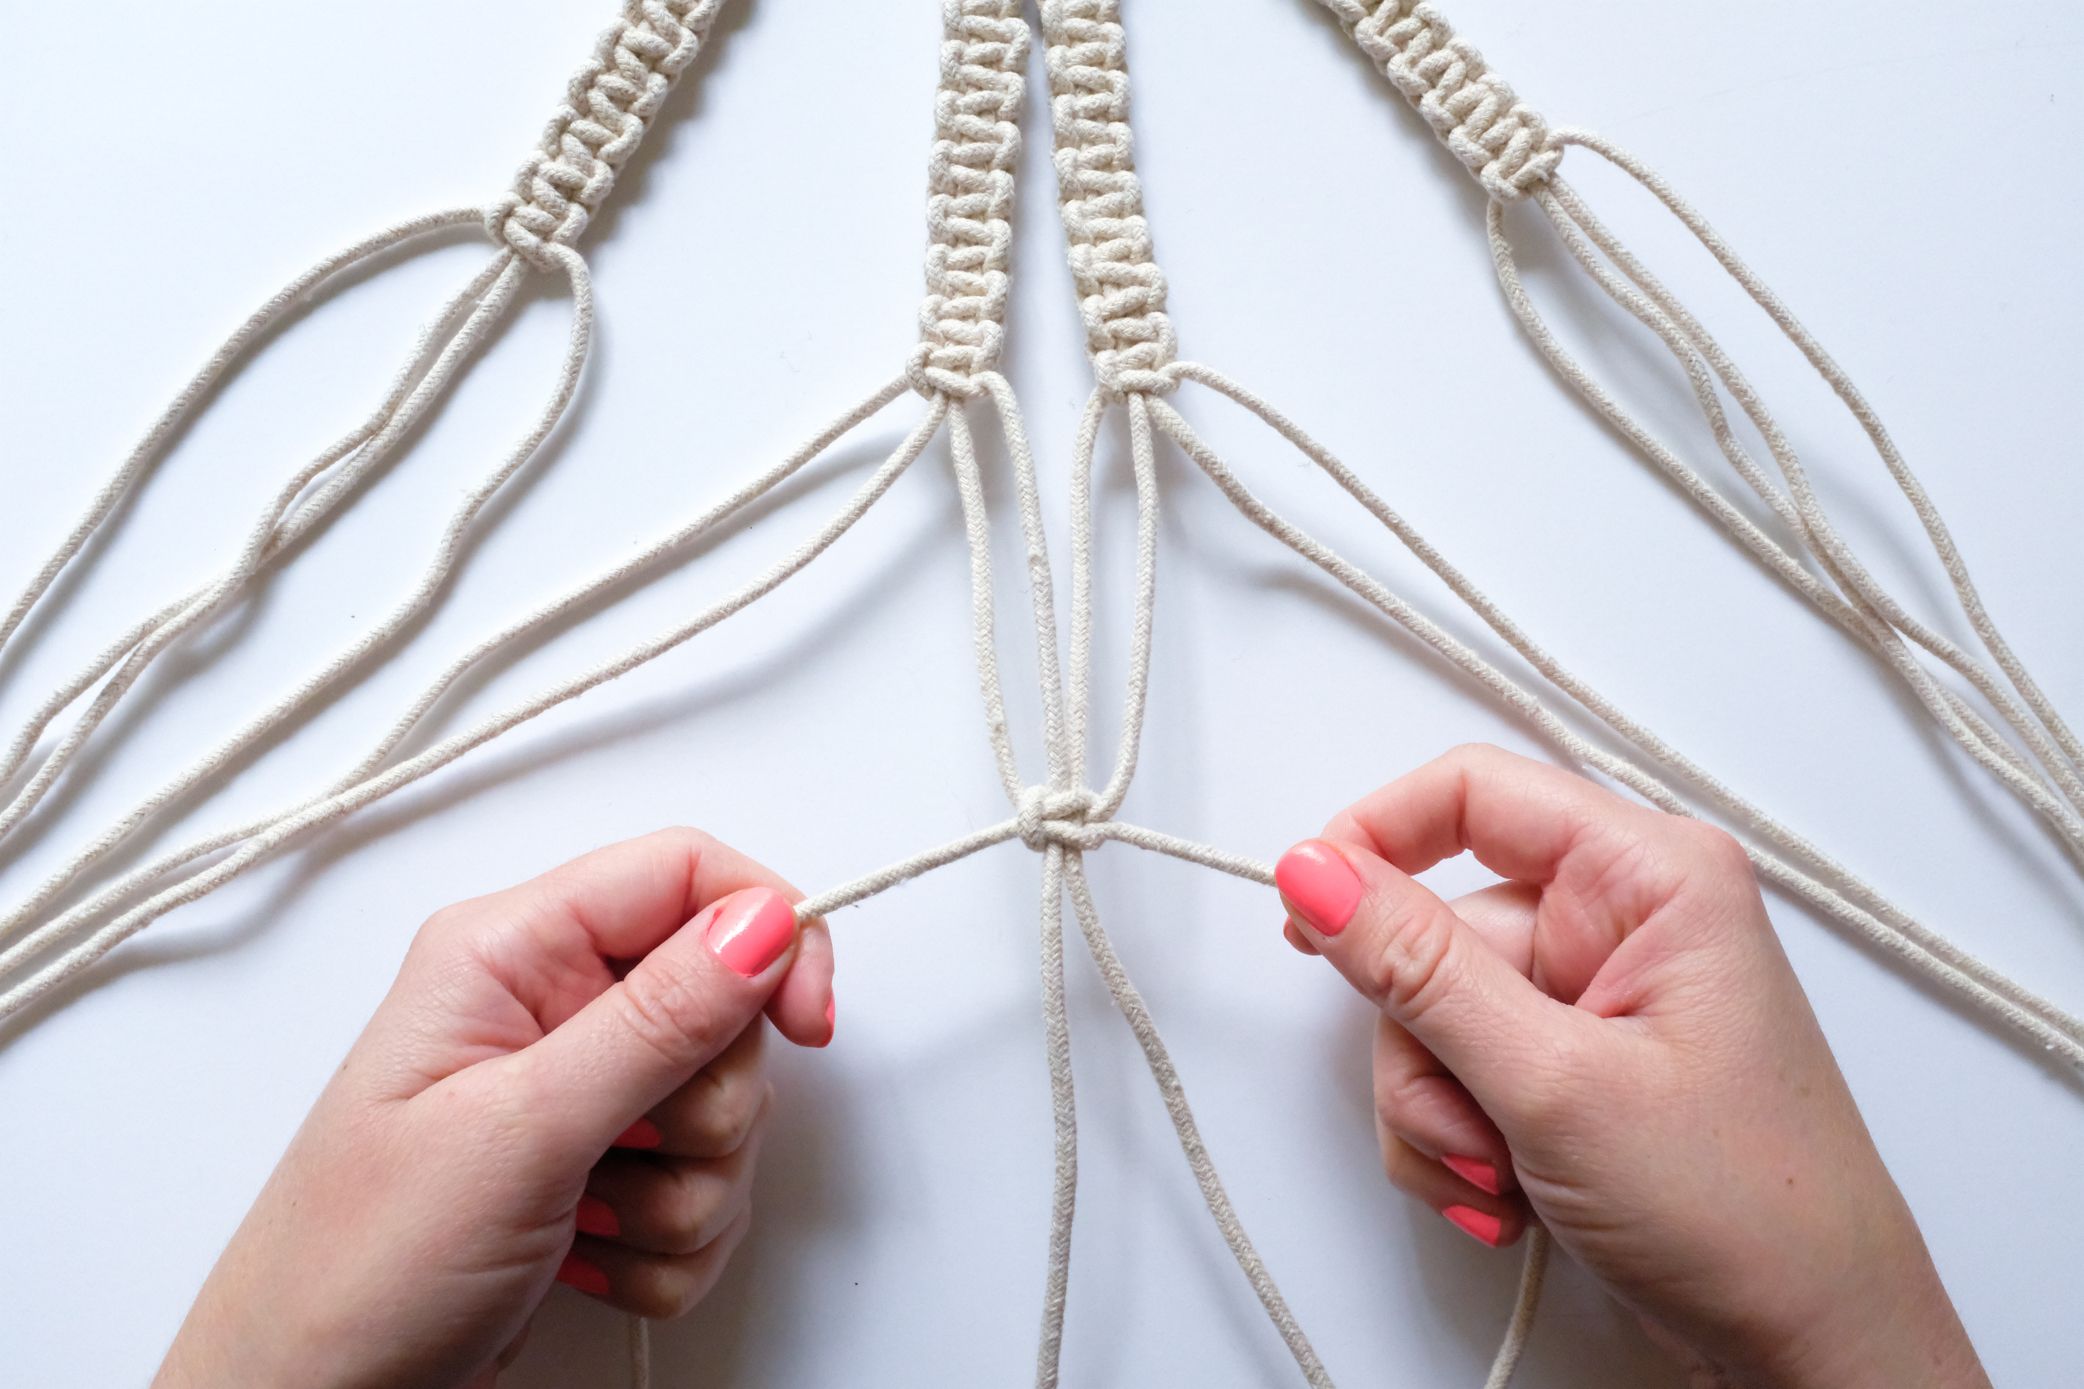
Repeat, creating a square knot in between each grouping of knotted cords.
At this point, y'all should have iv square knots connecting all your cords.


Consummate a second row of alternating square knots approximately 3" downwards from your last row.

Gather all cords in your hand.

Tie a concluding gathering knot iii inches down from the last square knot. Make sure it is tight enough to hold your pot!
My Dark-green Oasis

I couldn't be happier with the way my establish hangers turned out! I can't expect to relax in my tub, surrounded by beautiful plants.
I hope you lot are all able to create a institute hanger for your home and accept some fun with this accessible and relaxing craft.
Want to learn more about macrame? Check out these tutorials!
- Make A Macrame Dog Collar
- Knot A Macrame Rainbow
- Macrame Snowflake Ornament Tutorial
This web log was originally posted in 2020 and updated in Jan, 2022. Thanks for visiting! You lot tin bank check out more DIY projects on our web log here.

What Size Help Cord For Macrame Plant Hangers,
Source: https://jennylemons.com/blogs/news/bathroom-makeover-diy-macrame-plant-hanger-tutorial
Posted by: plattbefoom.blogspot.com
0 Response to "What Size Help Cord For Macrame Plant Hangers"
Post a Comment