

How To Fix A Chip In Wall Paint
Several factors can cause the paint to chip away from a wall. It may not have properly adhered the first time it was painted, temperature variations could have caused it to pull away, or damage caused by moving furniture or accidental scrapes could be to blame. Regardless of what caused it, one thing is certain--If you have a very carefully decorated room in otherwise good condition, paint chips are an obvious eyesore that you will want to remedy. When fixing areas with chipped paint the goal is to blend into the rest of the room as much as possible so don't remove any more than you need to. Smaller patches will be less noticeable than larger ones. You should, however, put in the extra steps to make sure the job is done right and save yourself time in the long run.
Step 1 - Remove the Paint Chips
The first step is to take off the old paint that is bubbled or chipped. Remove any flaked paint and anything behind it which looks as though it could come away from the wall. This will guarantee that you have a good flat surface on which to repair paint chips. If you did not take the time to remove all of these loosened chips you will find that your repair will be ineffective, as more paint will flake off over time. You can use a putty knife to take off the chips, although you should be careful not to dig too deeply into the area, which could cause damage to the surface.
Step 2 - Repair the Hole
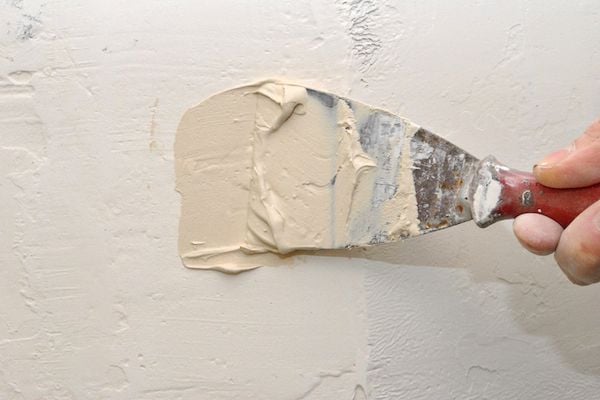
You will now need to repair the hole that you made, using either spackle or a similar compound designed for repairing damaged walls. Put it on sparingly, using the putty knife to spread it on so that it is thick enough to cover the walls, but not so thick that it actually sticks out from the rest of the wall. The goal is to have it match the surface of the rest of the wall. You should allow the compound to fully dry before continuing with the repair of the paint chips.
Step 3 - Sand the Spackle
Once the spackle is fully dry, you can then start to sand it gently. This will allow you to get the smoothness and flatness which you need in order to match the rest of the room and to get the paint to adhere to the repair. Gently sand over the surface so that the patch no longer sticks out from the rest of the wall. You will now be able to paint the wall so that it matches the rest of the room.
Step 4 - Paint the Wall
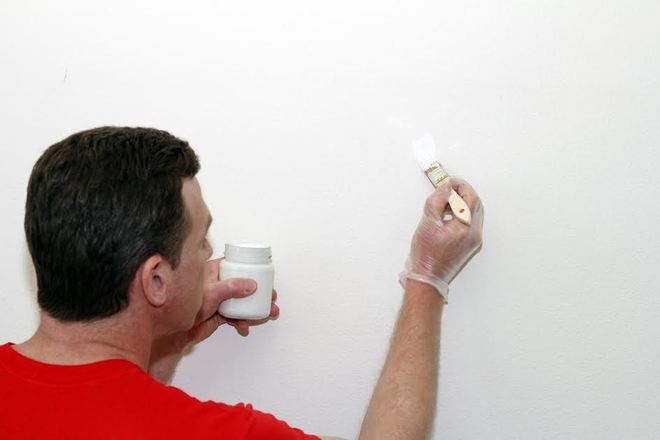
If you wish, you can add a layer of primer to the area, and then allow it to dry. This is to ensure that the paint sticks to the finished area as best it can. If you have only repaired a small chip, then you may not need to add primer. You can then cover the area with a coat of paint the same or similar to that which you had previously used on the wall. Leave it to dry.
How To Fix A Chip In Wall Paint
Source: https://www.doityourself.com/stry/how-to-repair-paint-chips
Posted by: plattbefoom.blogspot.com
0 Response to "How To Fix A Chip In Wall Paint"
Post a Comment